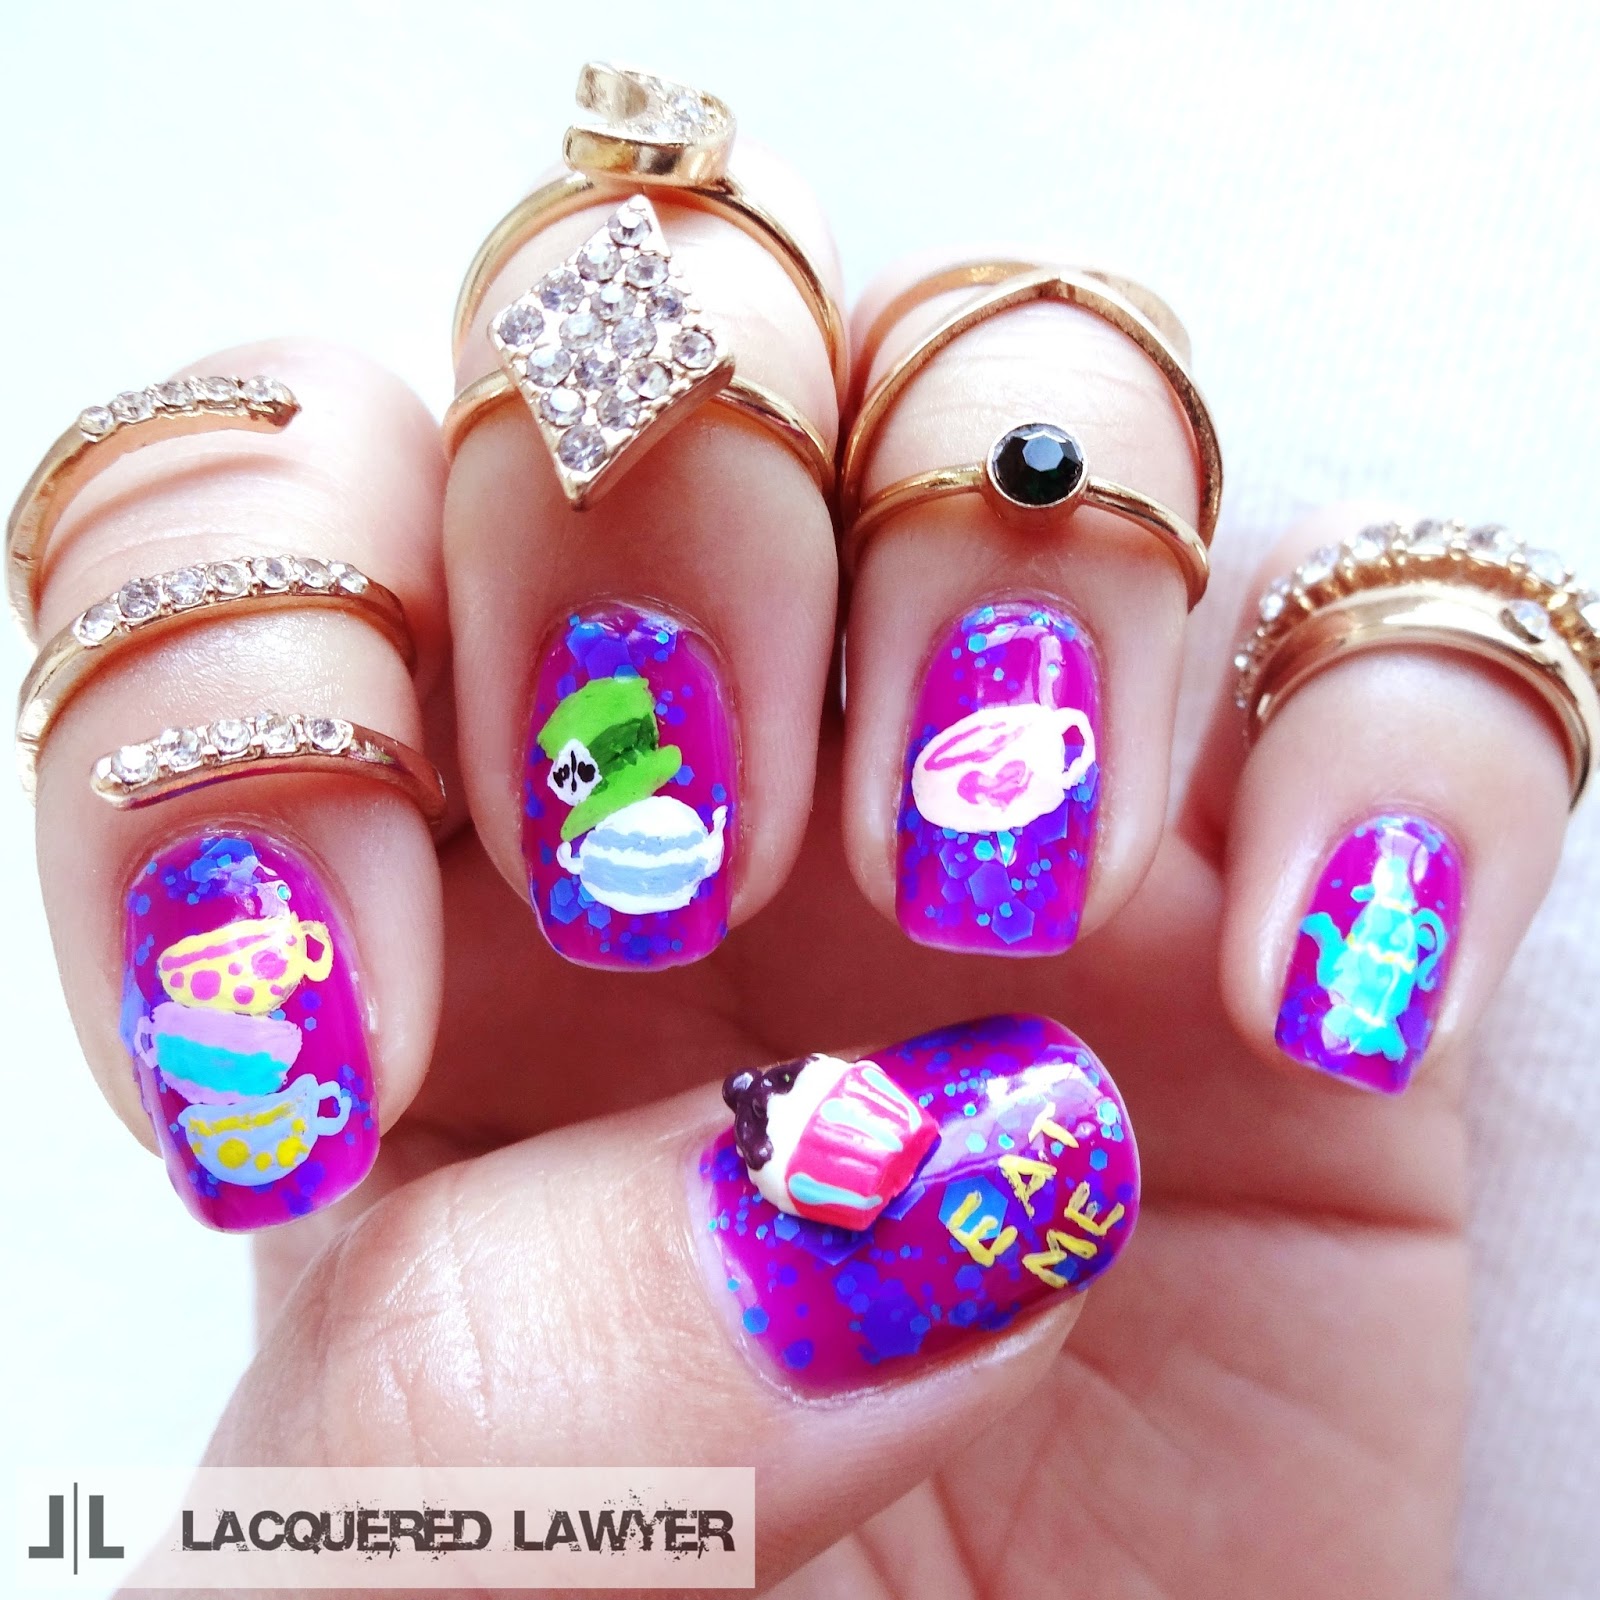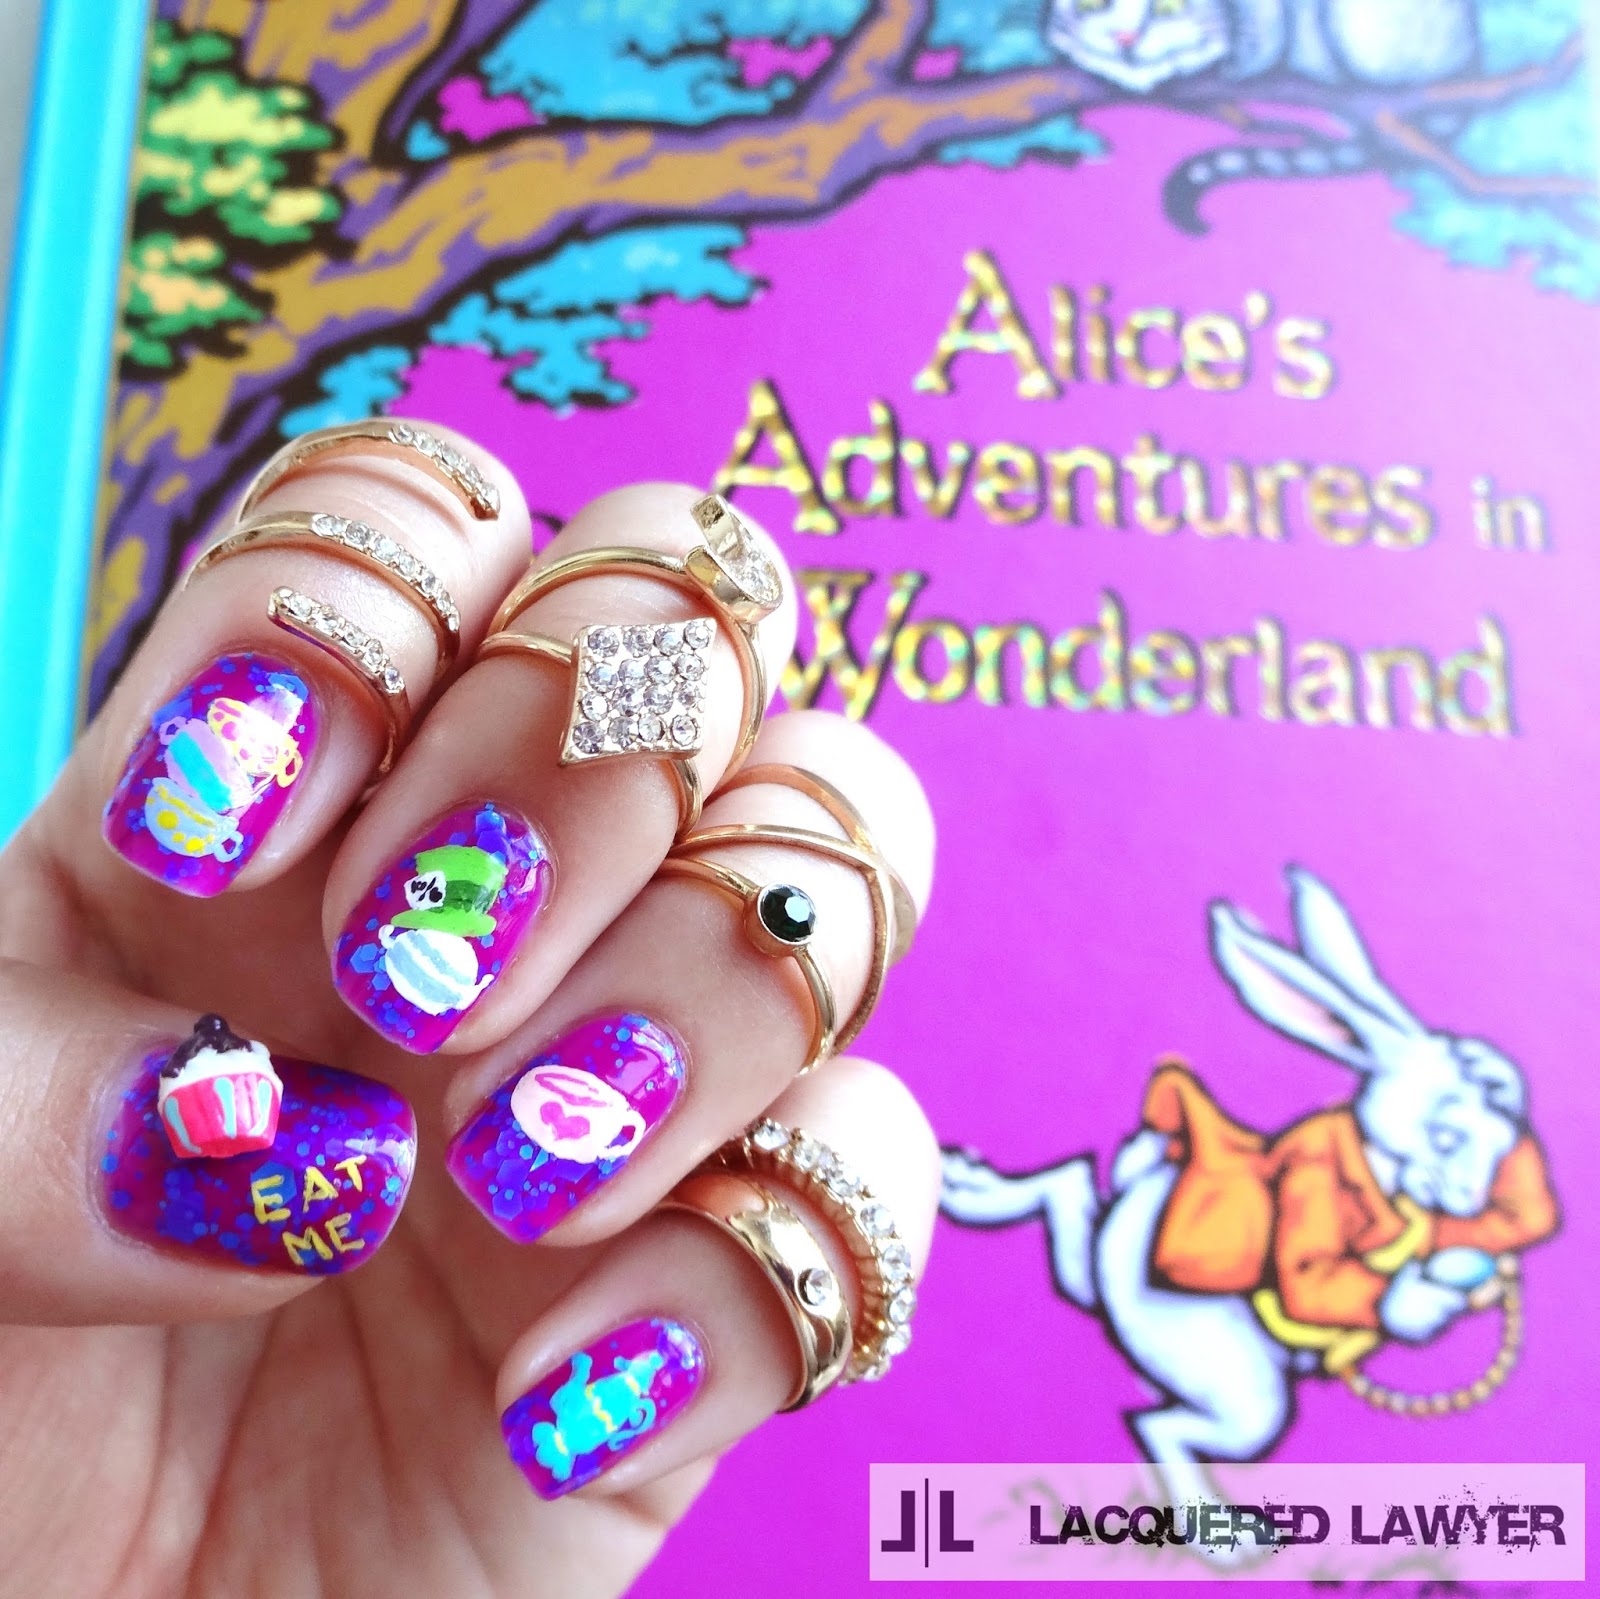
I just bought this new polish from Hot Topic the other day, and it immediately made me think of the Mad Hatter. The shape of the nail polish bottles is what initially caught my eye...they are skulls! I used acrylic paint to create a mad tea party look.
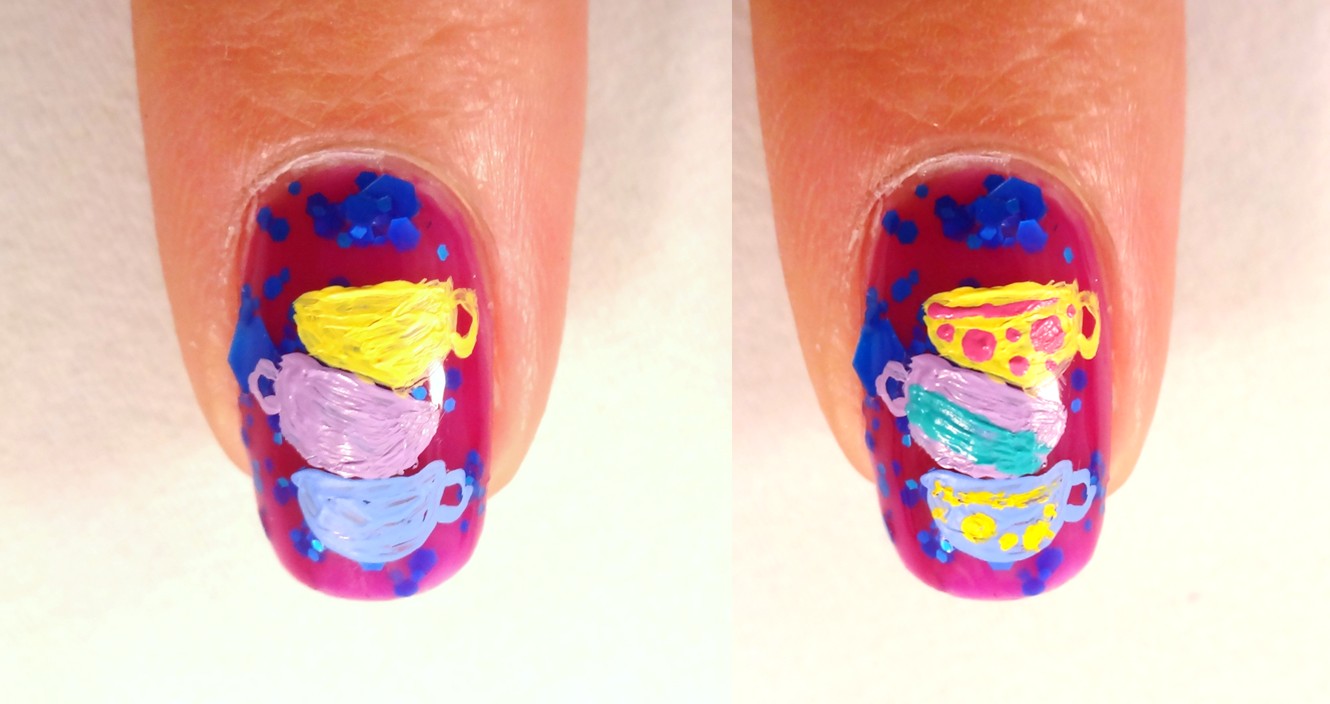
Occasionally, I like to plan out my nails by drawing it out. Here is an example of that in case you wanted to peak behind the curtain so to speak.


Polish Used:
- Blackheart Beauty - Violet w/ Blue Glitter
- Acrylic paint
- Nail art brush
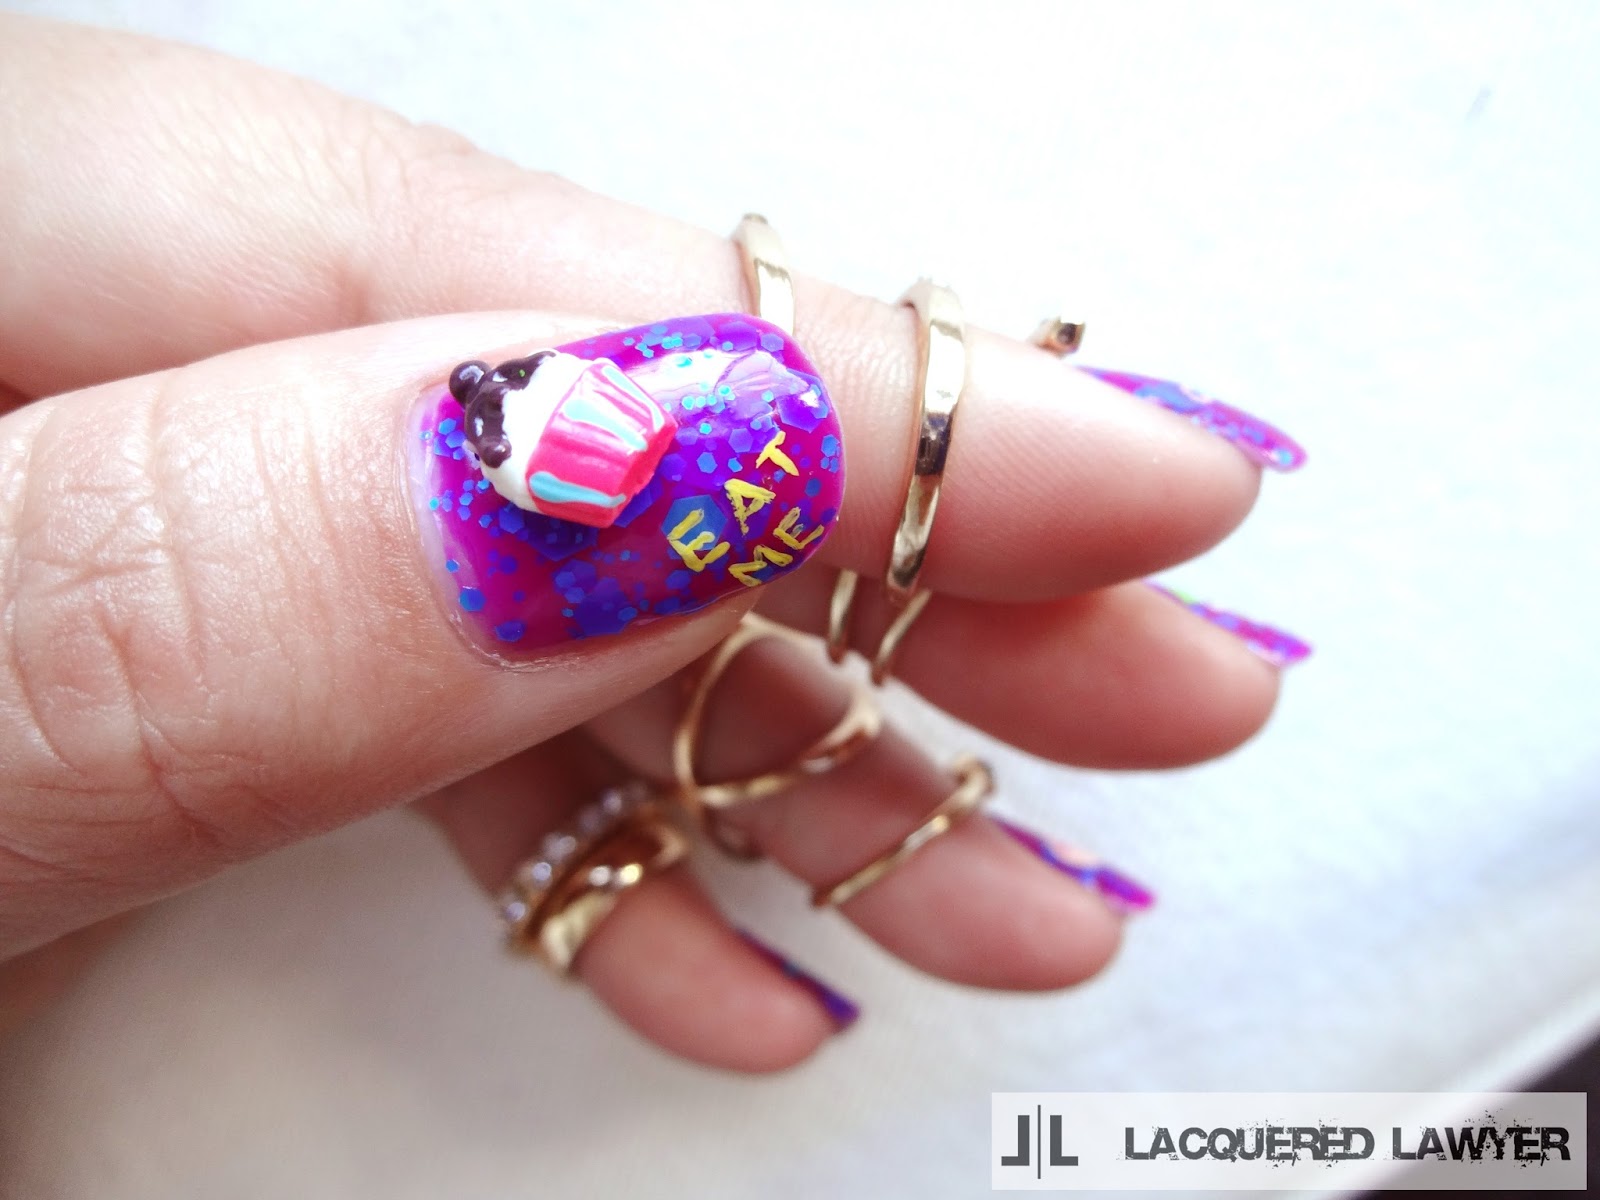
- Cupcake cabochon
- Krazy Glue
One of these days I need to try brush on resin for attaching cabochons. I've heard it helps embellishments stay on better, but for now I just use plain old Krazy Glue. Embellishments usually don't stay on longer than a day, but I paint my nails almost every day, so it isn't a big concern for me at this point. To create this mad look:
- Apply the base color. This bright violet polish with blue glitter is probably one of my new favorite colors. It is so bright and crazy looking, but so unique. I love it.
- Paint a stack of teacups on the index with acrylic paint. Paint the bottom cup first with light blue paint. Then, paint the light purple and light yellow cups stacked on top, slightly skewed. Add details to the cups once the paint is dry. Add a pink line and dots to the yellow cup, a thick teal stripe on the purple cup, and a yellow line and dots on the blue cup.

- Paint the Mad Hatter's hat on top of a teapot on the middle finger. Start by painting a light green Hatter's hat. Next, add a darker green stripe to the hat, and a white teapot under the hat. Add blue stripes to the teapot, and a white square to the brim of the hat. The acrylic paint I use has a lot of pigment, so while it doesn't take a lot for good coverage, it gets bumpy as it dries pretty fast and builds up. So, if you experience something similar, paint over the design with top coat before adding finer details like the numbers (10/6) on the hat. In hindsight, it might have been good to use top coat before adding the blue stripes for a smoother line.

- Paint a large light pink teacup on the ring finger. Then use a darker pink to add some details - the rim of the cup and a heart.

- Paint a teal teapot on the pinky. Start with the body of the teapot which should look like a large teardrop. Then paint a triangle and a dot for the lid. Add a swirled line for the handle and a curved line for the spout. The base of the teapot should be like three petal-like shapes. Add some yellow details to the pot - lines separating the lid and the base, and a scalloped line across the middle.

- Write "Eat Me" in yellow paint on the top corner of the thumb. Be sure to leave enough space to glue a cupcake cabochon last.

Now drink some tea, eat some cakes, and have a very merry un-birthday party!


No comments :
Post a Comment