Basic Stamp
Nail Stamping is the technique where a design is transferred via stamper from a nail plate to your nail.
Supplies:
- Stamping plate - metal plate with engraved designs
- Rubber stamper - transfers the design from the plate to your nails
- Scraper - most stamping kits come with a metal scraper, or you can use old gift cards instead
- Nail polish - stamping polish works best, but regular polish works well if it is very opaque
Note: This entire process must be done fairly quickly or the polish will dry and won't stamp properly.
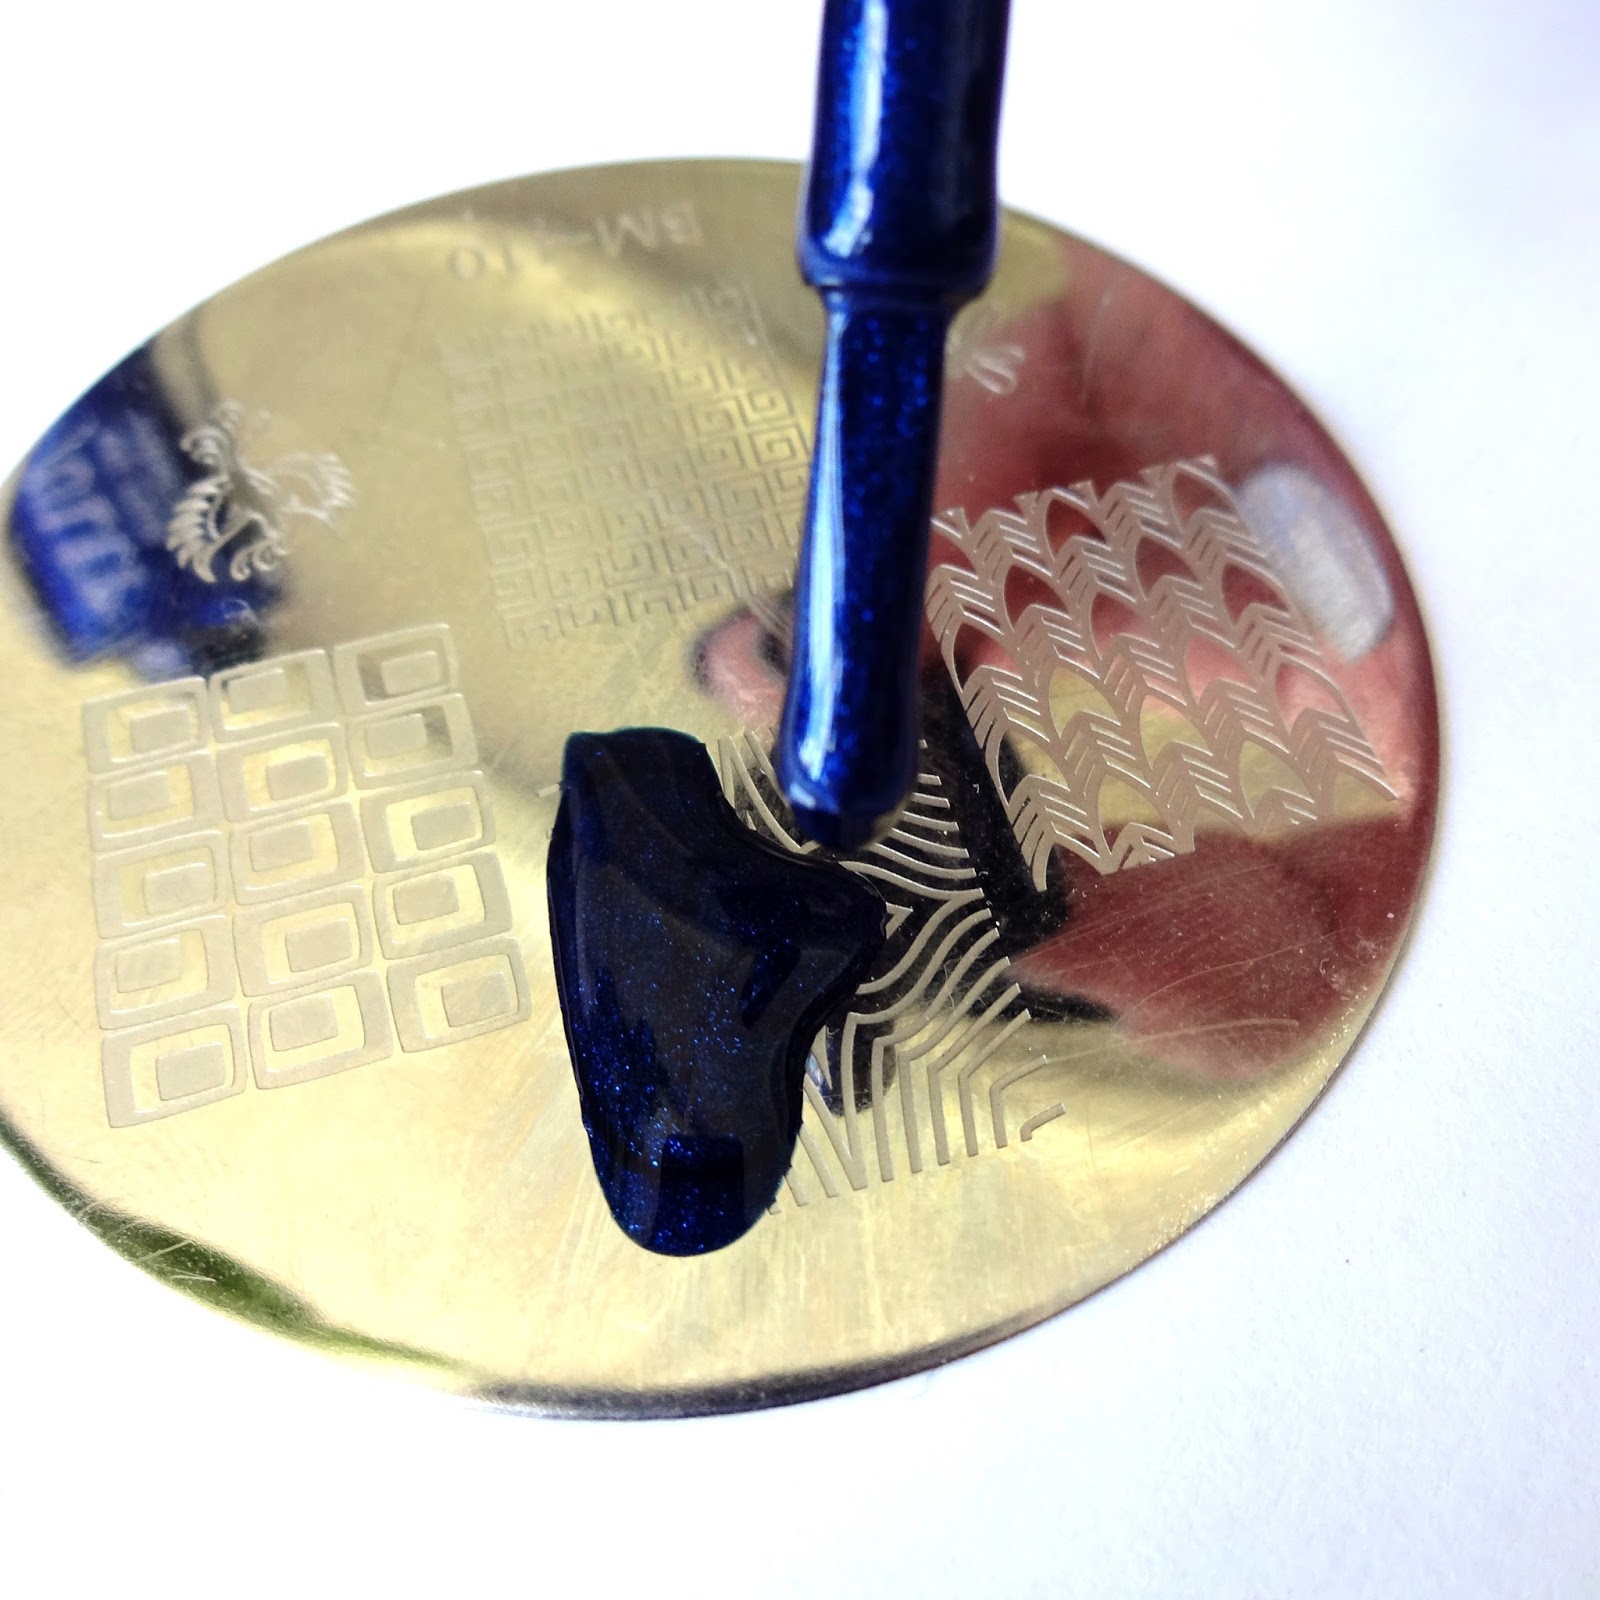

To scrape the excess polish, use either the scraper that comes with the stamper, or an old gift card. The scraper that comes with the stamper is metal, and can scratch the stamping plates, so I opt for old gift or membership cards. Most people have a ton of those laying around, so this is a good use for them. Hold the scraper at a 45 degree angle, and drag it across the plate to remove the excess polish. The pressure should be firm enough to clear away the excess, but not too firm that it scrapes away part of the design.

Roll the stamper across the design. You MUST roll! This is not like a normal stamp where you can simply press down on the design. Roll either left to right, or right to left, but do NOT roll back and forth. This is a one shot deal. Press the stamper down firmly as you roll so you pick up the design better.
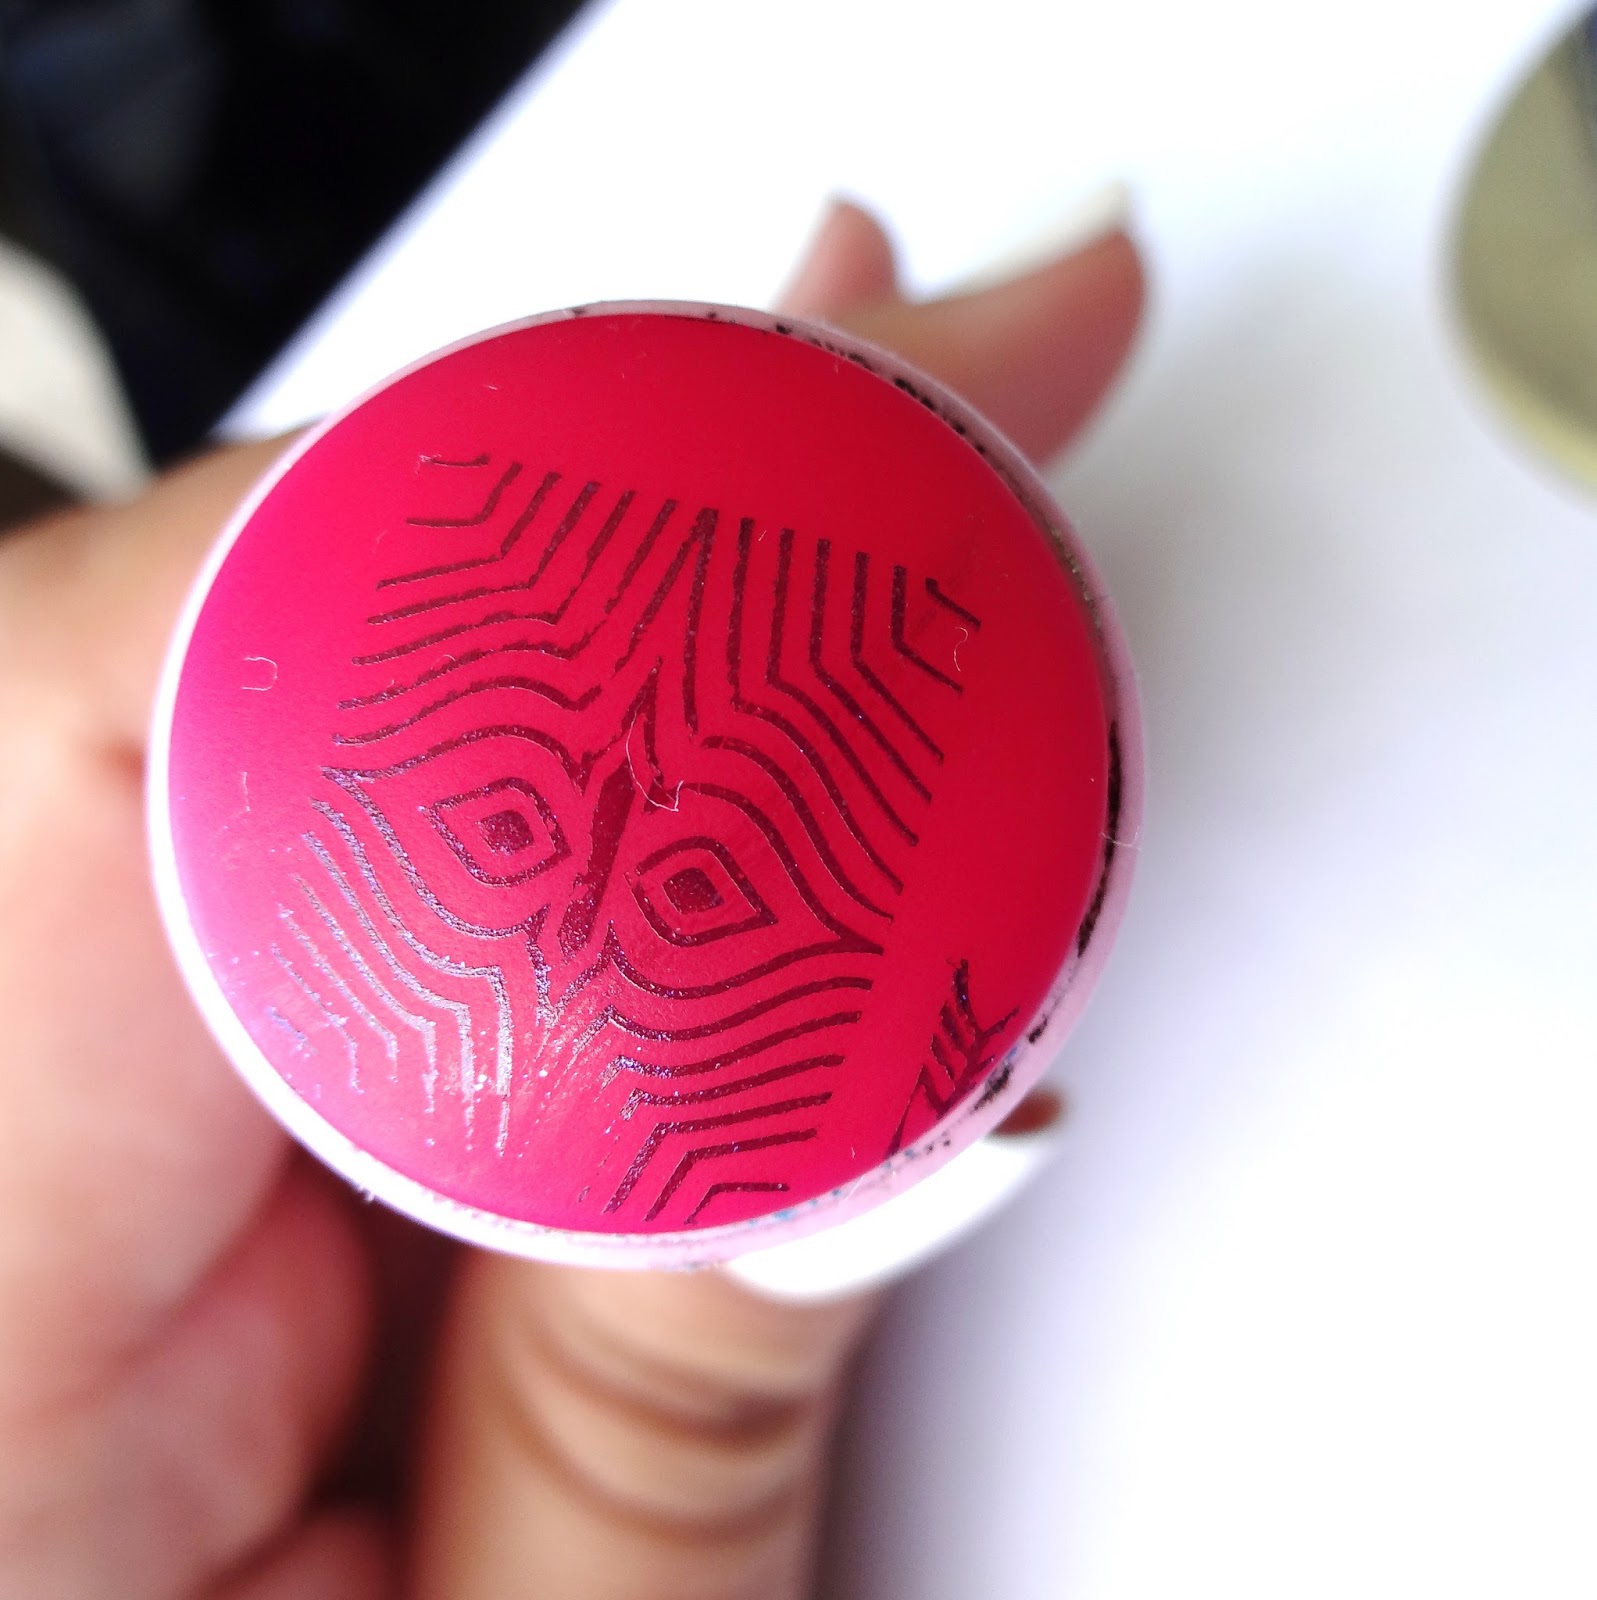
You should now have the design on the stamper. If part of the design is missing, clean the plate and the stamper with some acetone and repeat the process.
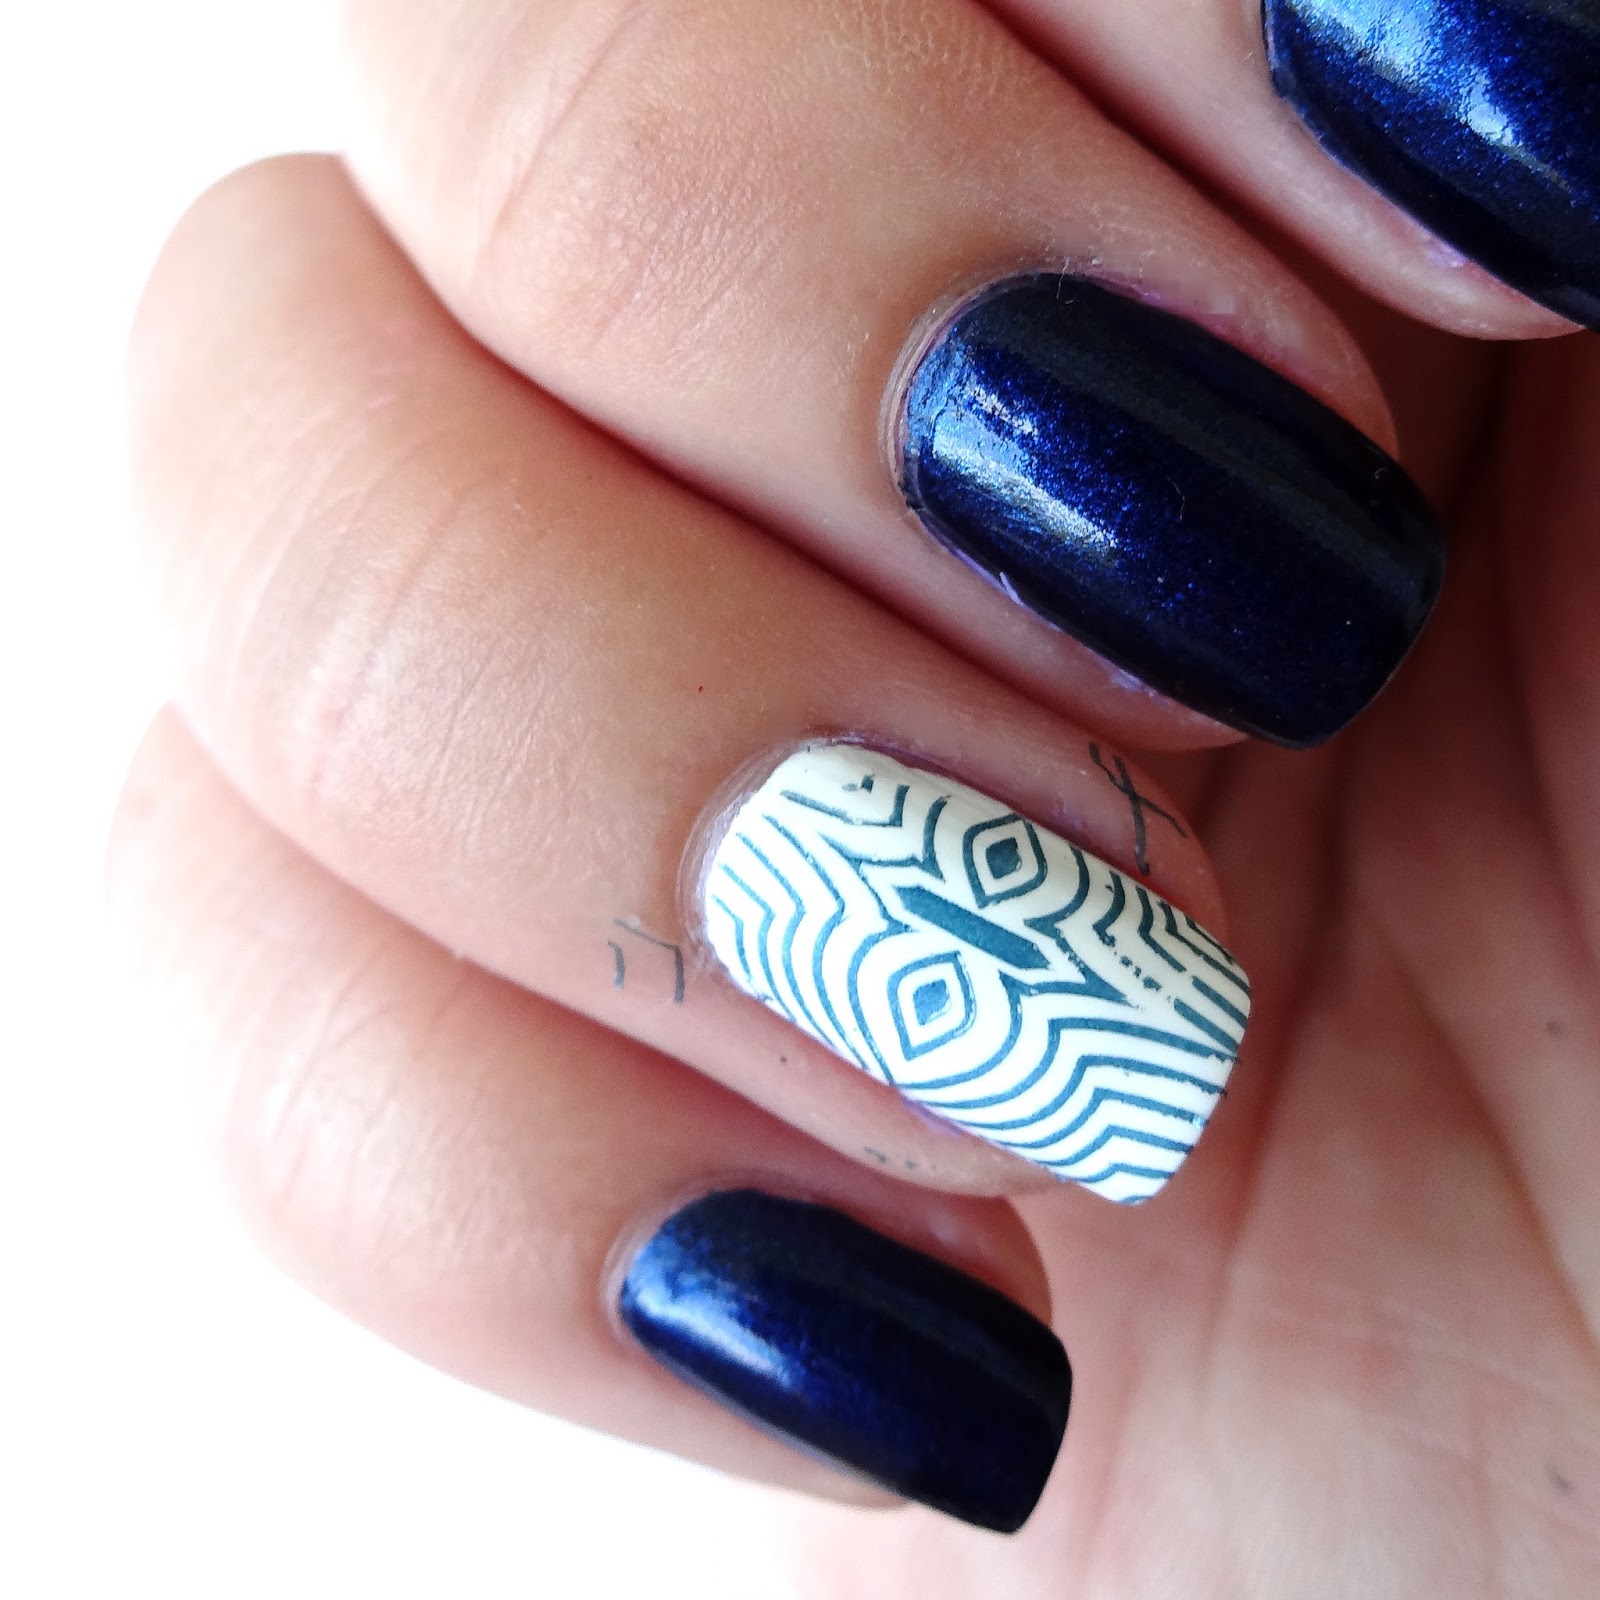
Finally, using the same motion you used to pick up the design from the plate, roll the stamper over your nail, pressing firmly.
When applying the clear top coat, try not to drag the brush across the design too much or it will pull and drag it down the nail. It is best to have a lot of top coat on the brush, and do as few swipes as possible for the first layer of top coat.
Most instructions will tell you to clean the plate with acetone in between each nail application, but I can usually stamp my whole hand before I need to clean the plate. I just keep filling and scraping until the design doesn't pick up clearly anymore, and then I clean the plate. But it is up to you.
Clean the plate and stamper with acetone when finished.
Reverse Stamping
"Reverse stamping" refers to the technique where the stamped design is colored in while still on the stamper, and a decal is created to apply to the nail.
Supplies:
- Supplies from "Basic Stamp"
- Dotting tool
- Tweezers

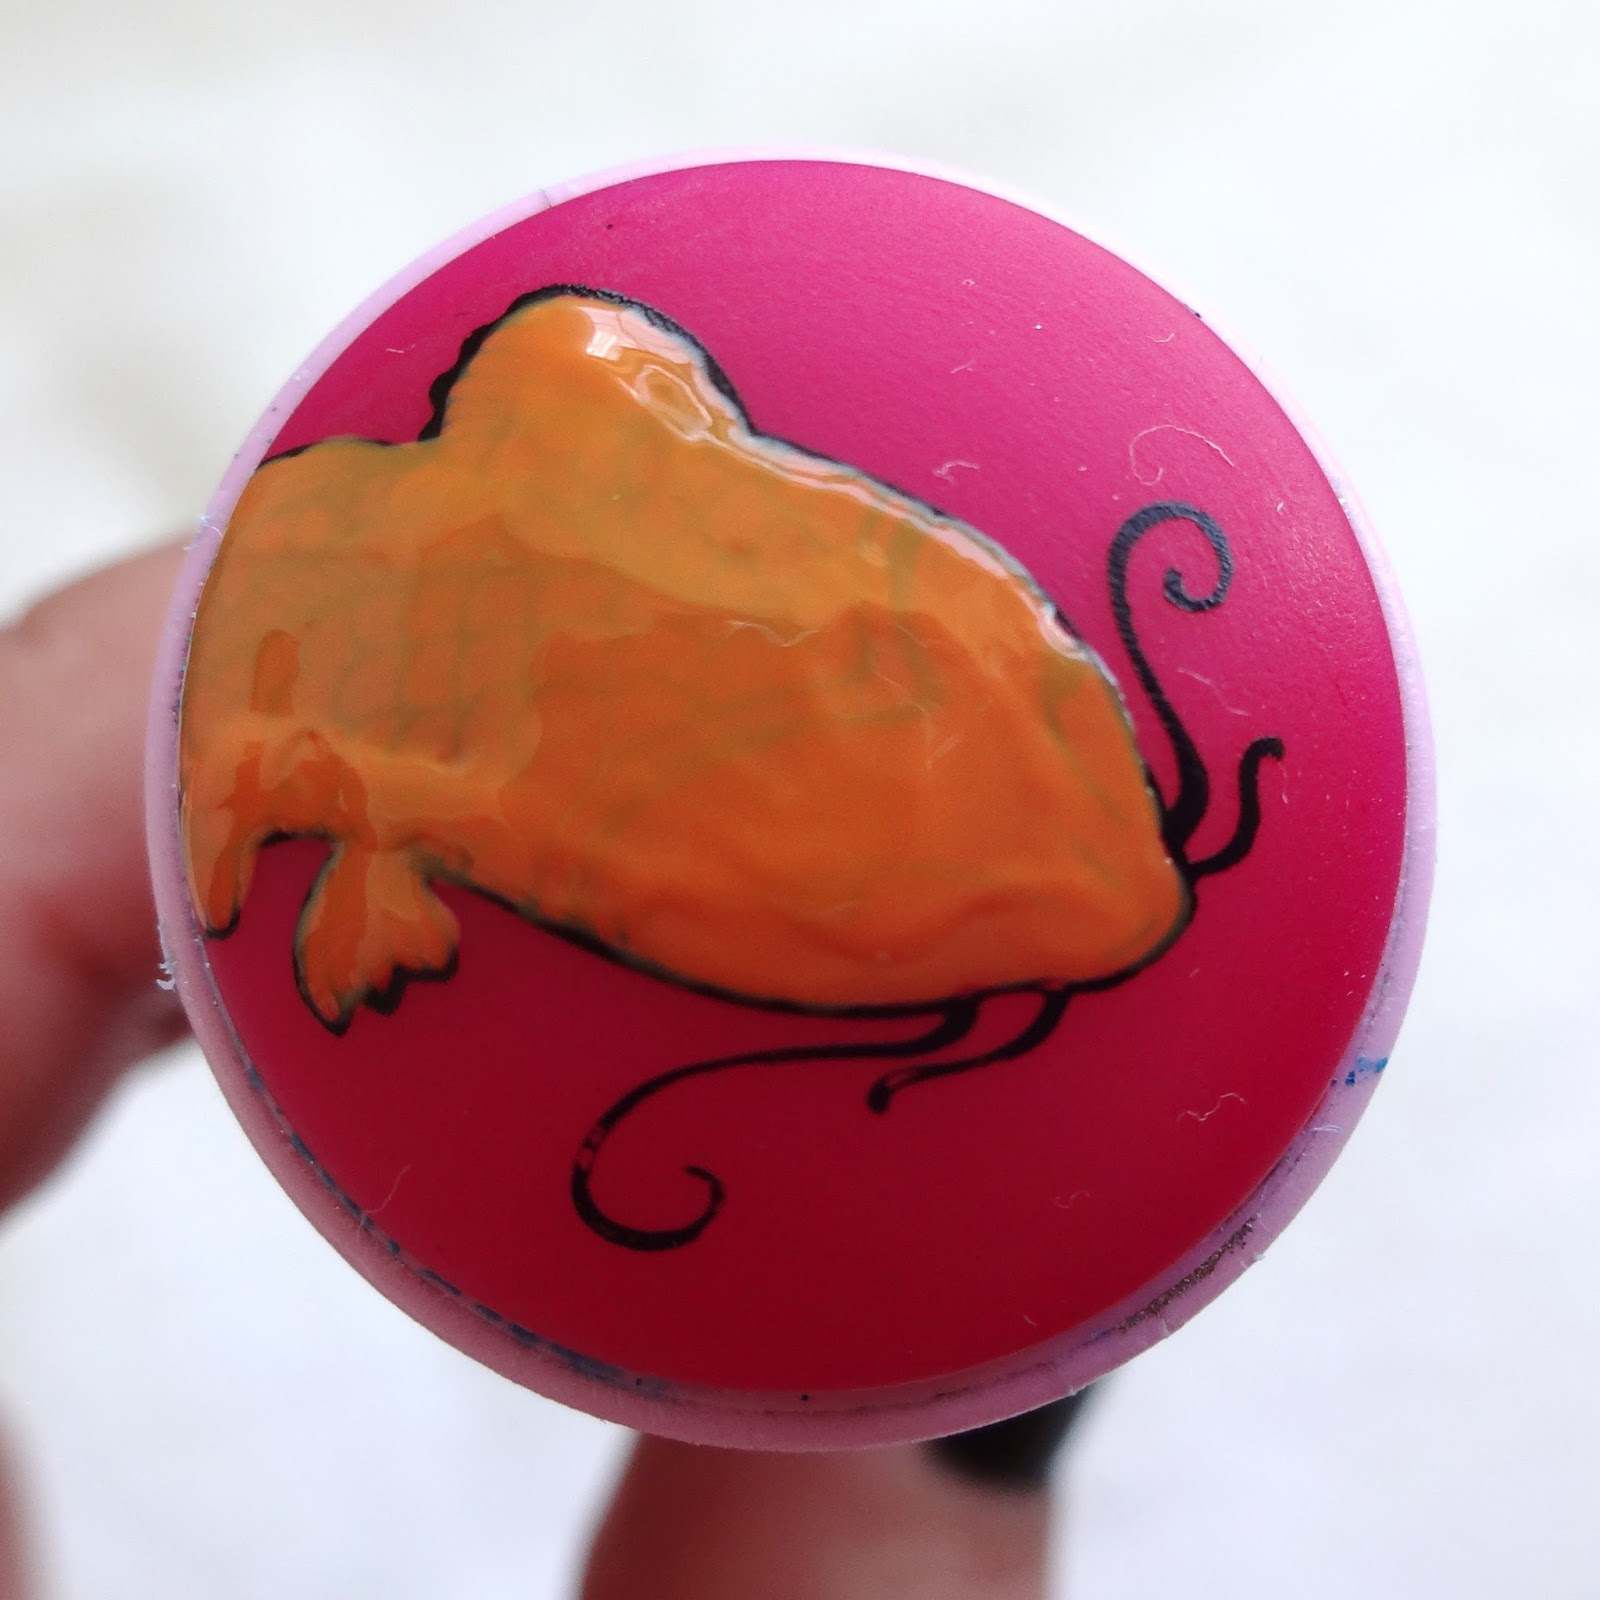
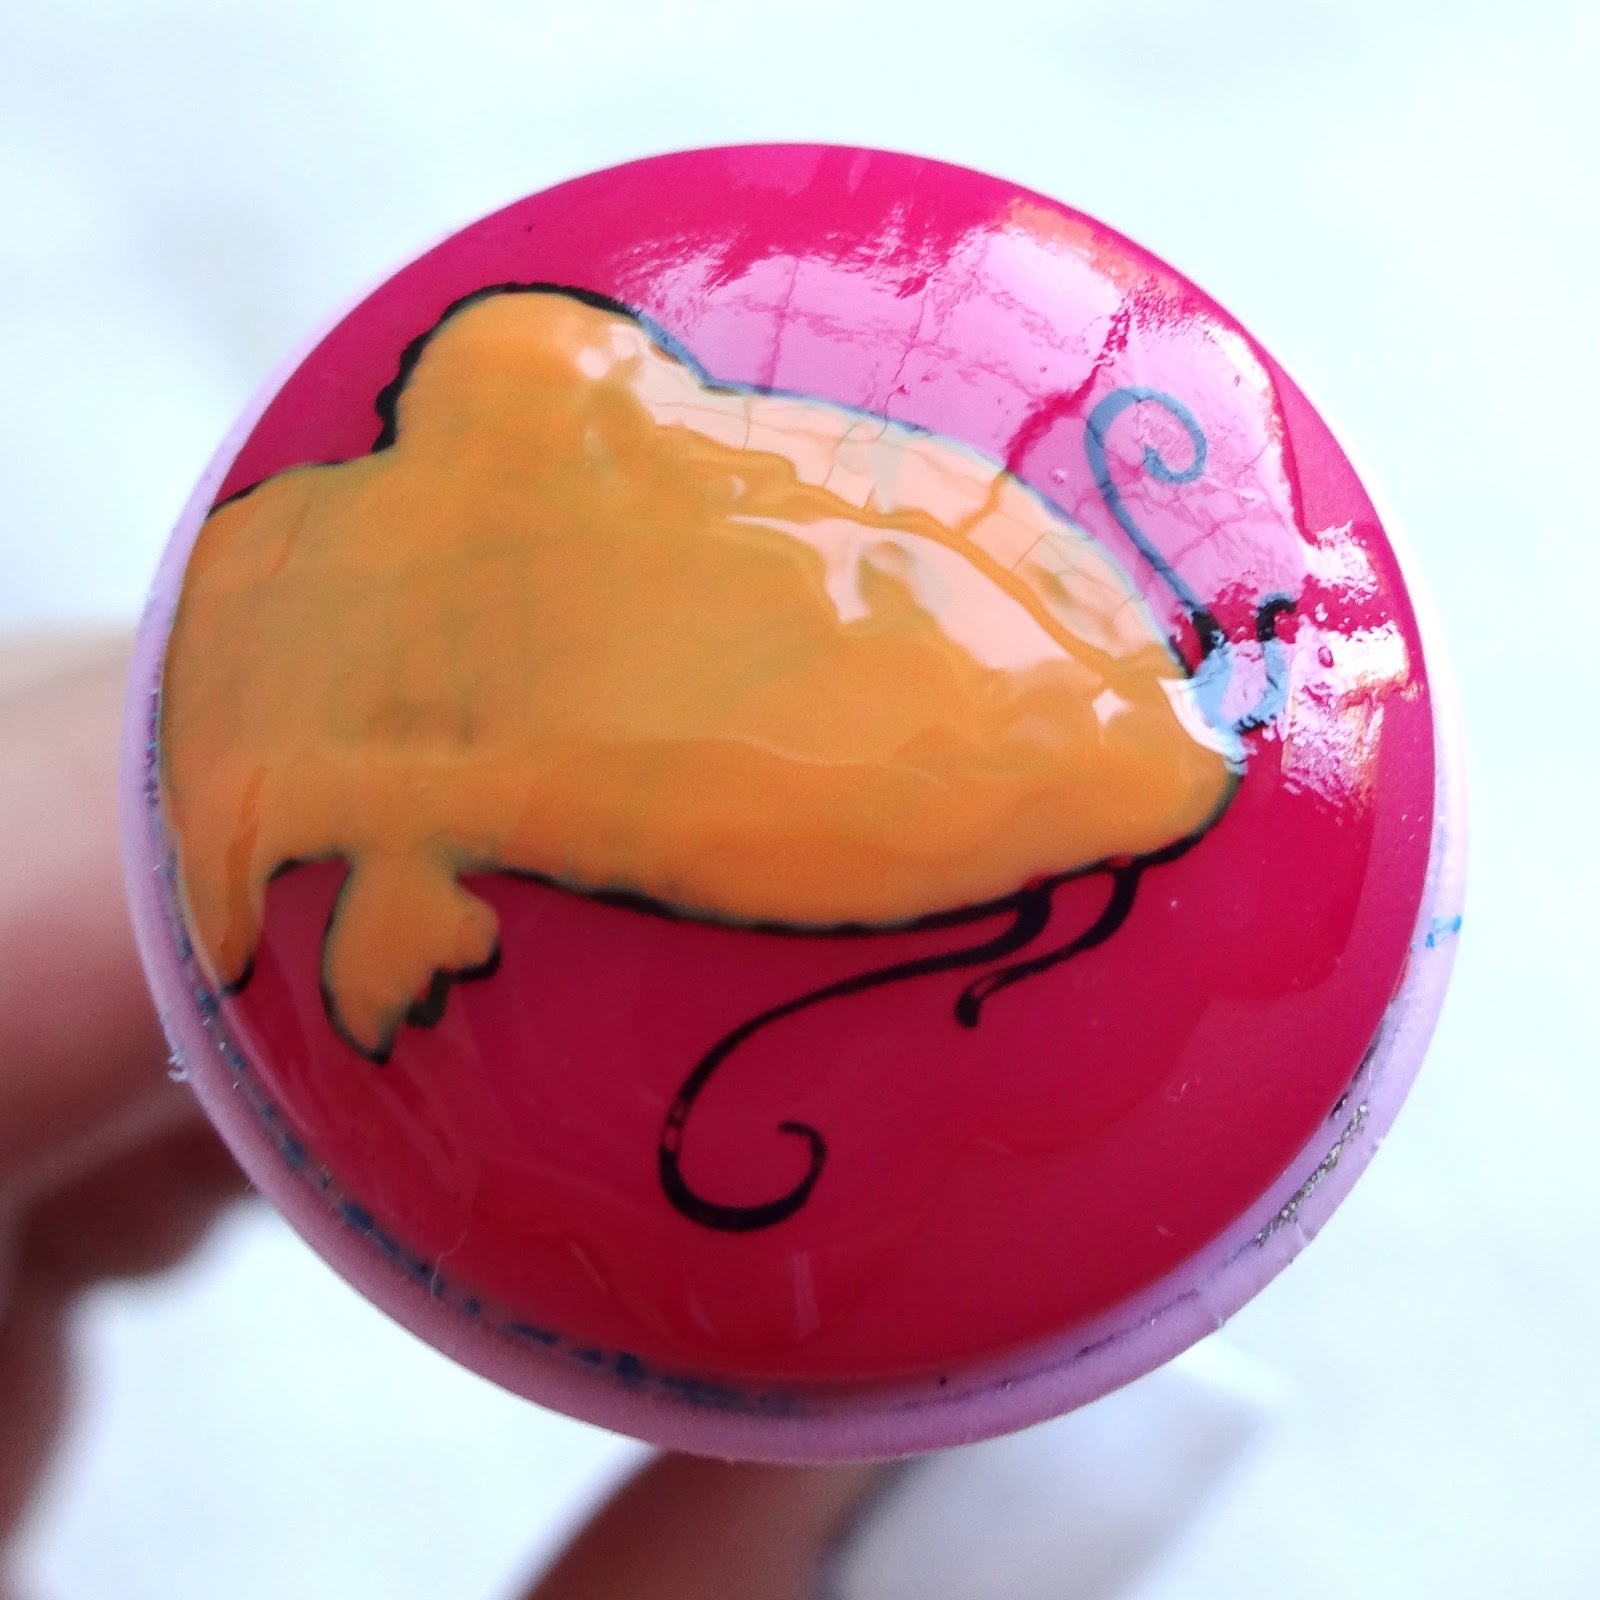

Using tweezers, gently remove the decal from the stamper. It is easier to run the tweezers under the design while pushing down into the stamp, versus peeling the design up off the stamper which can tear the design more easily.
When you flip the decal over, you'll see that it is now colored in and ready to go on your nails.
To apply to your nail:
- Coat your nail with clear top coat.
- Place the design on the nail, and gently press on the nail. Using tweezers or a toothpick is helpful to push the decal into the nail crease. Don't push too much, or you'll tear the decal. The wet top coat tends to make the decal a bit smushy, so once you've placed it, do not move it!
- If there are large pieces sticking out past the nail, you can trim it with some scissors.
- Use acetone on a nail brush to melt away any excess left over.
LeadLight Stamping
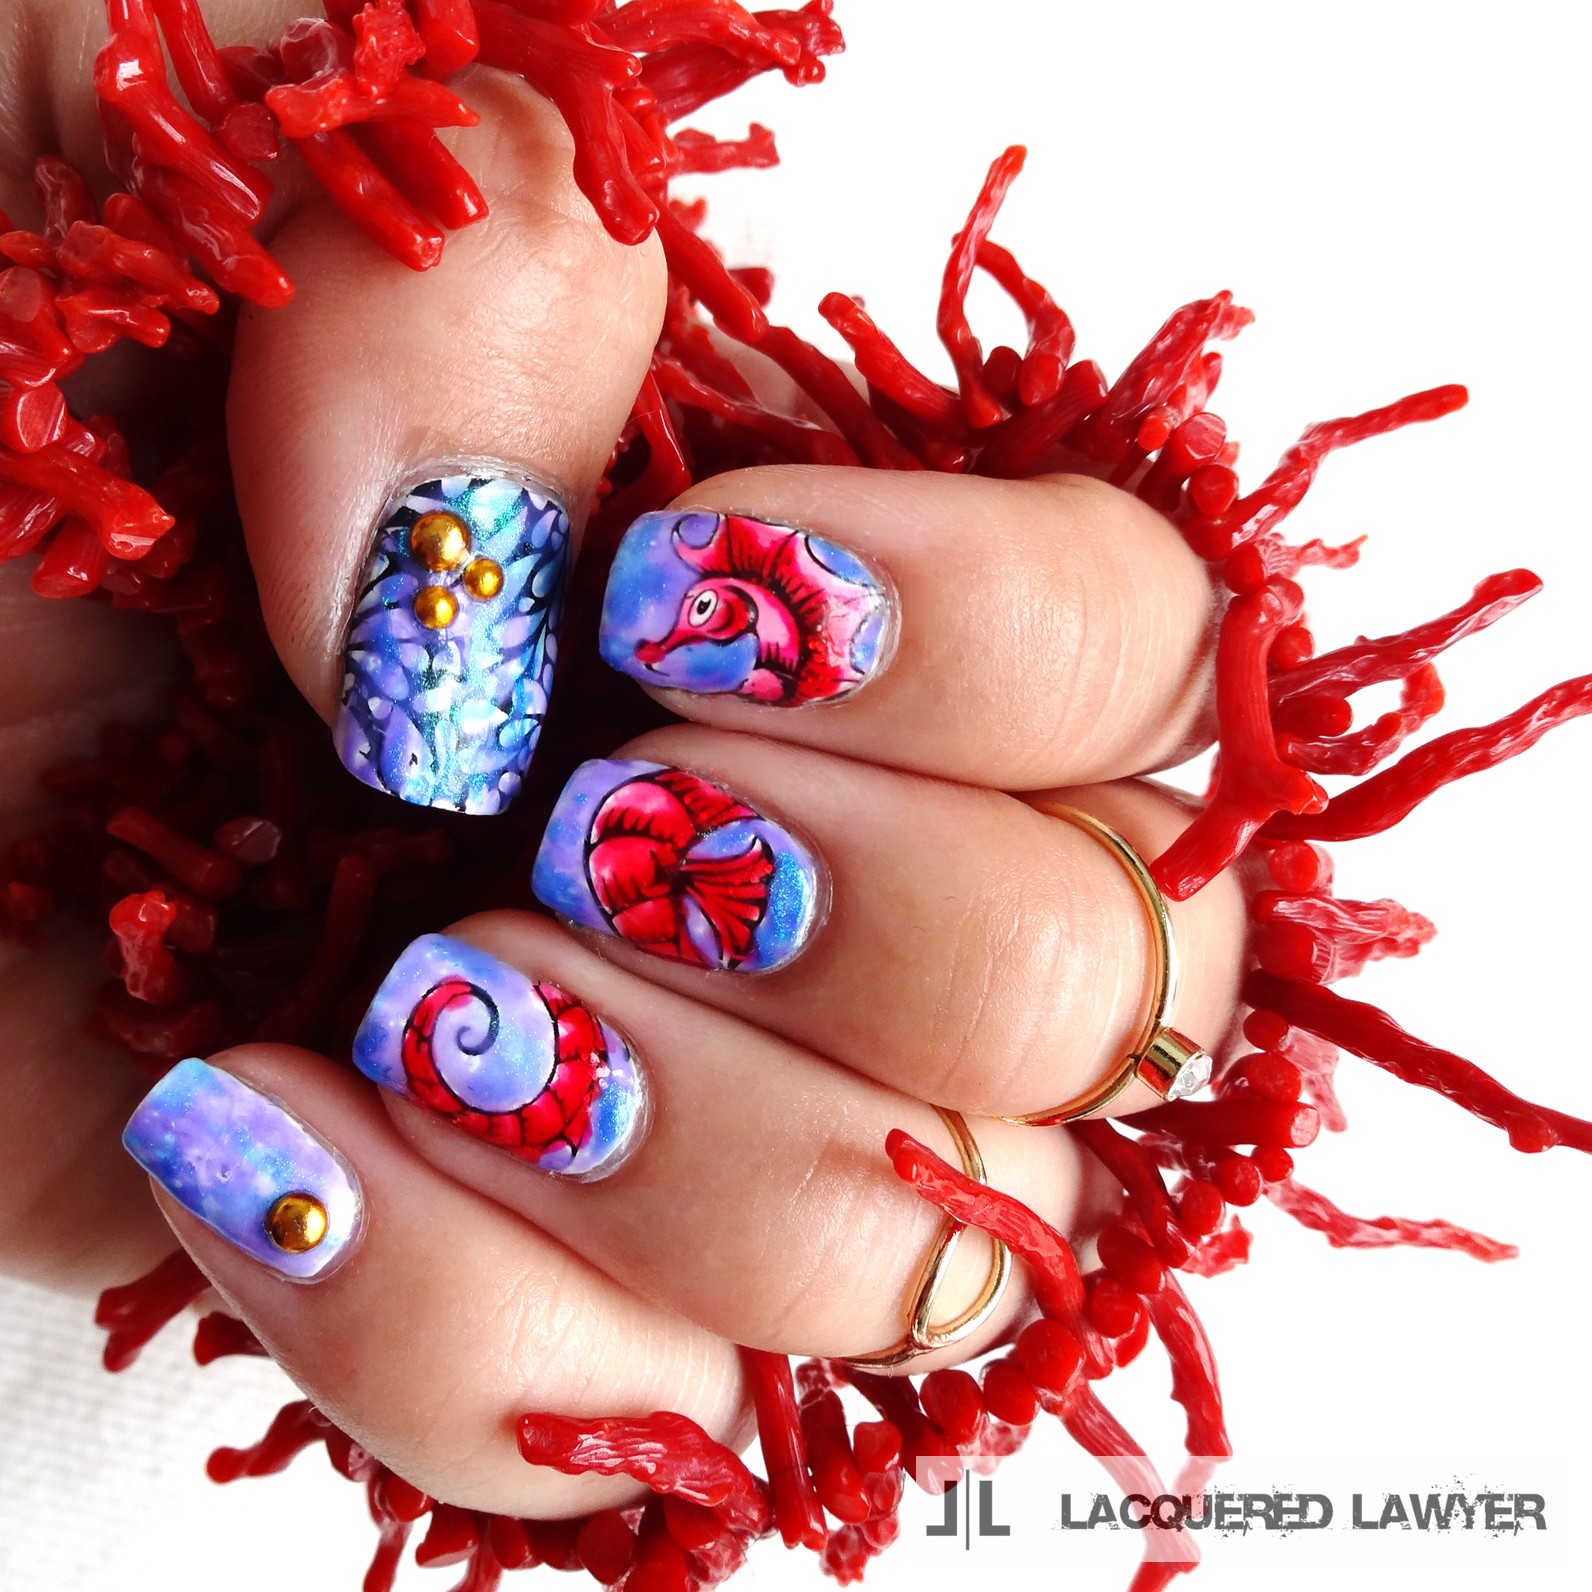
"LeadLight" stamping is the technique where a design is colored in on the nail, using sheer polish. This creates the look of reverse stamping, but is faster since you don't have to wait for all the drying time. Layering the sheer polishes also gives off a water color effect.
Supplies:
- Same as "Basic Stamping"
- Dotting tool
- Sheer polishes
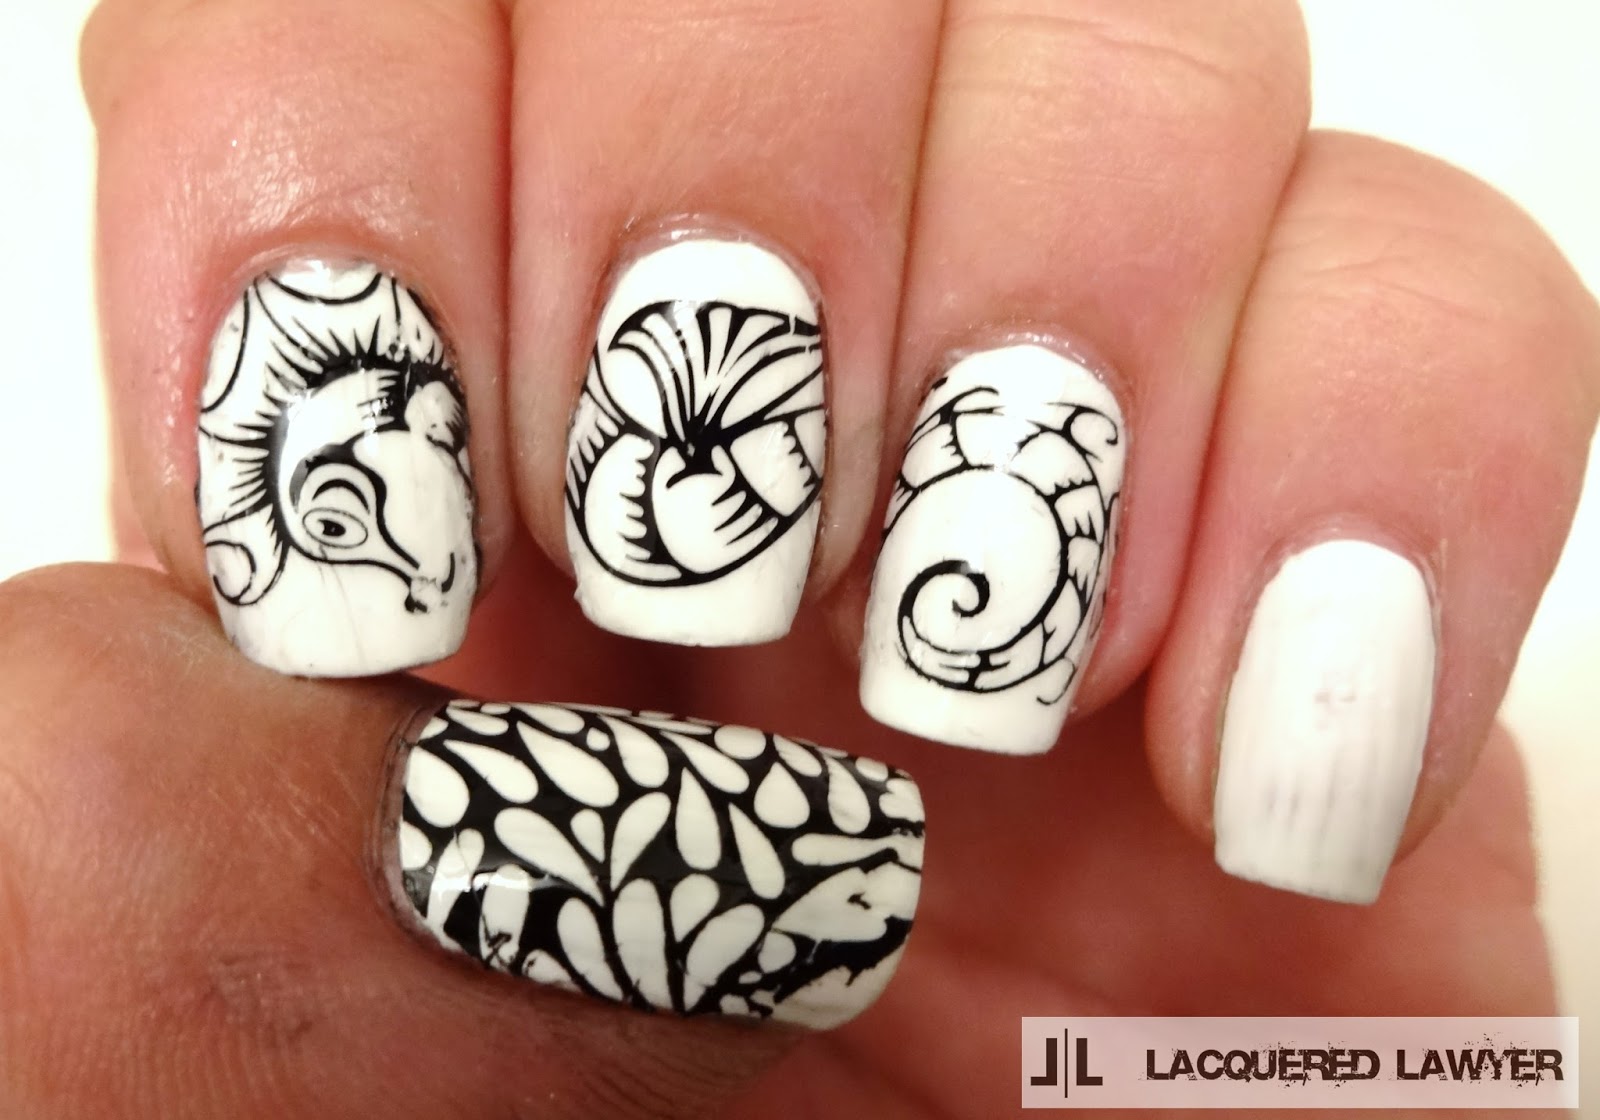
Before starting with the color, cover the design with top coat so the design won't get smudged.

Using a dotting tool and sheer polish, start to color in the design.

Continue to layer colors until you get the desired effect.

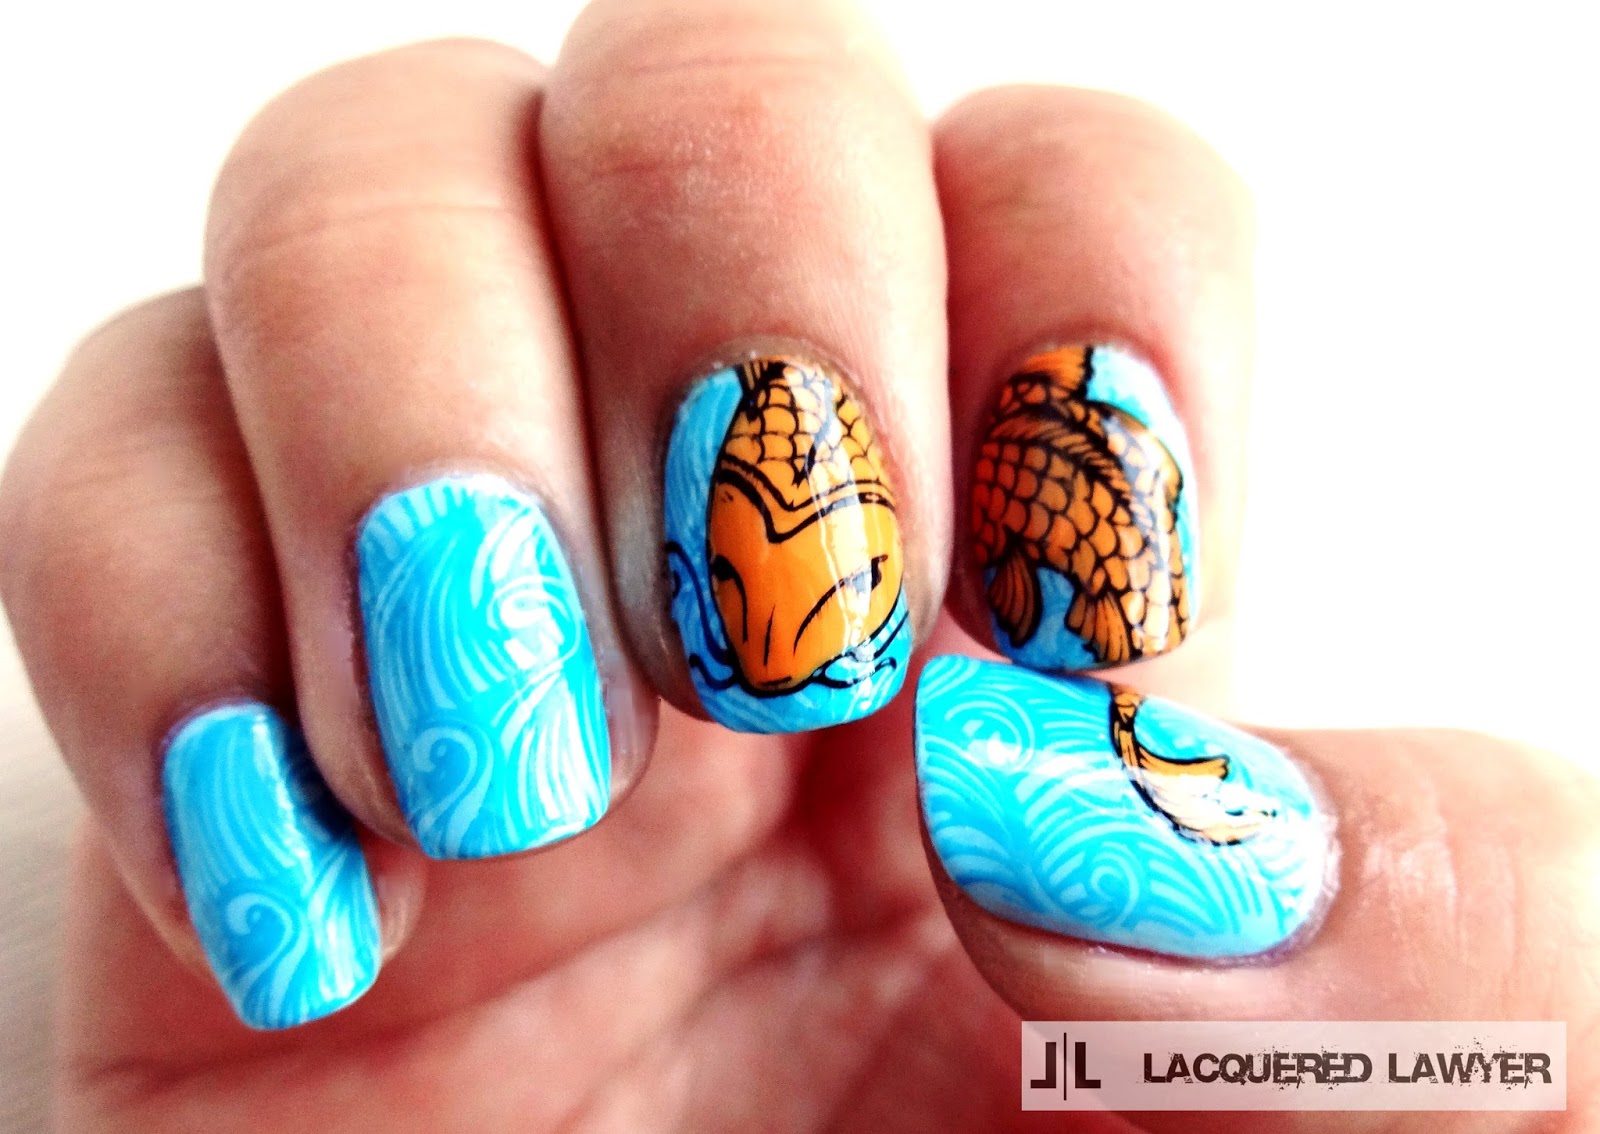
Where did you find the fish stamp? love it!
ReplyDeleteThe koi stamp is from Messy Mansion, plate MM29:
Deletehttp://www.messymansion.com.au/products/image-plate-mm29.html
It is a cool plate. The seahorse is on there too! :)