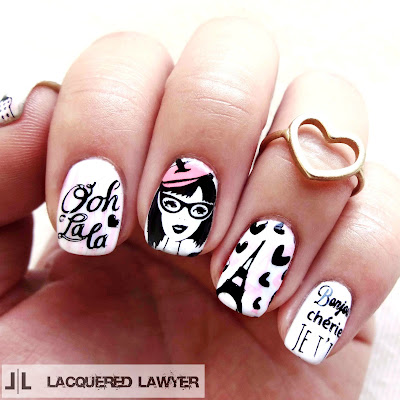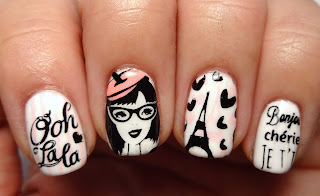
I've got Paris on my mind. I'm supposed to go there next month, but the trip may be delayed until January now :( So for now, I'll have to settle for Paris nails until I know what will happen. This design uses some basic and reverse stamping from the Parisian Perfection plate by +Bundle Monster.
 For the base color of this design, I used Button Down from Bundle Monster's new Fundamentals Gel Polish Collection. This is my first experience with gel polish. I avoided it at first because I was painting my nails every other day, so I didn't really need the longevity that gel provides. I also avoided it because it required special base and top coats and a UV light. Enter the Fundamentals Collection! No base or top coats required. Just two coats of this speed gel, cure it with this cute little travel-sized UV/LED light, and you're done!
 Since this was my first time using gel polish, one of the things I was really surprised about was how easy it is to control the polish. It was super easy to paint clean lines, so no cuticle clean up was required. Another bonus of gel polish, if you mess up your stamping, you can just wipe it off with nail polish remover without removing the gel. I'm excited to see how chip resistant gel polish really is.
Another fun first with this design...I used squishy silicone stampers. Bundle Monster has a new line of replaceable squishy stamper heads for their rectangular stamper. Instead of rolling on the design like with a regular stamper, you can just press straight down on the nail. This makes lining up designs sooooo much easier. I highly recommend them.

- Bundle Monster Fundamentals Gel Polish - Button Down
- Bundle Monster Stamping Lacquer - Black Noir
- Sally Hansen Triple Shine - Pixie Slicks
- Base and top colors
- Bundle Monster stamping plate - Around the World BM-XL153 (Parisian Perfection)
- Rubber stamper
- UV/LED light
- Bundle Monster rectangular stampers
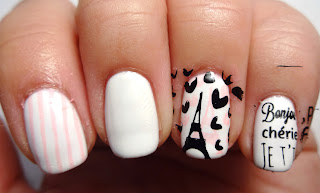
It is hard to tell from the lighting in the picture above, but there is some pink stamping under the black. It was hard to pick up on the camera since it is a pastel color. To create this look:
- Apply a white gel base color.
- Use a light pink polish to stamp stripes on the index finger and the Eiffel Tower on the ring finger.
- Re-stamp the Eiffel Tower on the ring finger with black polish, slightly off center from the previous stamping. Next, stamp the French words on the pinky with black polish.
- Use the reverse stamping method to stamp the French girl. Stamp her in black, then paint in her beret with pink.
- Stamp "Ooh La La" on the index finger with black polish.
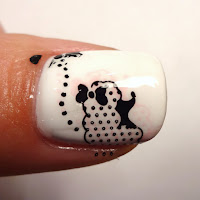
- For the thumb, stamp the poodle, first in pink then in black.


Ooh la la...I love these!
ReplyDeletexo Natasha
FreeUrCloset.com
Thank you!
DeleteThank you so much for posting this! I had been trying to figure out the size of the poodle and couldn't find an image of it stamped anywhere. Love what you did with the light pink and then black over the top!
ReplyDeleteThe fashion ideas are so creative and inspiring! It also made me think about how learning environments can be different for everyone. Many students today feel that remote learning is better than classroom learning because it offers flexibility and allows them to study at their own pace.
ReplyDelete