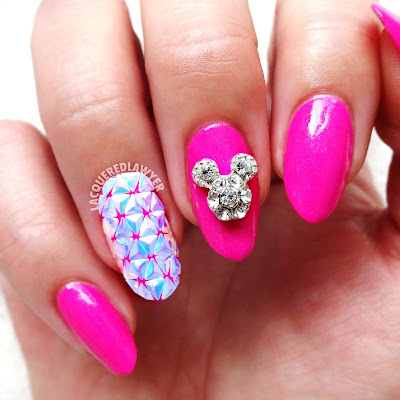
Even though there aren't a whole lot of rides at Epcot, I really enjoyed that park for all the food! I wanted to eat everything, but my stomach was at max capacity. These nails are inspired by the iconic Epcot geosphere.
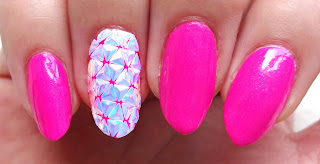
I received these iridescent triangle sequins (#40992) from Born Pretty Store in exchange for an honest review. There are nine different color options, but I chose the white/blue color (#7) since it reminded me of the Epcot geosphere the most. The triangles are isosceles (which means two sides are longer than the third), so doing a full coverage nail takes a little bit more planning. But since they are plastic, they can also be cut with clippers. When sealed on with top coat, the triangles adhere well to the nail, and the top coat does not affect the iridescent quality or facets.
For these or other nail art supplies, use coupon code GHLQ10 for 10% off.
Polish Used:
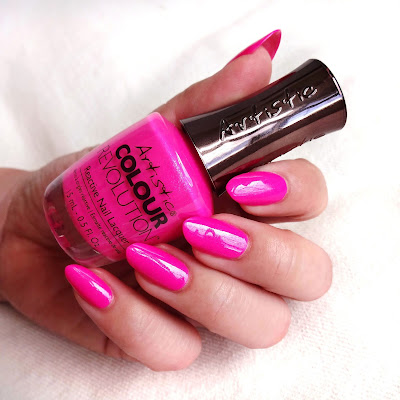
- Artistic Colour Revolution - Don't Be Shady
- Base and top coats
- Gel top coat
Other Supplies:
- Iridescent triangle sequins
- Mickey head charm
- Krazy Glue
- UV/LED lamp
- Clippers
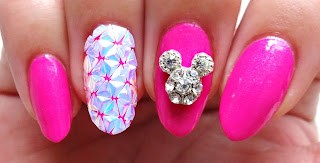
In hindsight, I wish I would have painted a white background for the Epcot nail to match the sequin color more, so you might want to try that. But the bits of pink peeking out also look great. To create this look:
- Apply the base color using Don't Be Shady.
- Cover the entire ring finger nail with iridescent triangle sequins. For the easiest application method, start with a layer of gel top coat. Do not cure! Place all the sequins on the uncured nail, so the pieces can be moved around. If a sequin doesn't fit perfectly at the edge of your nail, don't worry. Once positioned, cure the polish, then apply another layer of top coat and cure again. Using clippers, cut any sequins that stick out too far. Then apply and cure another layer of top coat to seal the cut edges.
- Glue a Mickey head charm on the middle finger.


No comments :
Post a Comment