I saw these nails on the @justdisneybeauty Instagram account, and I had to try them for myself! I love Disney, so combining that with Halloween is a win win.
If you've never been to Disneyland during Halloween, you need to go at least once. All the Halloween decorations are great.

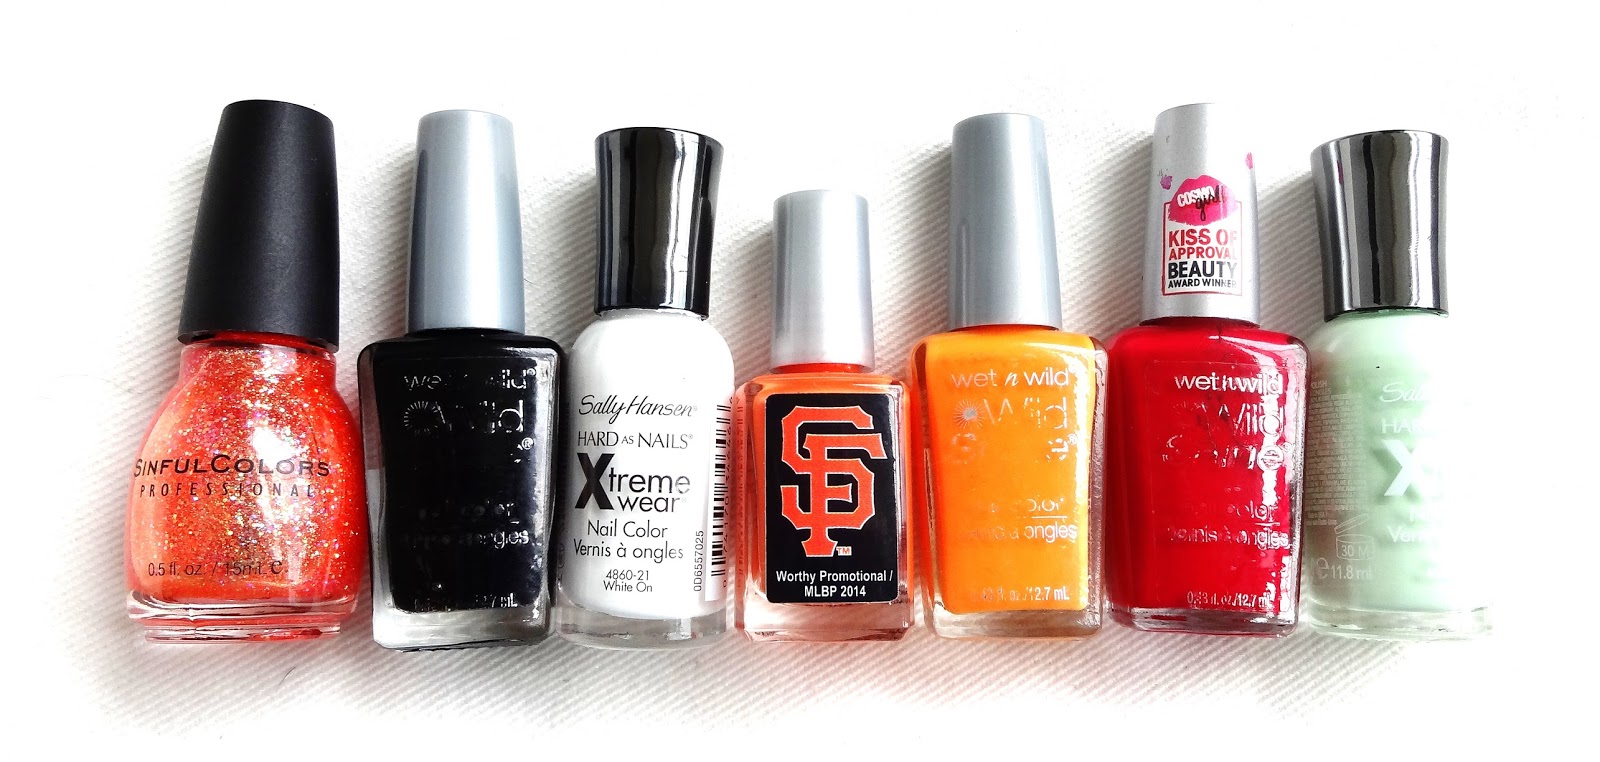
Polish Used:
- Sinful Colors - UFO
- Wet n Wild - Black Crème
- Sally Hansen Xtreme Wear - White On
- SF Giants - Orange
- Wet n Wild - Sunny Side Up
- Wet n Wild - Red Red
- Sally Hansen Xtreme Wear - Mint Sorbet
- Nail art brush
- Heart and star rhinestones
- Red and orange round rhinestones
- Base and top coats
There are a lot of different details to paint in these nails, so sometimes the steps below will have a lot going on. To create this look:
- Apply a clear base coat. Most of the time this step is implied, but since it is essentially the base "color" for this look, I'm pointing it out.
- Use UFO to create a glitter gradient to the tips. Paint one coat halfway down the nail. Paint a second coat halfway down the orange glitter, and a third another half of what was just painted. In other words, the first coat is half the nail, the second is a quarter, and the third is an eighth.
- Use black polish to paint the first set of details - pumpkin on the pinky, black drip on the ring, bat with Mickey ears on the middle, and Mickey head with "Halloween" written below on the index.
- Add a white circle on the middle finger (this will be Jack Skellington's head), and a ghost body on the thumb.
- Use an orange polish to add a face to the jack-o-lantern on the pinky, a Mickey head to the ring finger, and a face to the black Mickey head on the index. Paint a red bowtie under Jack's head on the middle finger.
- Use a lighter orange like Sunny Side Up to paint stripes on the pumpkin on the ring finger, with swirls in the ears, and add a green stem. Paint a green top hat on the black Mickey head, and add an orange stripe at the base. Add two orange dots for the bat's eyes.
- Use black polish to paint a face on the orange Mickey head, paint a face on Jack Skellington's head, add triangles to the sides of the eyes on the black Mickey head, and paint a face and ears on the ghost on the thumb.
- Use orange polish to add triangles to the sides of the orange Mickey head's eyes, and paint a bow on the head of the ghost. Add a black stripe down the middle of the bow.
- Last but not least, add various heart, star, and round rhinestones to the nails, and seal them on with top coat.


No comments :
Post a Comment