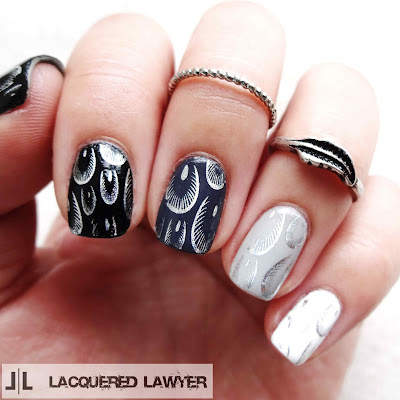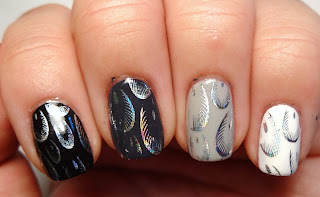
If you follow me on Instagram, then these are the nails I was talking about the other day. I did a monochromatic base, then added some holo feather foil on top.
I received the holo peacock feather foil from Born Pretty Store in exchange for an honest review. I've never used a foil to cover the entire nail before, so this was a first. There were some issues with wrinkling since your nail is not a flat surface, but since there is a lot of clear space, it didn't effect the design. My only complaint is that the edges started to peel, but that can probably be avoided with a few extra coats of top coat (it could also be the foil glue I used). I like that there are different sizes of feathers, and the holo shows up nicely. I need to think of different ways to incorporate this type of foil into designs now.
For this or other nail art supplies, use coupon code GHLQ10 at Born Pretty Store for 10% off your entire purchase.

- Sally Hansen Insta-Dri - Black to Black
- Sally Hansen Insta-Dri - Grease Lightening
- Forever 21 - Sombre Overcast
- Wet n Wild - French White Crème
- Base and top coats
- Holo peacock feather foil
- Foil glue
- Foil sealant
This was a really fast and easy design to do. To create this look:
- Apply the base colors - Thumb and index in black, middle in Grease Lightening, ring in Sombre Overcast, and pinky in white. If you have more grey polish to add to the range, you can swap out the index for a dark grey and leave the thumb as the only black nail.
- Apply foil glue to all nails, covering the entire nail. Once tacky, apply the holo peacock feather foil, then seal and coat with top coat.


No comments :
Post a Comment