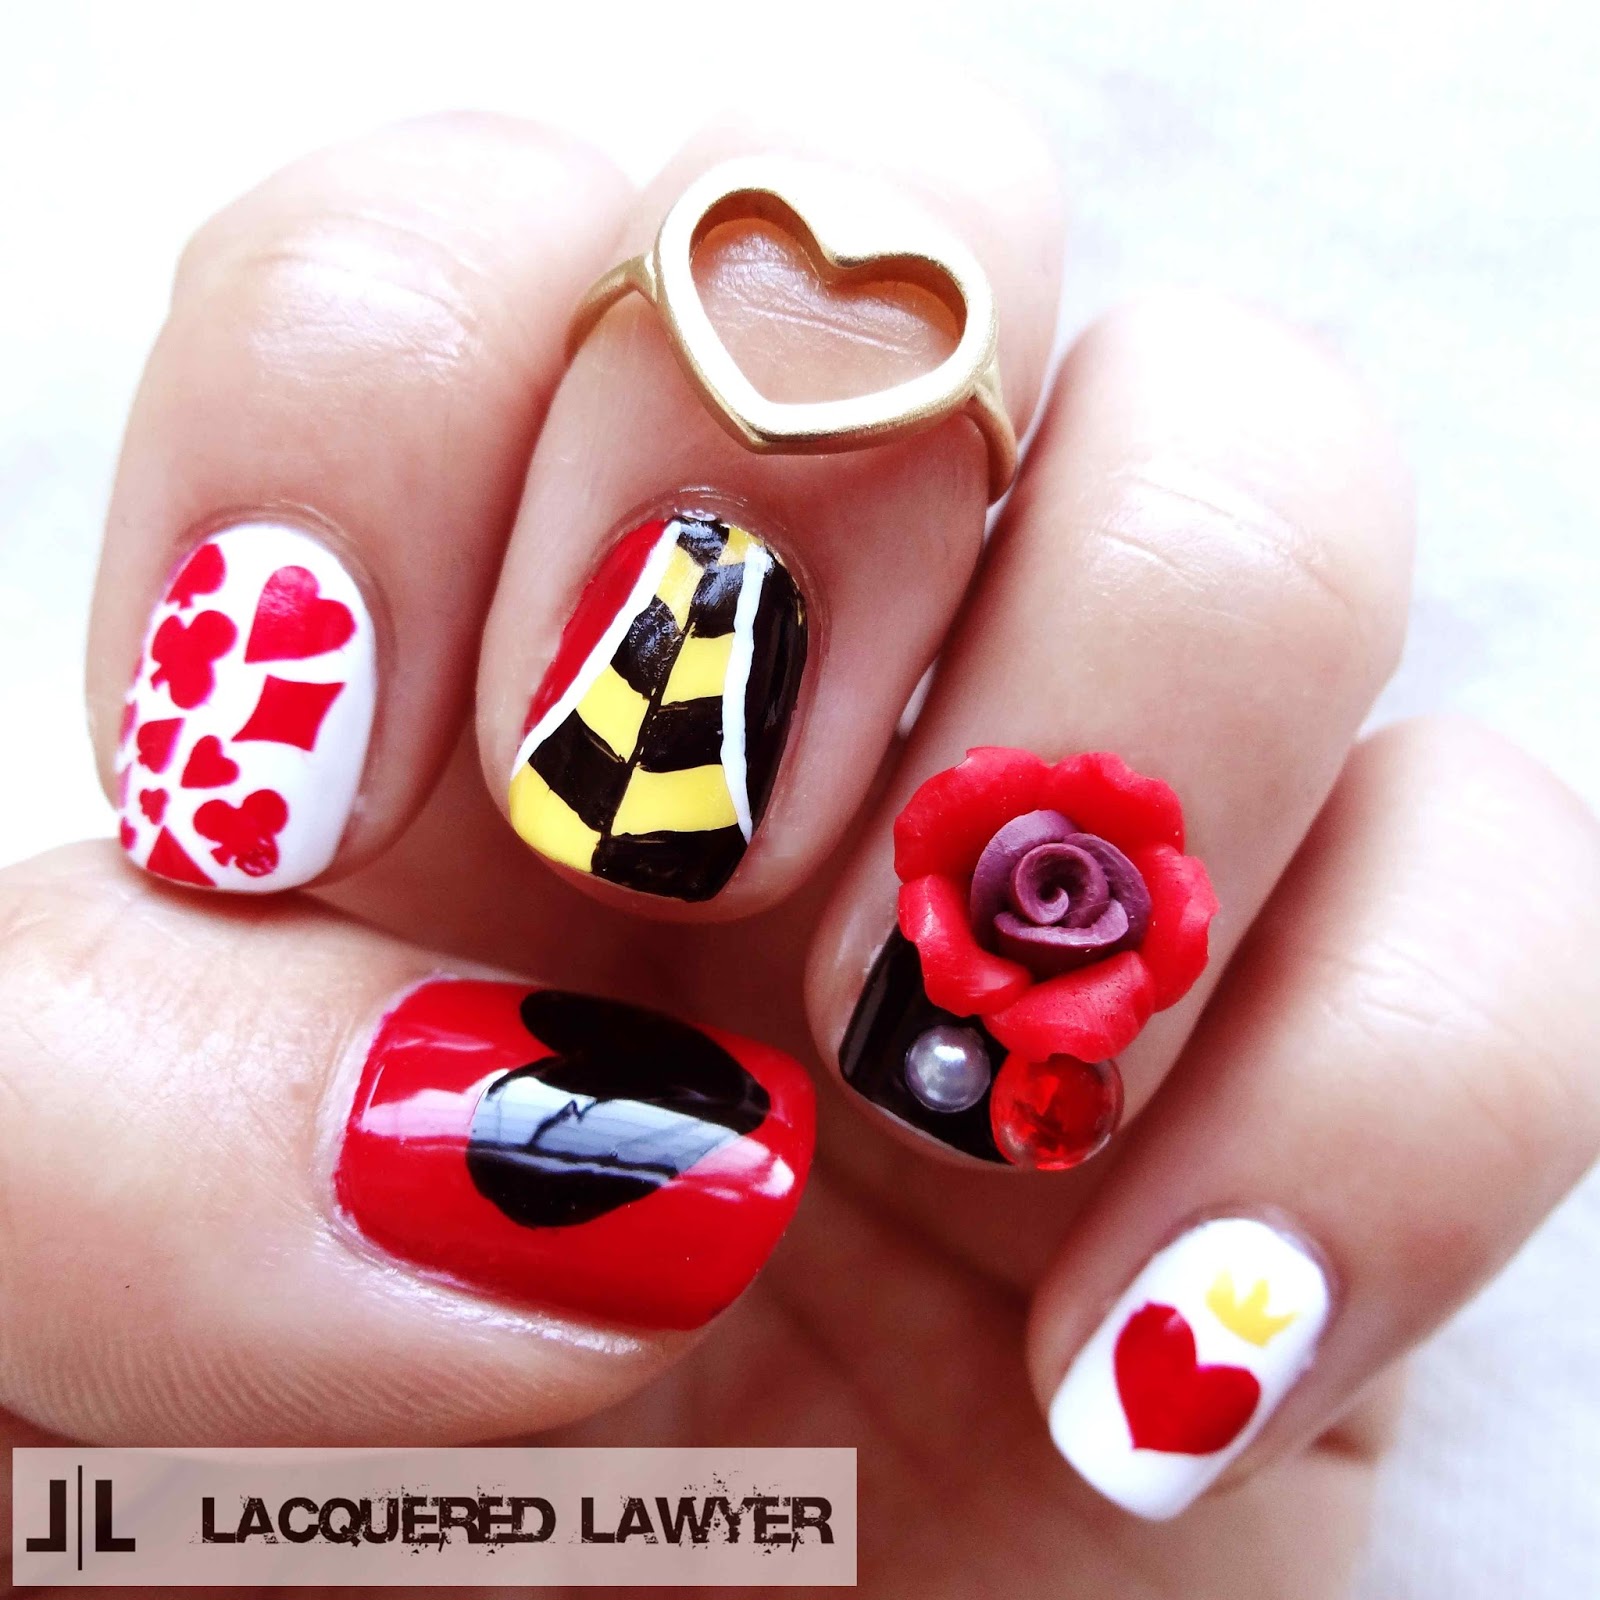
As I mentioned yesterday, here is another Alice in Wonderland themed nail design! Again, these are not part of my official Disney series since I didn't use the Beautifully Disney polishes, but they are still very Disney. For this look, I used a combination of stamping, freehand painting, and 3D elements.

- Wet n Wild - Red Red
- Wet n Wild - Black Crème
- Sally Hansen Insta-Dri - Lightening
- Sally Hansen Xtreme Wear - White On
- Base and top coats
- Bundle Monster stamping plate - BM19 (card suits)
- Rubber stamper
- Fine nail art brush
- 3D elements - Fimo rose, pearl, and red rhinestone
- Krazy Glue
Who doesn't love the Queen of Hearts? Maybe the people whose heads she chopped off I guess (so brutal). But it is definitely a fun nail to paint. To create this look:
- Apply the base colors - index and pinky in white, middle in Lightening, ring in black, and thumb in Red Red.
- Use a fine nail art brush to paint the Queen of Hearts dress on the middle finger.
- Paint black diagonal lines creating an alternating yellow/black chevron.
- Paint a draping section in black on the side of the nail.
- Repeat this process with red on the other side of the nail.
- Paint a white border on the draped sections.

- Paint a red heart and a yellow crown on the pinky finger.
- Use Red Red to stamp the card suit design (BM19) on the index finger.
- Glue the 3D elements on the ring finger. I got all the items from a nail art kit from Daiso (the Asian store).
- Paint a large black heart on the thumb.


No comments :
Post a Comment