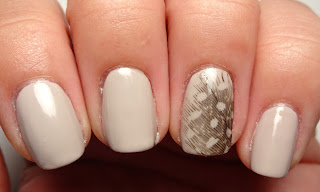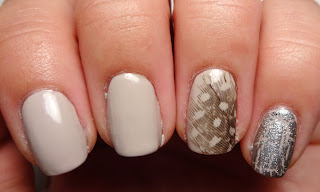
I was having some serious "nail block" with this design. Initially, I wanted to do something silver, like a turquoise jewelry mani, but it wasn't working out. I cleaned off all the polish and started from scratch. I decided to try a desert or bohemian look instead. This neutral grey color was perfect for the bohemian vibe. Tan colored polish paired nicely for a desert/adobe feel, but I really like the direction I ended up with these.
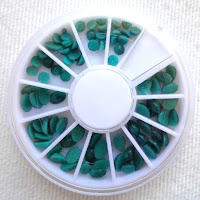
 I received the turquoise stone studs from Born Pretty Store in exchange for an honest review. The wheel comes with three different shapes (circle, oval, and teardrop), ranging from 3-5mm. The studs are resin and colored to look like turquoise, so they have black striations on them. I really like that there are different shapes and sizes, so you can get a lot of use out of these studs. They are small enough that you can fit more than one stud on your nail, but still large enough that a single stud looks nice too. The coloring is nice and they actually look like real stones on your nails.
For these or other nail art supplies, use coupon code GHLQ10 for 10% off your entire purchase.

- Sally Hansen Insta-Dri - High Speed
- OPI - Silver Shatter
- Base and top coats
- Neutral spotted feather
- Silver square stud
- Turquoise stone studs
- Krazy Glue
The most difficult step is attaching the feather, but if you use the right technique, it is pretty easy. To create this look:
- Apply a neutral grey base color.
- Add a neutral spotted feather to the ring finger. See my Birds of a Feather post for more detailed instructions.
- Add a layer of silver crackle polish to the ring finger.
- Add a silver square stud to the base od the index finger.
- Glue three turquoise stone studs to the middle finger - an oval in the center, with a round stud on each side.


No comments :
Post a Comment