
- Wet n Wild - Red Red
- Sally Hansen Xtreme Wear - White On
- Sally Hansen Triple Shine - Kelp Out
- Ulta - Envy
- Wet n Wild Fergie - No Place Like Home
- Julep - gold glitter polish (the sticker fell off so I don't know the name, but it came in the Midnight Sparkler duo)
- Base and top coats
- Red rhinestones
- Nail art brush
- Round gold textured stud
- Gold nail foil
- Foil sealant
- It's So Easy Foil Glue
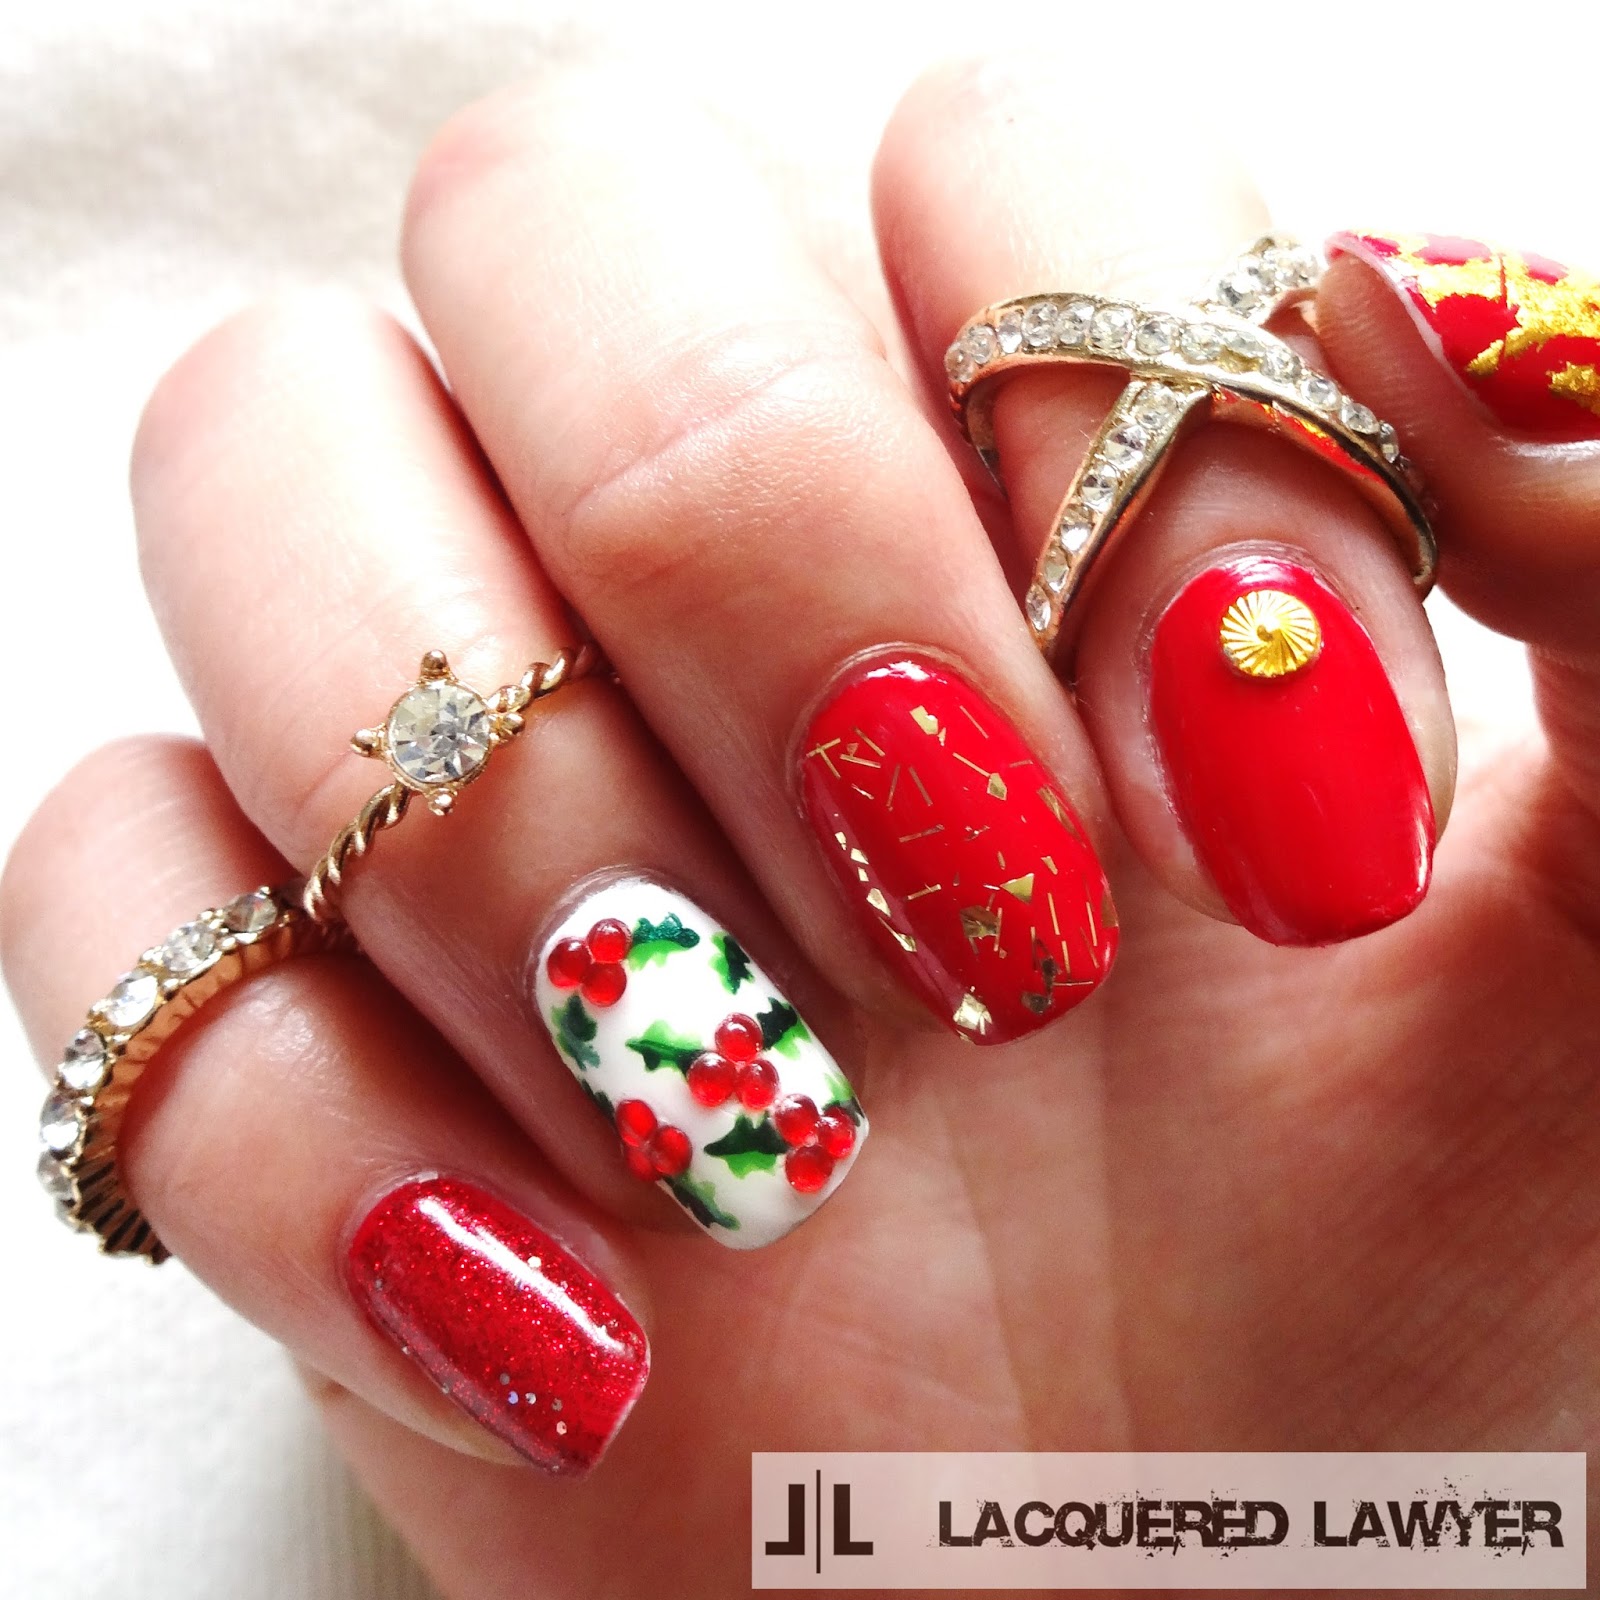
If you remember from a couple months back, I won the It's So Easy Summer Fun Nail Art Contest. One of the products in my prize box was their foil set, which comes with their foil glue. This stuff is AMAZING!!! In a previous foil post, I talked about using ScraPerfect Best Glue Ever, but this glue is better! The glue has a brush cap like nail polish but thinner, and is easy to apply. It goes on blue and turns clear when dry, and it stays tacky a long time in case you forget about it like I did for this mani. To create this look:
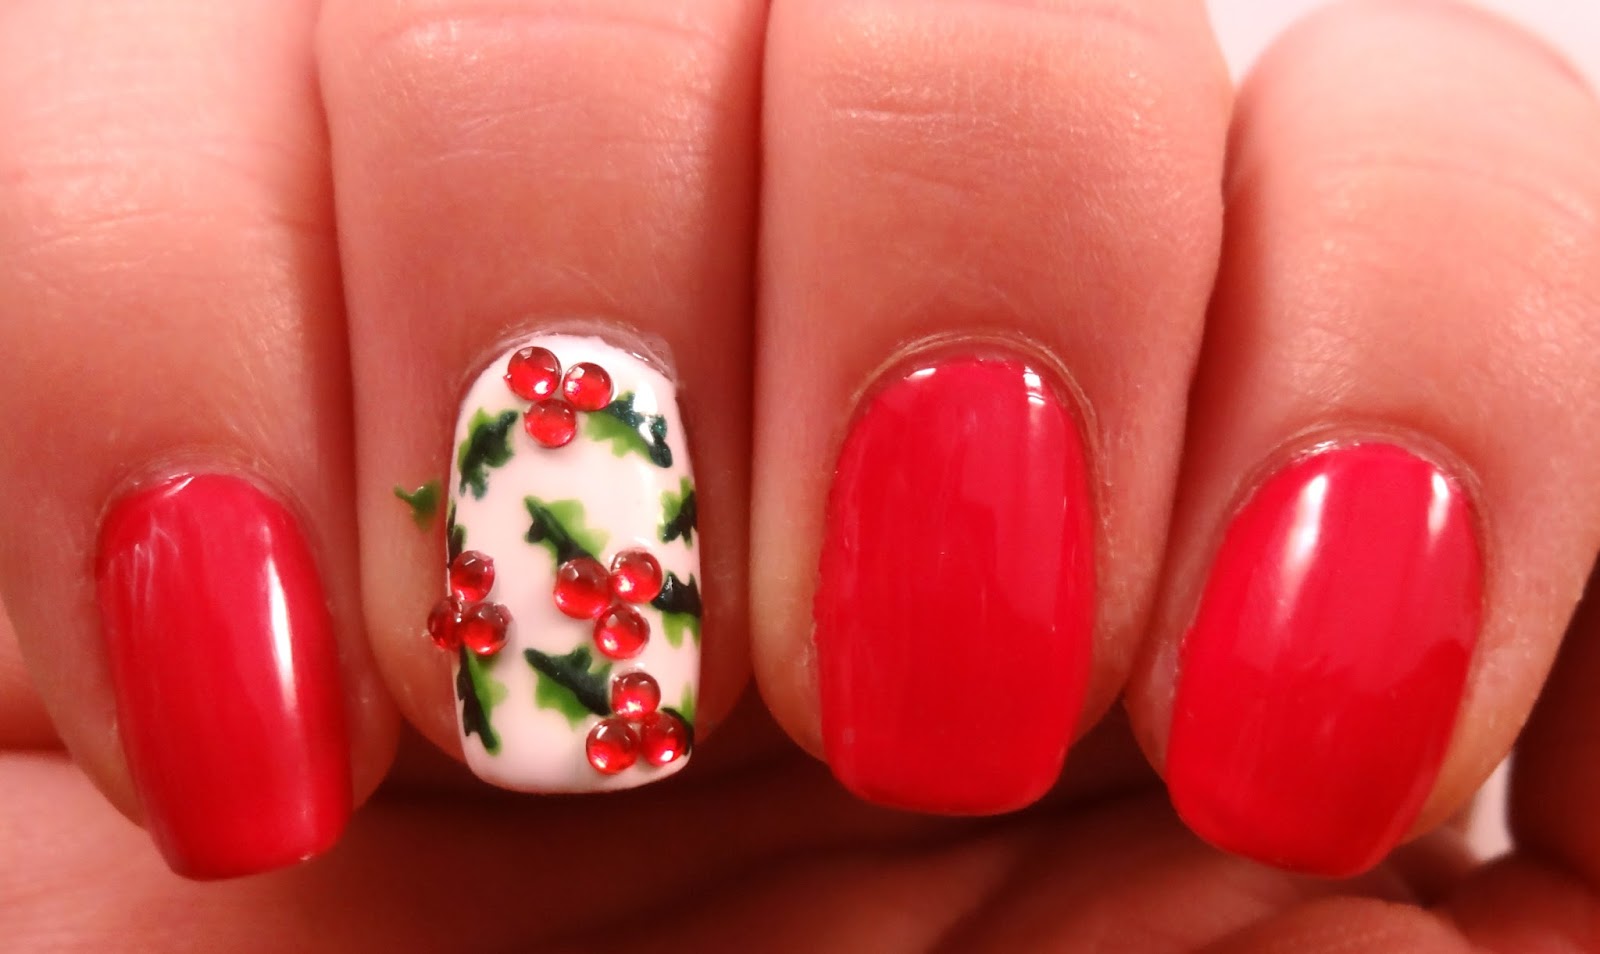
- Apply the base colors - ring finger in white, the rest in red.
- Use a nail art brush and Kelp Out to paint the holly leaves on the ring finger. This step will take some planning as you'll be applying the rhinestone berries between the pairs of leaves.
- Use Envy to cover half of each leaf.
- Apply red rhinestones in groups of three between the leaf pairs.
- Apply one coat of No Place Like Home to the pinky, and a coat of gold glitter polish to the middle finger.
- Add a round gold textured stud (this one was also from my It's So Easy prize pack) to the base of the index finger.
- Apply foil glue to the thumb in a random pattern. Once dry, apply gold foil and coat with foil sealant before applying top coat.


No comments :
Post a Comment