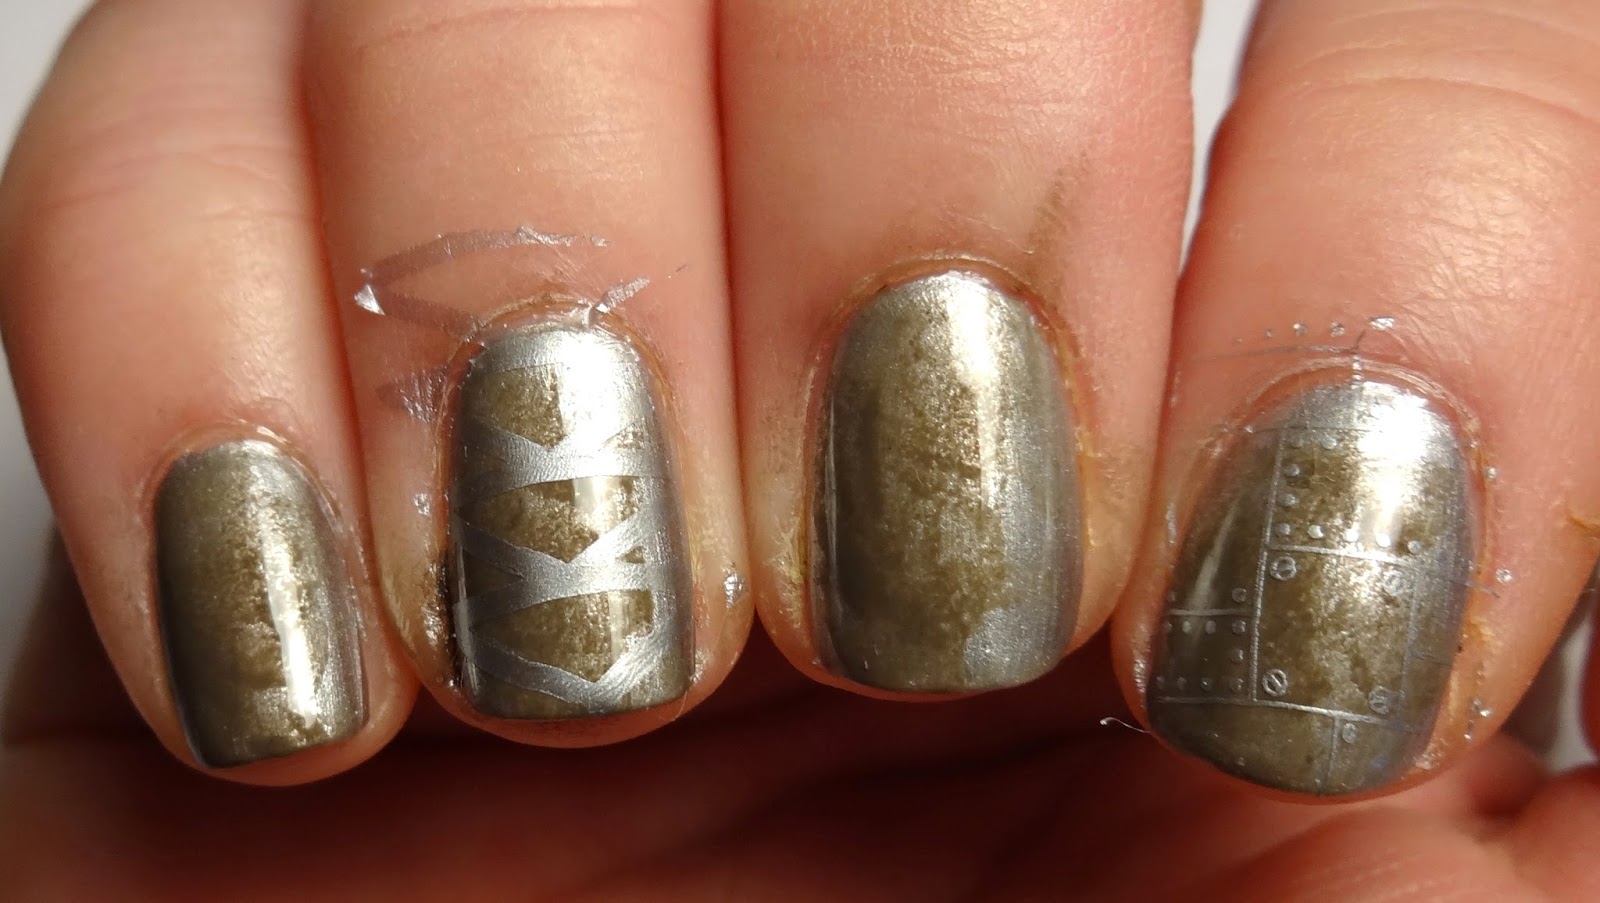
Here's another Rocksbox inspired look. I decided to do a sort of steampunk design based off these House of Harlow 1960 Chevron Ladder earrings.
As soon as I saw the earrings, I knew I wanted to do a metal/armored look because they reminded me of some kind of post-apocalyptic metal plating (perhaps I read too many fantasy books). So, for the base I did a worn steel design, then added some metal stamping, studs, and spikes. The chevrons on the earrings are connected with all these links, so I added some links to my nails as well, to pull more of the design together.
If you haven't signed up for Rocksbox yet, don't forget to use coupon code lacqueredlawyerxoxo for a special treat!

- Ulta - Gray Couture
- Ulta - Mud Pie
- Bundle Monster Stamping Lacquer - Iced Silver
- Base and top coats
- Bundle Monster stamping plate - BM-403 (chevrons)
- Bundle Monster stamping plate - BM-609 (metal plates)
- Rubber stamper
- Round silver studs
- Silver link cut in half
- Silver spikes
- Krazy Glue
- Makeup sponge
The hardest part of this design was getting those links on. There isn't much surface area to attach them, so you'll have to just be patient, holding them in place until the glue sets. To create this look:
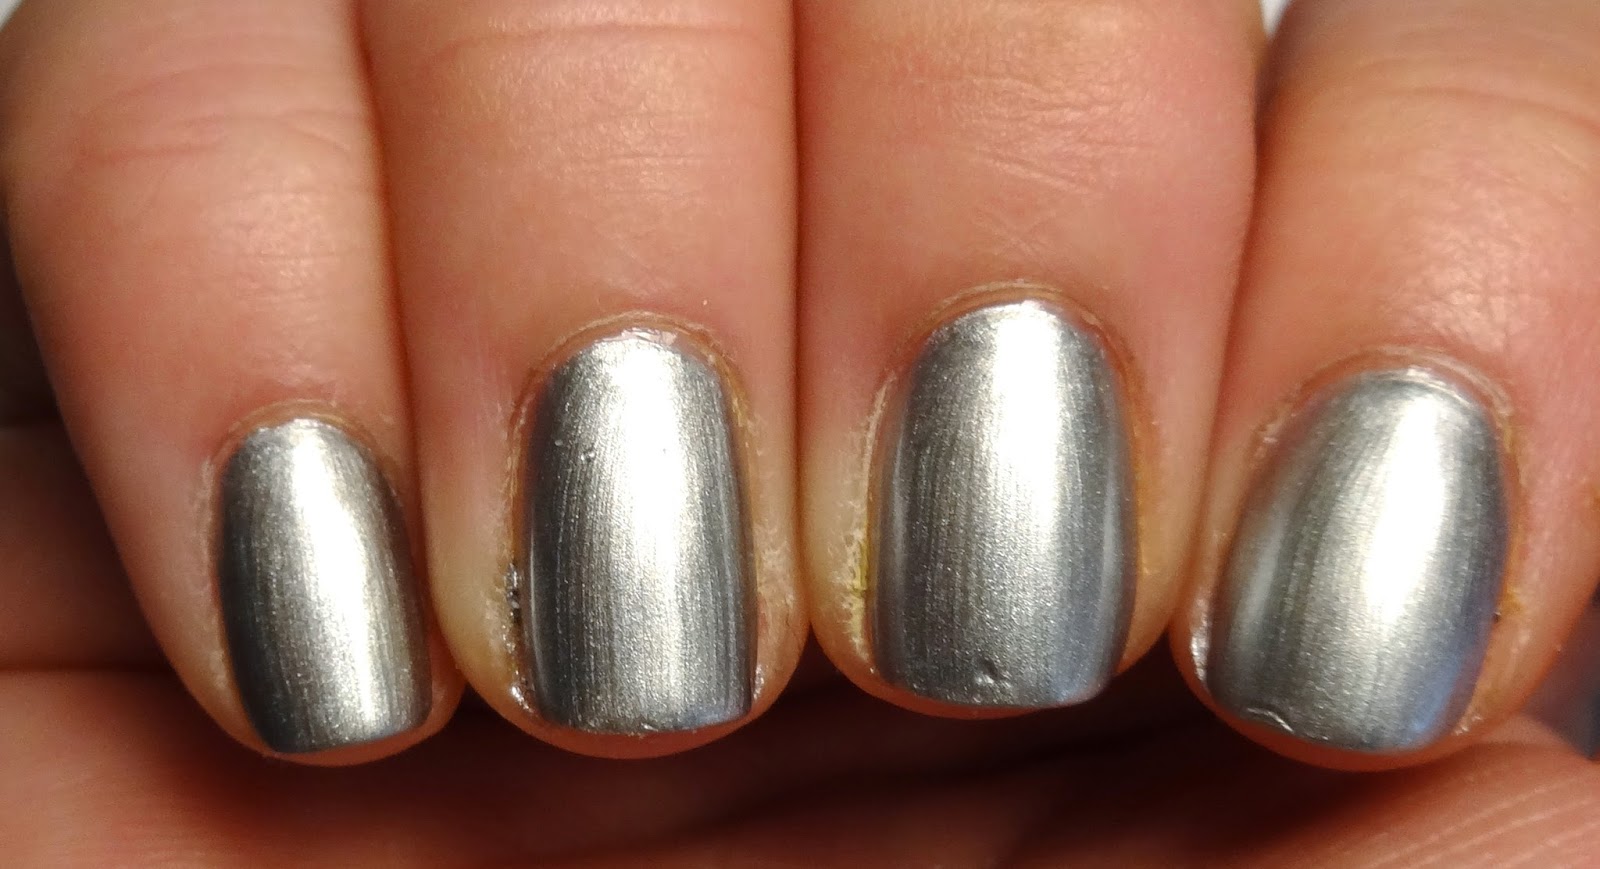
- Apply a silver base color.
- Use a wet makeup sponge to dab on some Mud Pie. This is to give the metal a worn and dirty feel, so it doesn't have to be perfect. With that said, you want to be sure at least the nails that will be stamped, are dark enough for the stamping to show up.
- Use Iced Silver to stamp the metal plate design (BM-609) on the index finger, and the chevrons (BM-403) on the ring finger.
- Add small silver studs in a vertical line on the side of the pinky.
- Glue two silver spikes to the tip of the thumb.
- Attach the links to the middle finger. If you have longer nails, you can do more links, or your could do two rows of links. Start by cutting the link in half, so you have two half circles. Dip the ends in glue, then position on the nail. It helps to hold the link with tweezers since you have to hold it in place until the glue sets. You may have to try a few times to get it to stay.


Love your "Nails of Steel" I'm always motivated by your designs!
ReplyDeleteThank you so much! Glad I can motivate and inspire you and others with my nail art :)
Delete