This is the 13th look in my Disney series! Sleeping Beauty! I debating whether to even write a tutorial for this since I didn't really do pictorial pics (I was in a hurry), but here is it anyway.
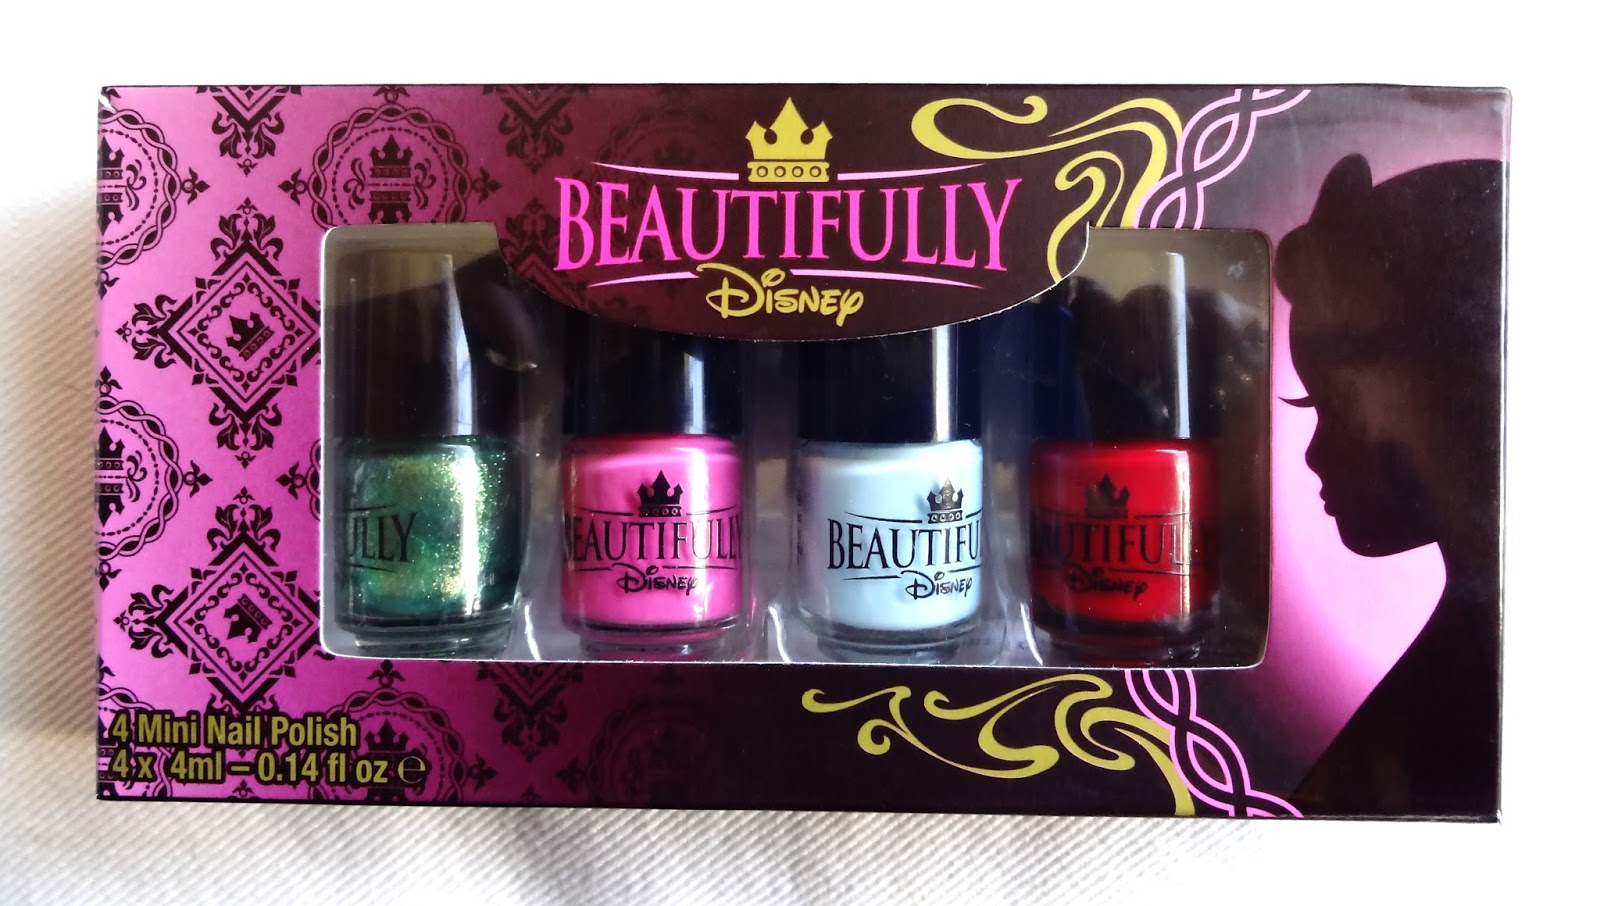
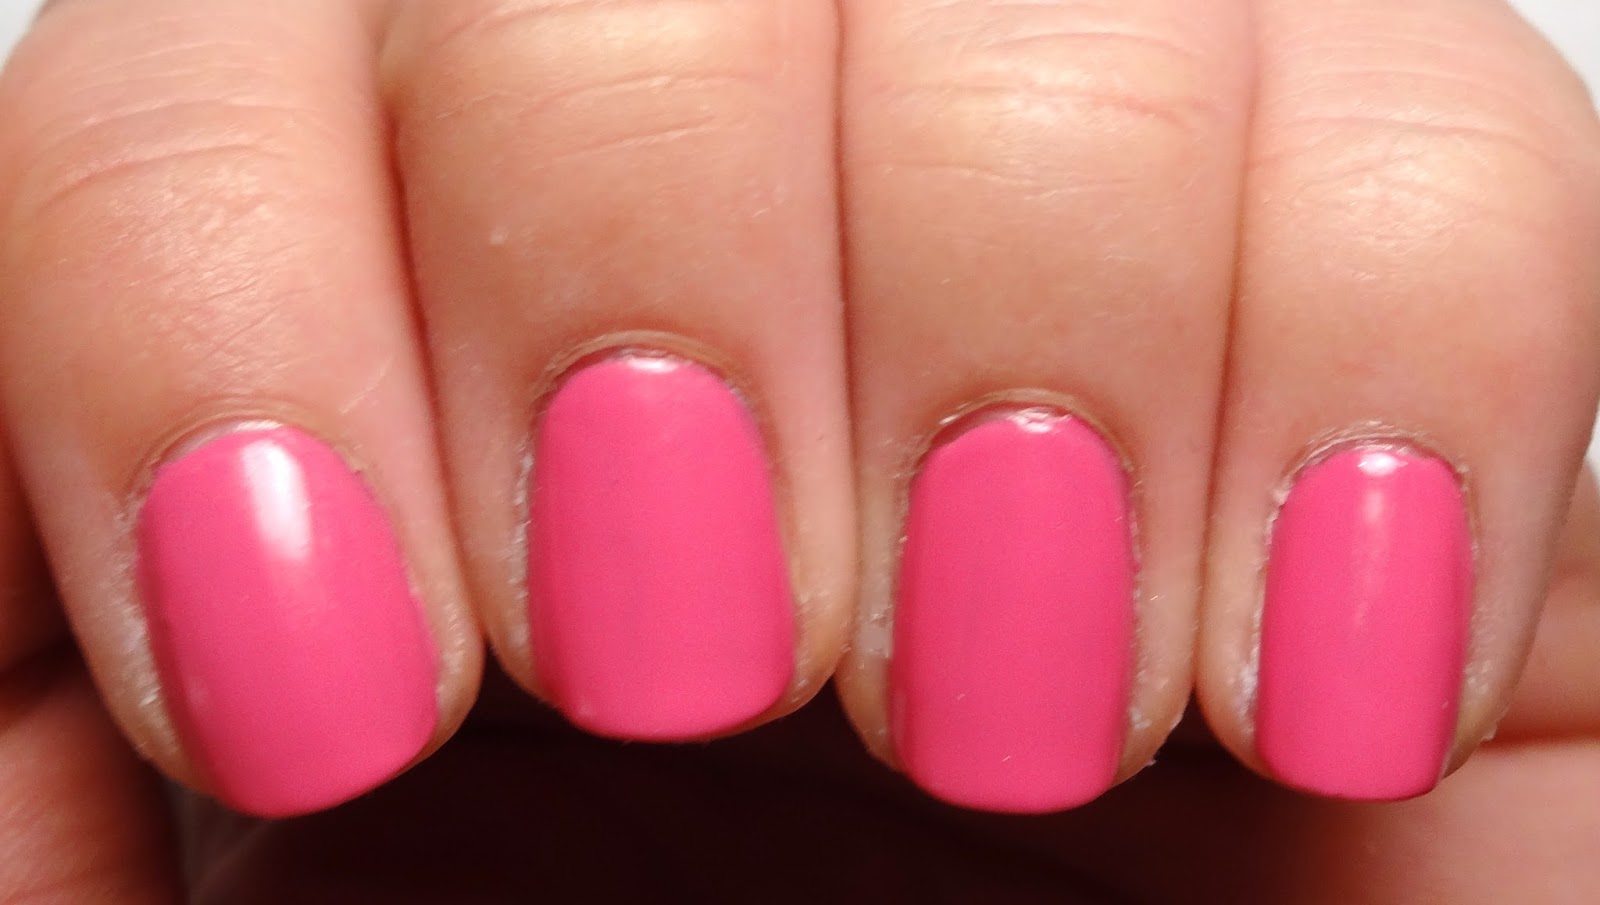
This is the last polish in the Wickedly Beautiful set by Beautifully Disney. "Enchanted Kiss" is pictured second. Enchanted kisses work for a few different Disney movies - Sleeping Beauty, Snow White, The Little Mermaid, etc. - but the top of the bottle has Aurora's crown on it, so I did Sleeping Beauty.


Polish Used:
- Beautifully Disney Wickedly Beautiful - Enchanted Kiss
- Base and top coats
- Acrylic paint - white, black, pink, red, yellow, and brown
- Gold nail striping tape
- Nail art brush
This has some pretty advanced painting. Even my attempt came out a bit smudgey. My villain nails were much better (wonder what that says about me). To create this look:
- Apply a pink base color using Enchanted Kiss.
- Use acrylic paint to paint Princess Aurora's sleeping face on the middle finger.
- Start with the peach color of her face (I mixed pink with yellow and brown).
- Then add yellow hair.
- Add pink eyeshadow, outline the eye in brown, and paint an eyebrow in brown, as well as a nostril. Use black for the eye lashes
- Paint red lips.
- Add highlights and shadows to her hair with brown and white paint.
- Add white highlights to the outline of her face.
- Add gold striping tape to the sides of each of the plain nails.


No comments :
Post a Comment