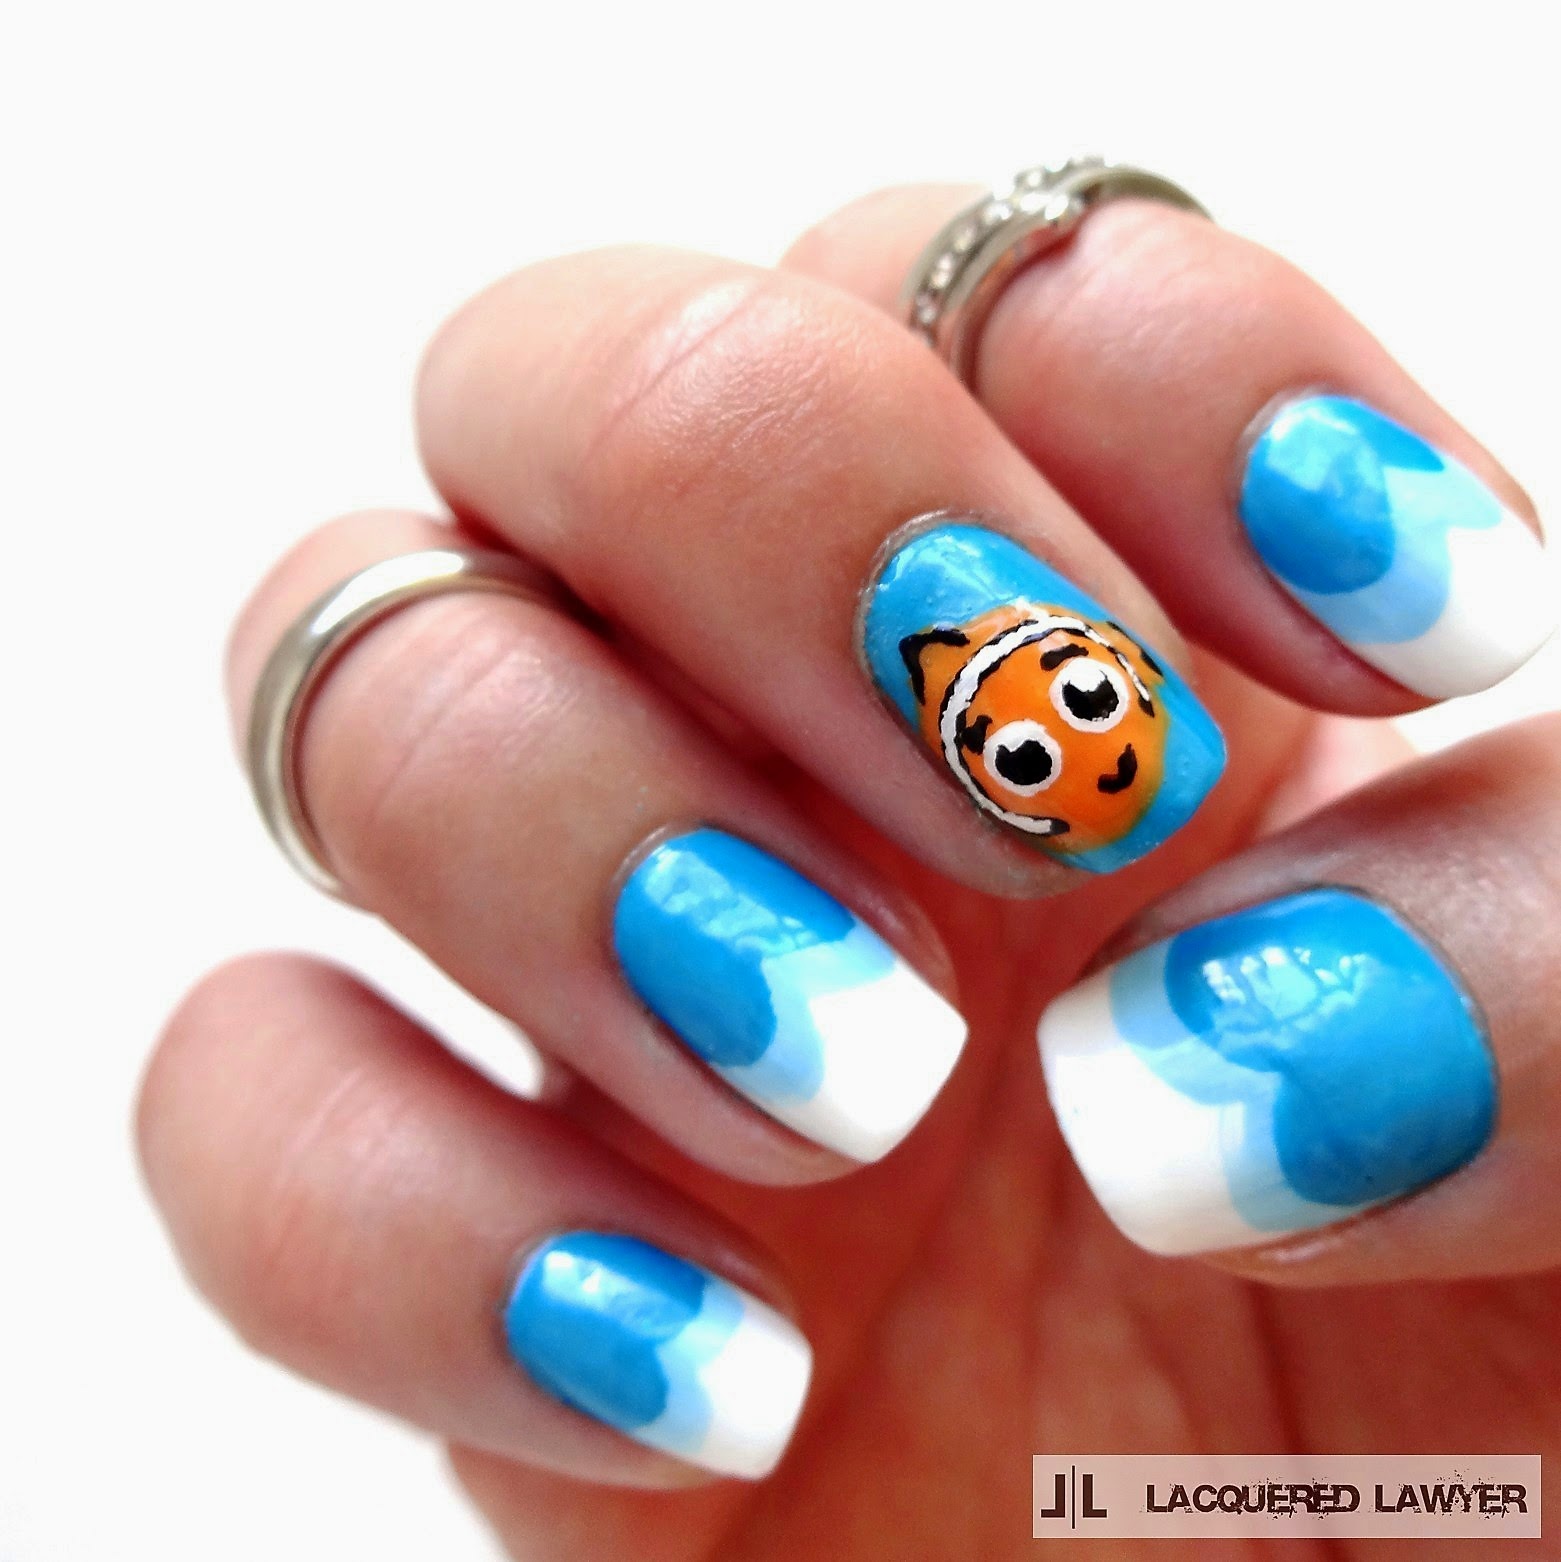
My little niece and nephew are having their first birthday party today, and the theme is Finding Nemo. So, of course I had to paint my nails to match the theme :) I kept it "simple" with just Nemo as the feature nail, and some ocean waves on the others. #nailart
The lines of Nemo's stripe didn't come out as smooth as I would have liked, but I painted this with my left hand and I'm right handed. I'd say it is a pretty decent job for having to use my non-dominant hand. My left hand has a matching tropical design that I'll post next, but I wanted Nemo on my right hand since that is the one people see more since I use it more.

Polish Used:
- Wet n Wild - French White Crème
- Ulta - Faded Blues
- Piggy Polish - Polar Sea Ice
- Wet n Wild - Sunny Side Up
- Acrylic paint - black and white (or can use nail polish)
- Nail brush
- Base and top coats
You don't have to be going to a Nemo party to wear these nails. They work for any summer occasion since it is just an ocean theme. You could also skip the Nemo nail and just use the ocean waves pattern on all your nails.
To paint Nemo, I ended up using acrylic paint. I tried regular polish first, but it was too hard to get the finer details right. If you are master with polish and small brushes, go for it. I prefer acrylic for more detailed work. Here's how to create the look:
- Apply base colors. All nails should be painted white, except for the middle finger which should be painted blue for Nemo's background. You can choose a different nail for your feature nail. I chose my middle finger because it has the widest nail for me.
- Paint Nemo. Start by using a nail brush and orange polish to make a large circle that is a little off center. Then, paint fins on the top of his body and on the side. Once dry, use black paint/polish to paint the stripe that goes around his body, and add black to the tips of his fins. Using white paint/polish, paint two large circles for his eyes, and paint a white stripe down the center of the black stripe. Using black paint/polish again, add eyebrows, his pupils, and a smile :)
- Paint the waves. Starting with the lighter blue, Faded Blues, paint two humps 2/3 of the way down the nail, and then fill in to the top. I just used the brush that is attached to the bottle for this. The humps are big enough that you don't need a nail brush. The humps also don't have to be even with each other. It actually looks better if one is lower/higher than the other. Once dry, repeat the process on the top 1/3 of the nail with the darker blue, Polar Sea Ice. You can make the darker blue as close, or as far away from the light blue edge as you like. It just depends how much of the light blue you want to see.

Here are a couple alternate views:


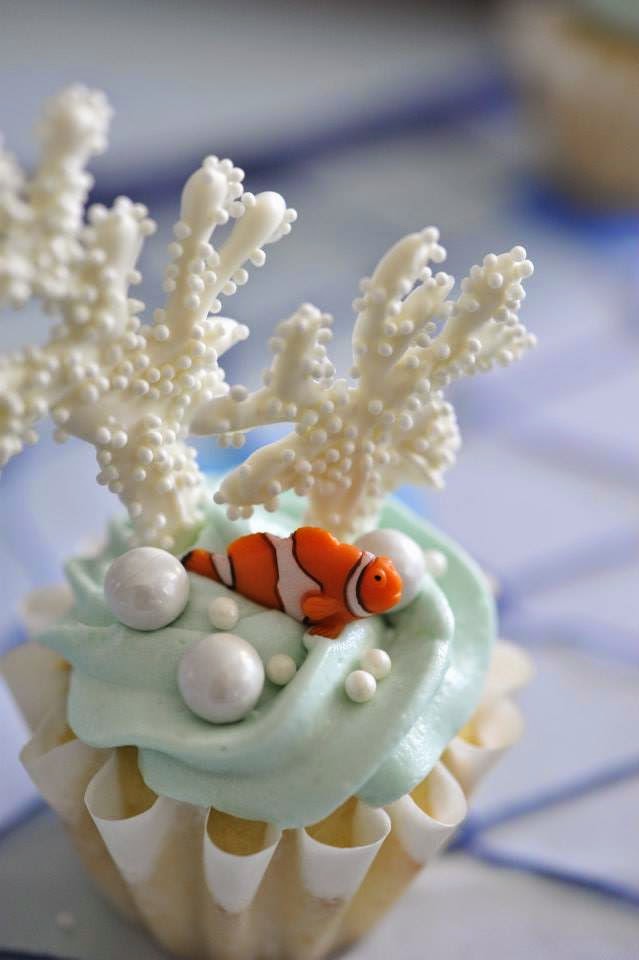
Here's a pic of the delicious cupcakes my mom made and decorated for the party. Not really nail-related, but they are so beautiful I had to share.


No comments :
Post a Comment