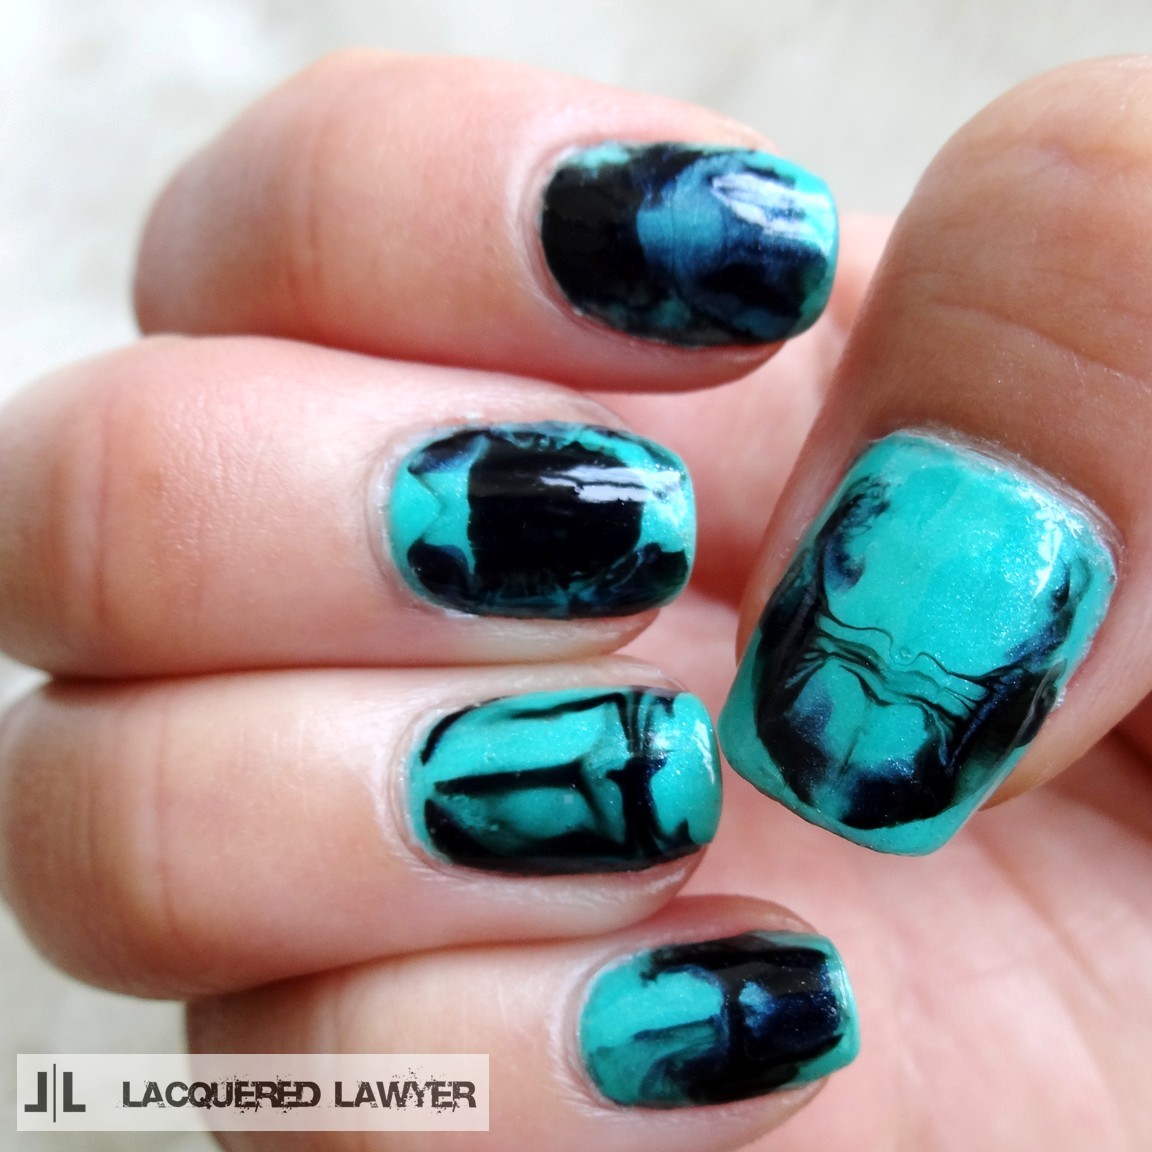
What do you see? Did you ever create inkblots when you were little by dabbing paint on a piece of paper and folding it in half? Well I did, and I wanted to try and re-create the look with nail polish. It took a few tries for the inkblots to look right, but it turned out nicely.

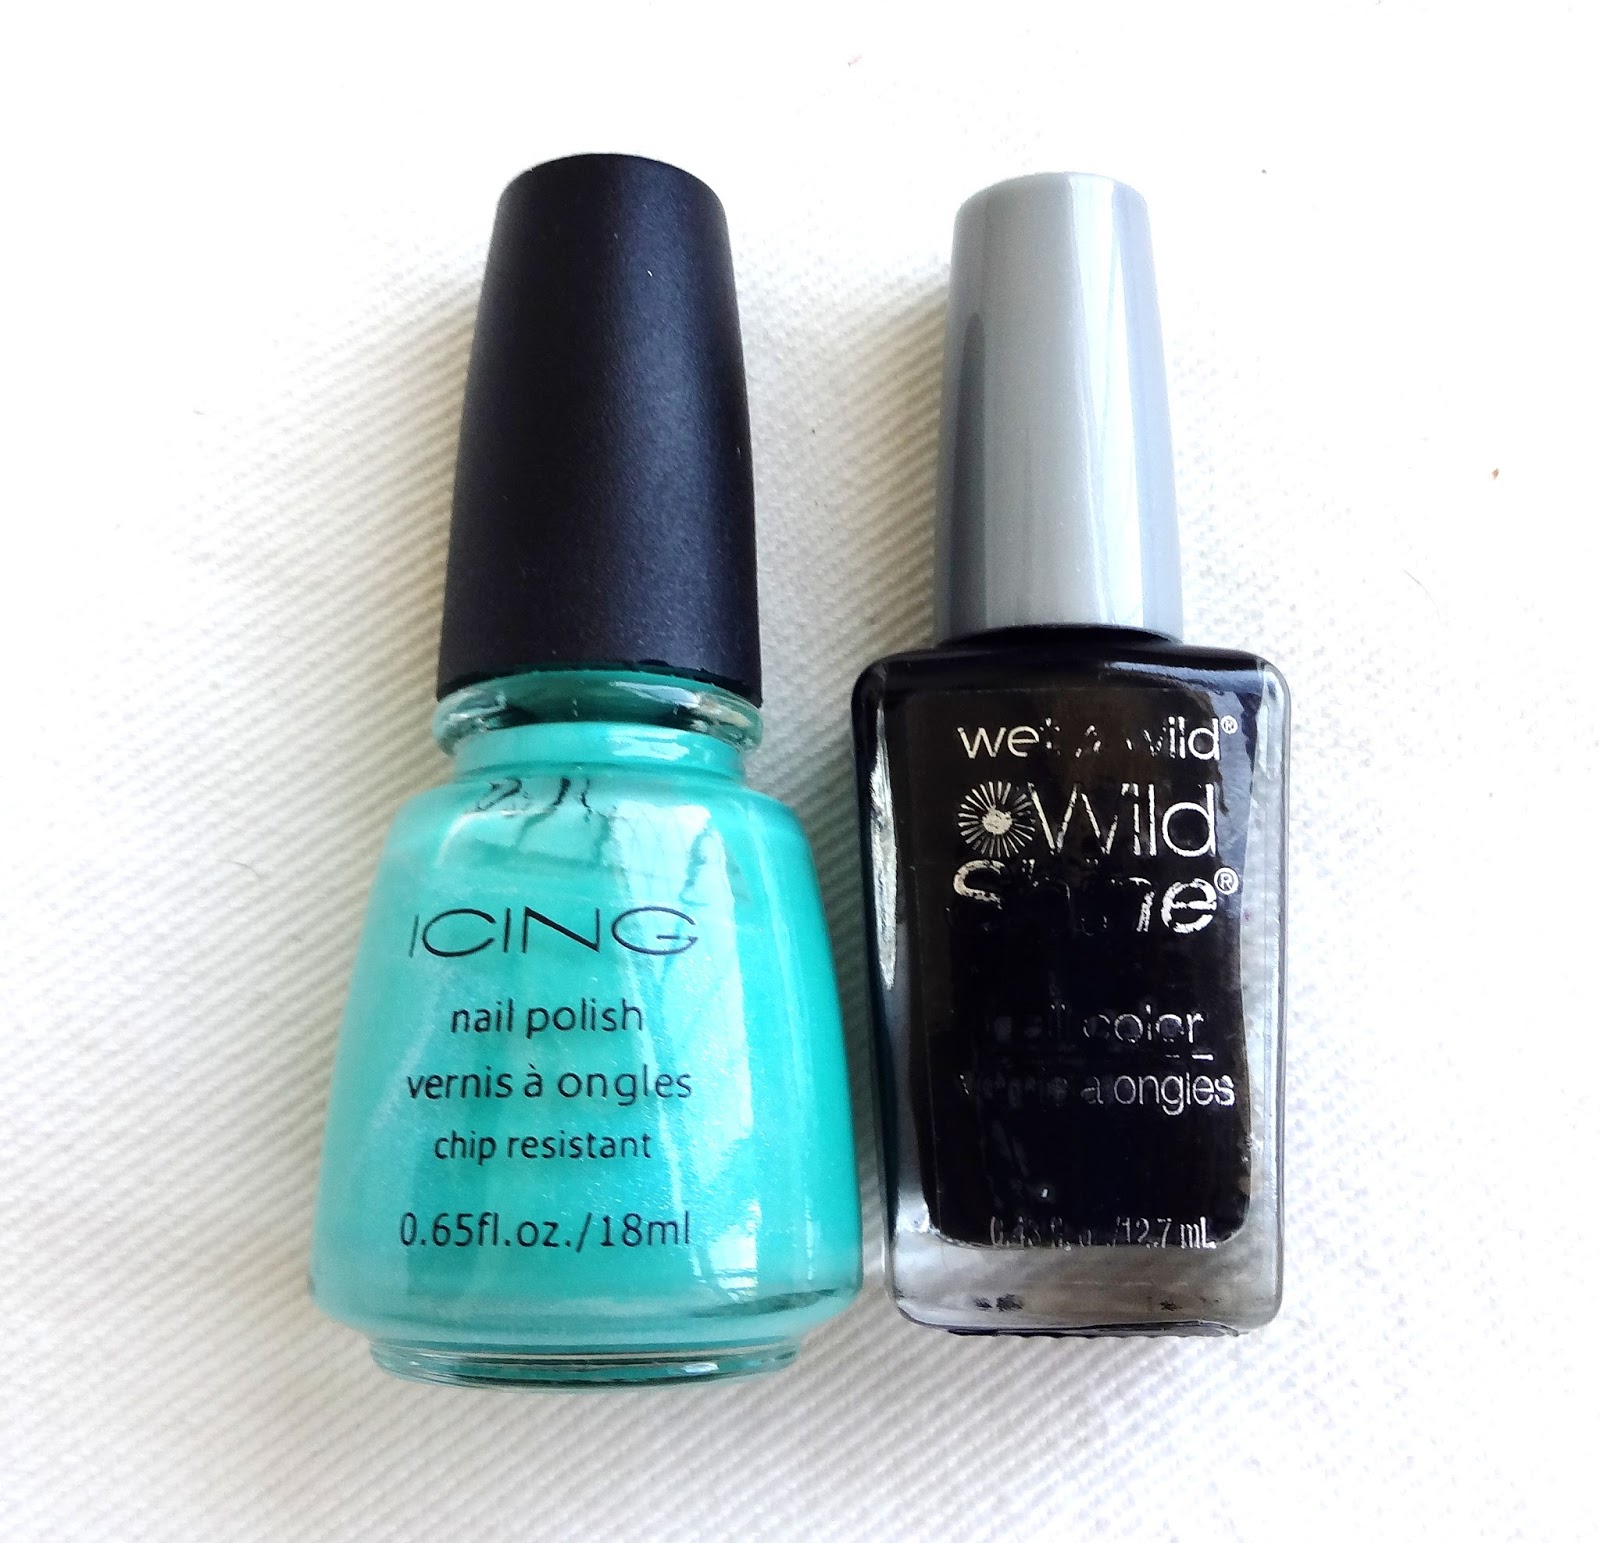
- Icing - Laura's Fave
- Wet n Wild - Black Crème
- Clear plastic bag
- Base and top coats
To get the inkblots, you'll be making a sort of decal to adhere to your nail. It may take some trial and error to get it right and get a nice inkblot design. Here's how to create the look:
- Apply a base color. I'm using Laura's Fave by Icing. Usually inkblots are black and white, but I wanted a little color so I picked a bright aqua. I liked how this turned out, so maybe I need to do it again with the more traditional black and white look.
- Create the inkblots:
- Paint squares of clear top coat onto a plastic bag. These will be the decals, so make them large enough that they will cover your nails. Place them far enough apart that they won't touch because you'll be folding them in half while they are still attached to the plastic bag. Or better yet, cut small squares out of the plastic bag to create each decal on. Then you don't have to worry about smudging anything while you work.
- Once dry, dot 2-3 drops of Laura's Fave on the center of the decal. Then dab 1-2 smaller drops of black polish. The black turns into the design, so you can either dab it in the center, do a drop at the top and one at the bottom, or on the sides. Try different variations to get different inkblots.
- Next, while the polish is still wet, fold the bag and decal in half, and VERY lightly smoosh the polish to create the inkblot. You can change the look of the inkblot depending how you smoosh it. If you press it together while pulling your fingers down for example, you'll pull the polish down and create a downward black streak. Sometimes smooshing too much will end up in a black blob and no clear design. That is why this will take a few tries to get used to the process or to adjust the amounts of polish used.
- Immediately unfold the decal, and let it dry.
- Once dry, carefully peel the decals off the plastic bag with a pair of tweezers. You can trim the edges of to reduce the amount of hang off.
- To apply the decal, working on one nail at a time, paint a layer of clear top coat on your nail, and place the decal on while the polish is still wet. Use tweezers or a toothpick to carefully press the decal on and smooth out and air bubbles.
- If the decal extends beyond your nail, you can trim it and/or use acetone with a nail brush to melt it away. Just be careful not to melt away too much of the design.
- Seal everything on with a few coats of top coat.

No comments :
Post a Comment