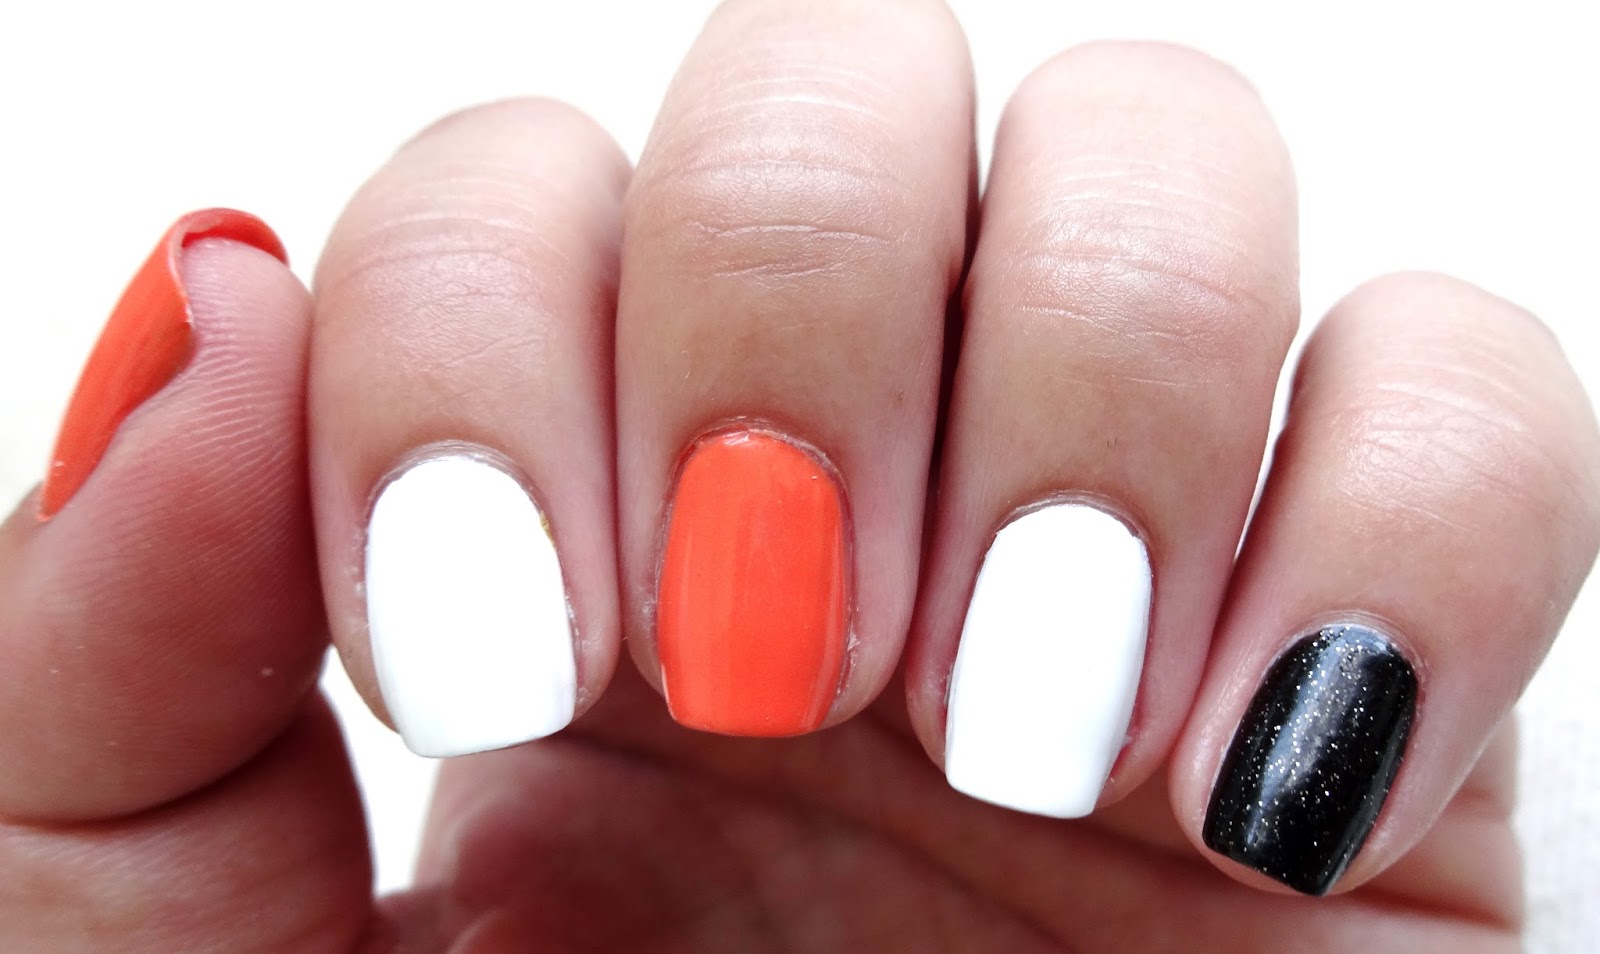
Take me out to the ball game :) Here are some San Francisco Giants nail art! My uncle recently gave me this MLB Promotional nail polish set, so I wanted to paint my nails while the games are going on.
The set includes an orange and black glitter polish, and 60 nail decals. The decals state that they should be applied over white or clear polish for best results, so I used white here. Note: These are NOT water decals. I learned that the hard way. It doesn't say what kind they are, so I just assumed they were water transfer decals because that's how they look. But after putting them in water, the design just dissolved off the paper. So, after closer inspection, I discovered that they are stickers. They are all just on one giant clear sheet, so you have to cut around the design yourself and then peel and stick.
The "SF" stays on a lot better than the baseball version. The sticker material is a bit stiff, so the baseball leaves gaps where it doesn't adhere properly to the curve of your nail. Next time I'm going to try sticking it on wet polish to see if that holds it better. Or at least pick a flatter nail like my ring finger.
Polish Used:
- SF - Orange
- SF - Black Glitter
- Wet n Wild - French White Crème
- Nail decals
- Nail tape
- Orange and black 3mm round studs
- Base and top coats
These nails are fairly easy to create since there isn't any advanced painting. I couldn't tell when the polish was in the package, but I was pleasantly surprised to discover that the black polish has gold glitter in it. I didn't have a polish like that in my collection, so I foresee some Halloween manis using that polish in the near future. In the meantime, here's how to create the Giants baseball look:
- Apply the base colors. Thumb and middle in orange, index and ring in white, and pinky in black.
- Cut out and apply the decals to the two white nails. Seal with a few layers of clear top coat.
- Add a round orange stud to the base of the black nail.
- Add two round black studs to the base of the thumb.
- Create stripes on the middle orange nail. To do this, apply strips of nail tape horizontally until the entire nail is striped. Then apply one diagonal strip of nail tape. Paint the nail with black polish and immediately remove the tape.
Seal the studs on with a few coats of top coat so they won't fall off, and you are ready to head to the game/sports bar/viewing party, or to just rep your team wherever you go.


No comments :
Post a Comment