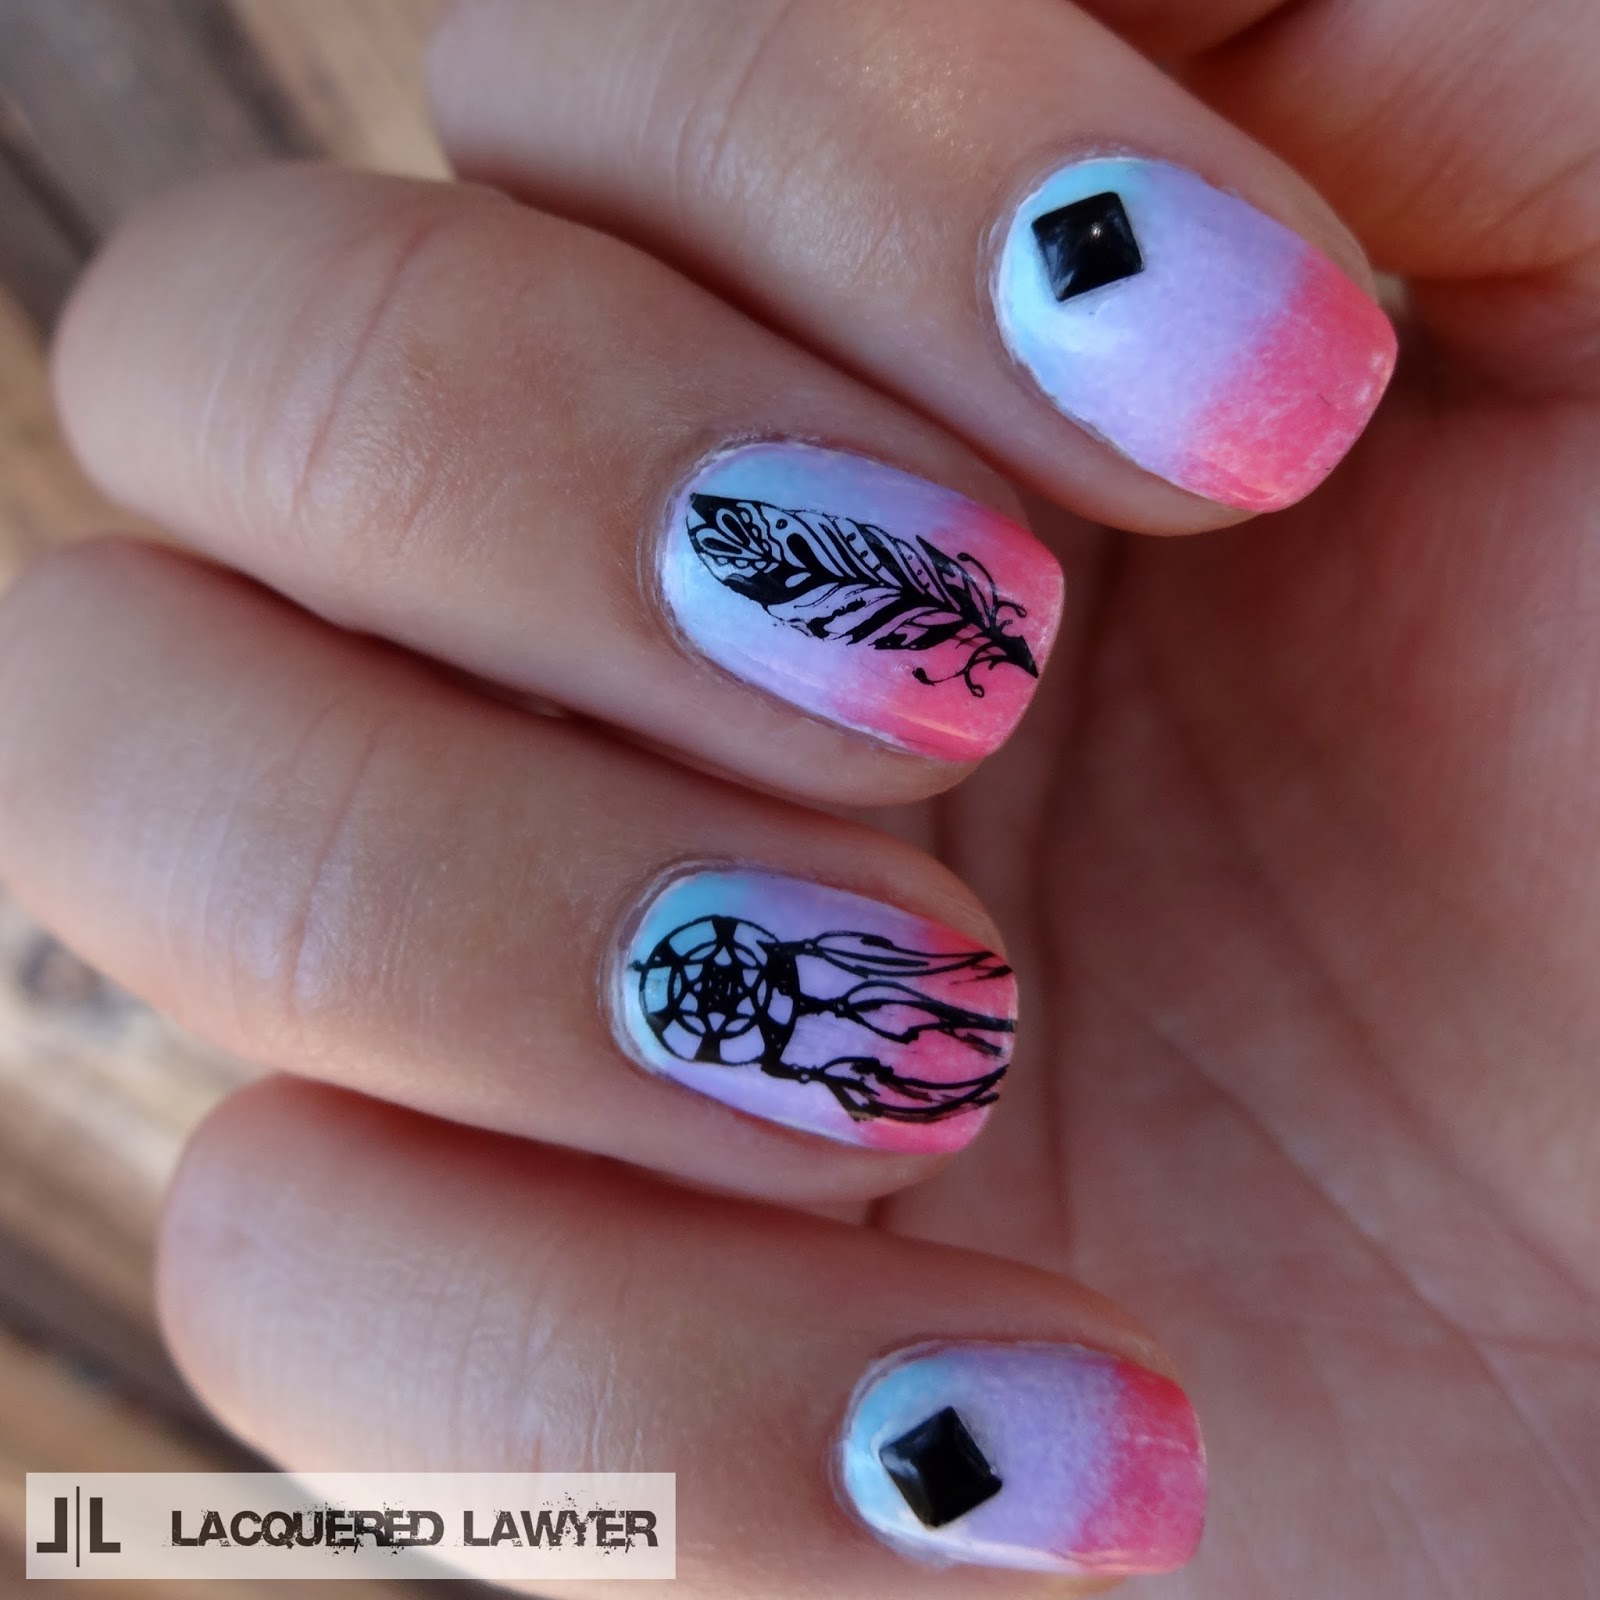
A sunset gradient nail with dream catchers and feathers is perfect for those bohemian summer nights.
There have been so many beautiful sunsets lately. I'm trying not to blow up my Instagram account with too many sunset pics.
Polish Used:
- Ulta - Faded Blues
- Sally Hansen Xtreme Wear - Lacey Lilac
- NYC - Preppy Pink
- Bundle Monster Stamping Lacquer - Noir Black
- White polish
- Bundle Monster Stamping Plate BM-407 (dream catcher)
- Bundle Monster Stamping Plate BM-419 (feather)
- Stamper
- Make-up sponge
- Black square studs
- Base and top coats
Normally when I do gradient nails, I paint the polish on wax paper, swirl the edges of the colors, then dab on a make-up sponge, then dab on the nail. Today, I decided to try using a wet sponge, and painting the polish directly on the sponge. I actually find this method a lot better. The colors mixed well together and it took less time. Here's how to create the look:
- Apply a white base coat. This will allow the gradient to show up better since creating the gradient doesn't apply a lot of polish to the nail.
- Sponge on the gradient.
- Soak a make-up sponge in water, then ring out the water.
- Paint a couple swipes of each polish in the order you want them. Here, paint blue first, followed by purple and pink.
- Dab on the nail.
- For darker colors, add more polish to the sponge and dab again.
- Stamp the dream catcher and feather using black stamping polish on the middle and ring fingers.
- Apply a black square stud on the index and pinky finger.
- Seal everything with top coat. Extra top coat on the studs to ensure they stay on.


In outdoor lighting, you can see the blue a little better.


No comments :
Post a Comment