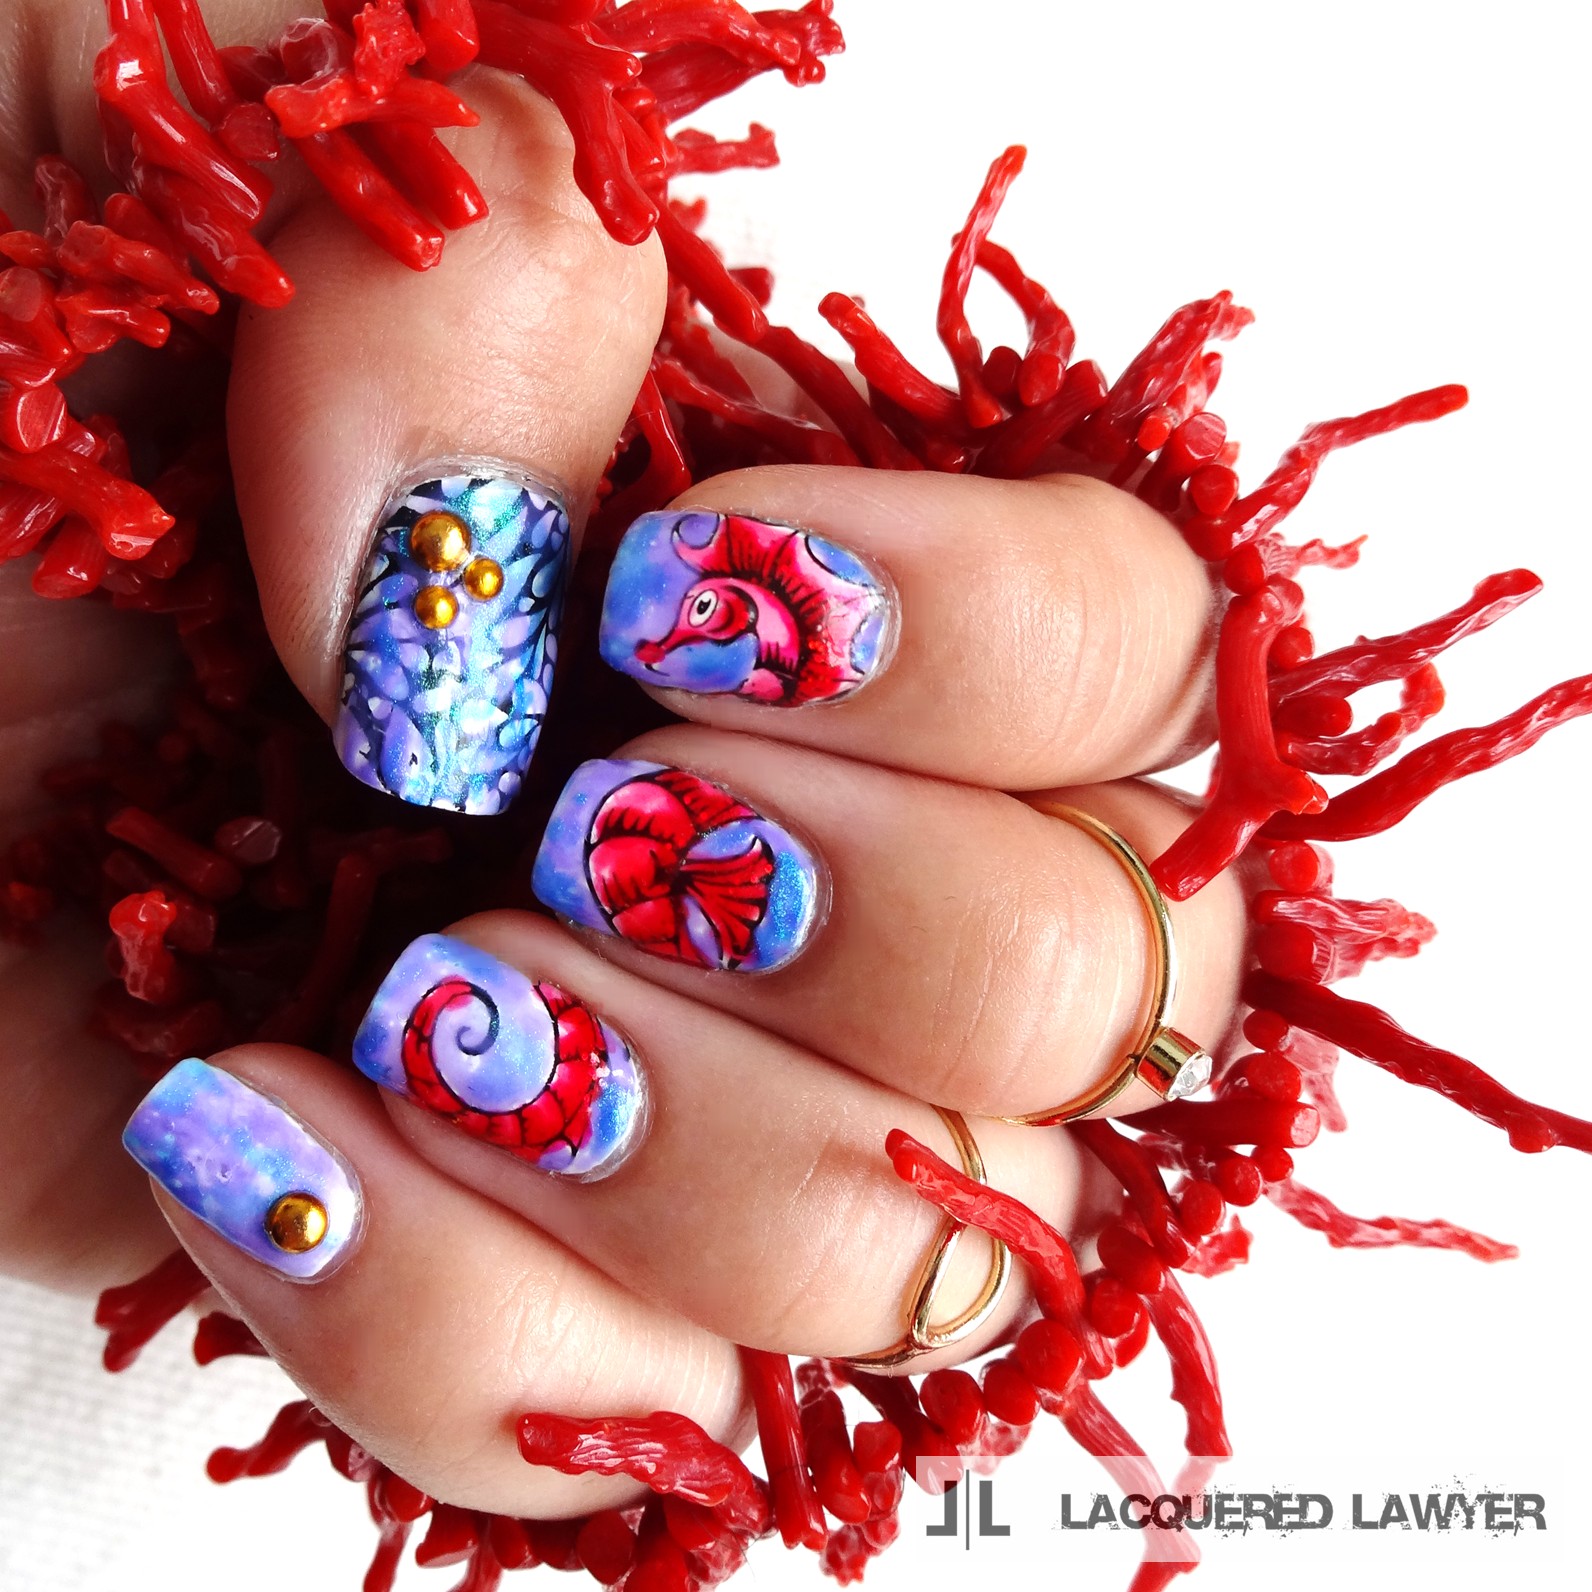
Today, I decided to try out the LeadLight technique. This involves painting directly over a stamped nail with sheer or jelly polish, as opposed to the reverse stamping method which creates a decal as in Don't Be Koi. I've been wanting to try this for a while, but I don't own any sheer/jelly polish. But when sharing this tragic fact with a fellow nail artist, she pointed out that you can make your own sheer polish by mixing regular polish with clear top coat. Boom! I don't know why I didn't think of that before.
I used the same Messy Mansion plate as my koi nail art, but this time I used the seahorse and the water droplet background. I got a little messy with my coloring since I was rushing, but it's nothing a little acetone can't clean up.

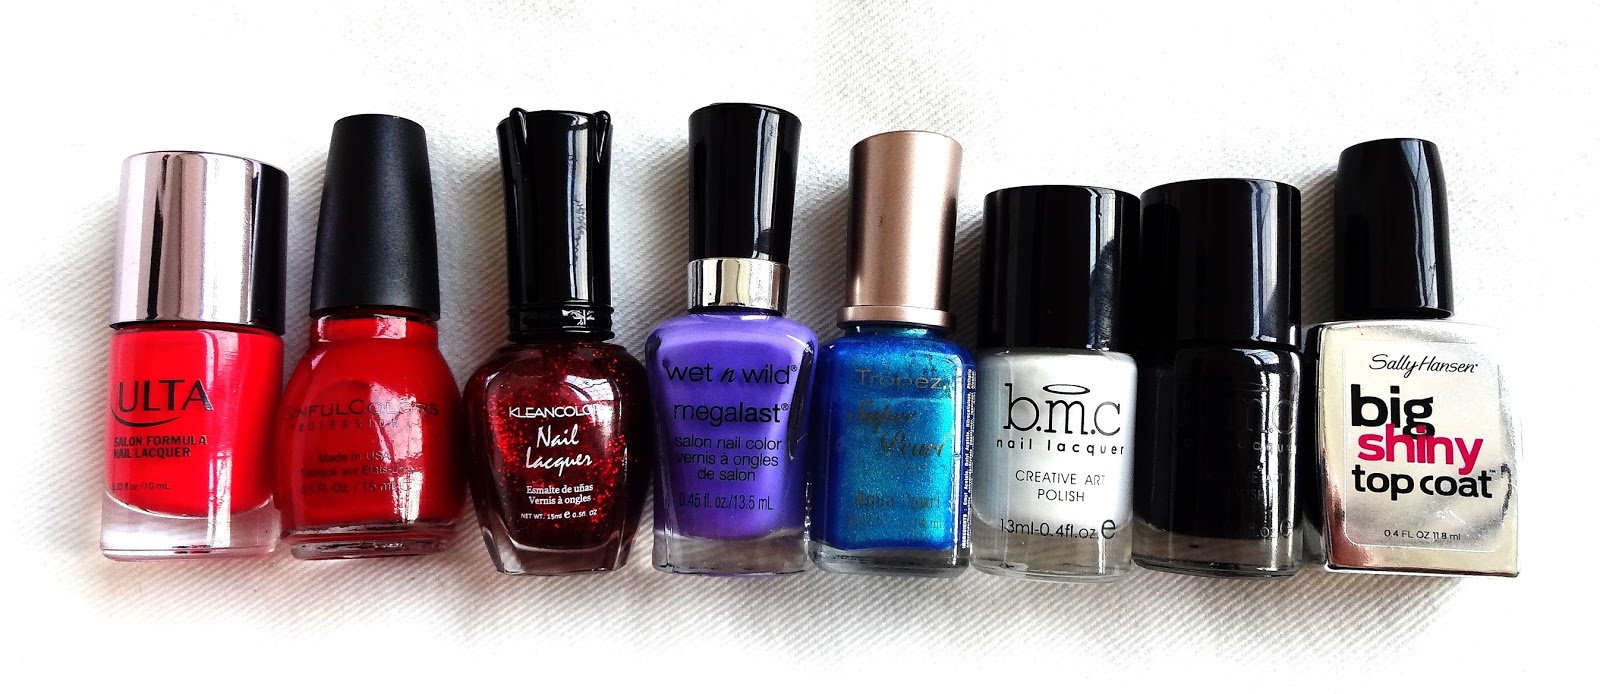
- Ulta - Eye Popping Poppy
- Sinful Colors - Ruby Ruby
- Kleancolor - Chunky Holo Scarlet
- Wet n Wild - On a Trip
- Tropez - Aqua Pearl
- Bundle Monster - Angelic White
- Bundle Monster - Noir Black
- Sally Hansen - Big Shiny Top Coat
- Messy Mansion plate MM29
- 2mm round gold studs
- 3mm round gold studs
- Dotting tool
- Matte top coat (optional...see instructions)
- Base and top coats
Although it may look difficult, this was actually pretty easy. Sheer polishes are pretty forgiving and create a water color effect. To create the sheer polishes, mix one large drop of the colored polish, with 2-3 drops of a SLOW drying clear top coat. A quick dry top coat will get tacky and clumpy really fast. Use a dotting tool to slowly mix the color into the clear polish until you get the desired color and sheerness. Do this as you need the colors; don't pre-mix or it will dry out.

To create this look:
- Apply a white base color. This will help the sheer polishes pop more.
- Using a black stamping polish like Noir Black by Bundle Monster, stamp the water droplet background on the thumb.
- Stamp the seahorse so it spreads over the index, middle, and ring fingers. You'll have to stamp this in segments on each nail, but it is fairly easy to get it to line up since the design isn't that big or complex. If it doesn't line up exactly, it will still look okay since the seahorse has a curvy body.
- Paint a coat of clear top coat over the stamping, so it won't get messed up during the coloring stage.
- (Optional) Paint a coat of matte top coat over all the nails. This will help the sheer polish stick in place better.
- LeadLight the seahorse body. Create a sheer version of Eye Popping Poppy, and fill in the body of the seahorse using a dotting tool.
- LeadLight the background. Create a sheer version of On a Trip, and fill in the background of the seahorse with a dotting tool. Also cover the entire thumb and pinky.
- Create a sheer version of Ruby Ruby, and add shading to the seahorse fins, body creases, and the underside of its head with a dotting tool.
- The Chunky Holo Scarlet is already sheer, so add that over the areas you just shaded to add some glitter.
- Create a sheer version of Aqua Pearl, and add some blue here and there over the purple backgrounds.
- Apply a 3mm gold round stud to the base of the pinky.
- Apply one 3mm gold round stud and two 2mm gold round studs to the outside base corner of the thumb.
- Seal everything with a few coats of clear top coat.


No comments :
Post a Comment