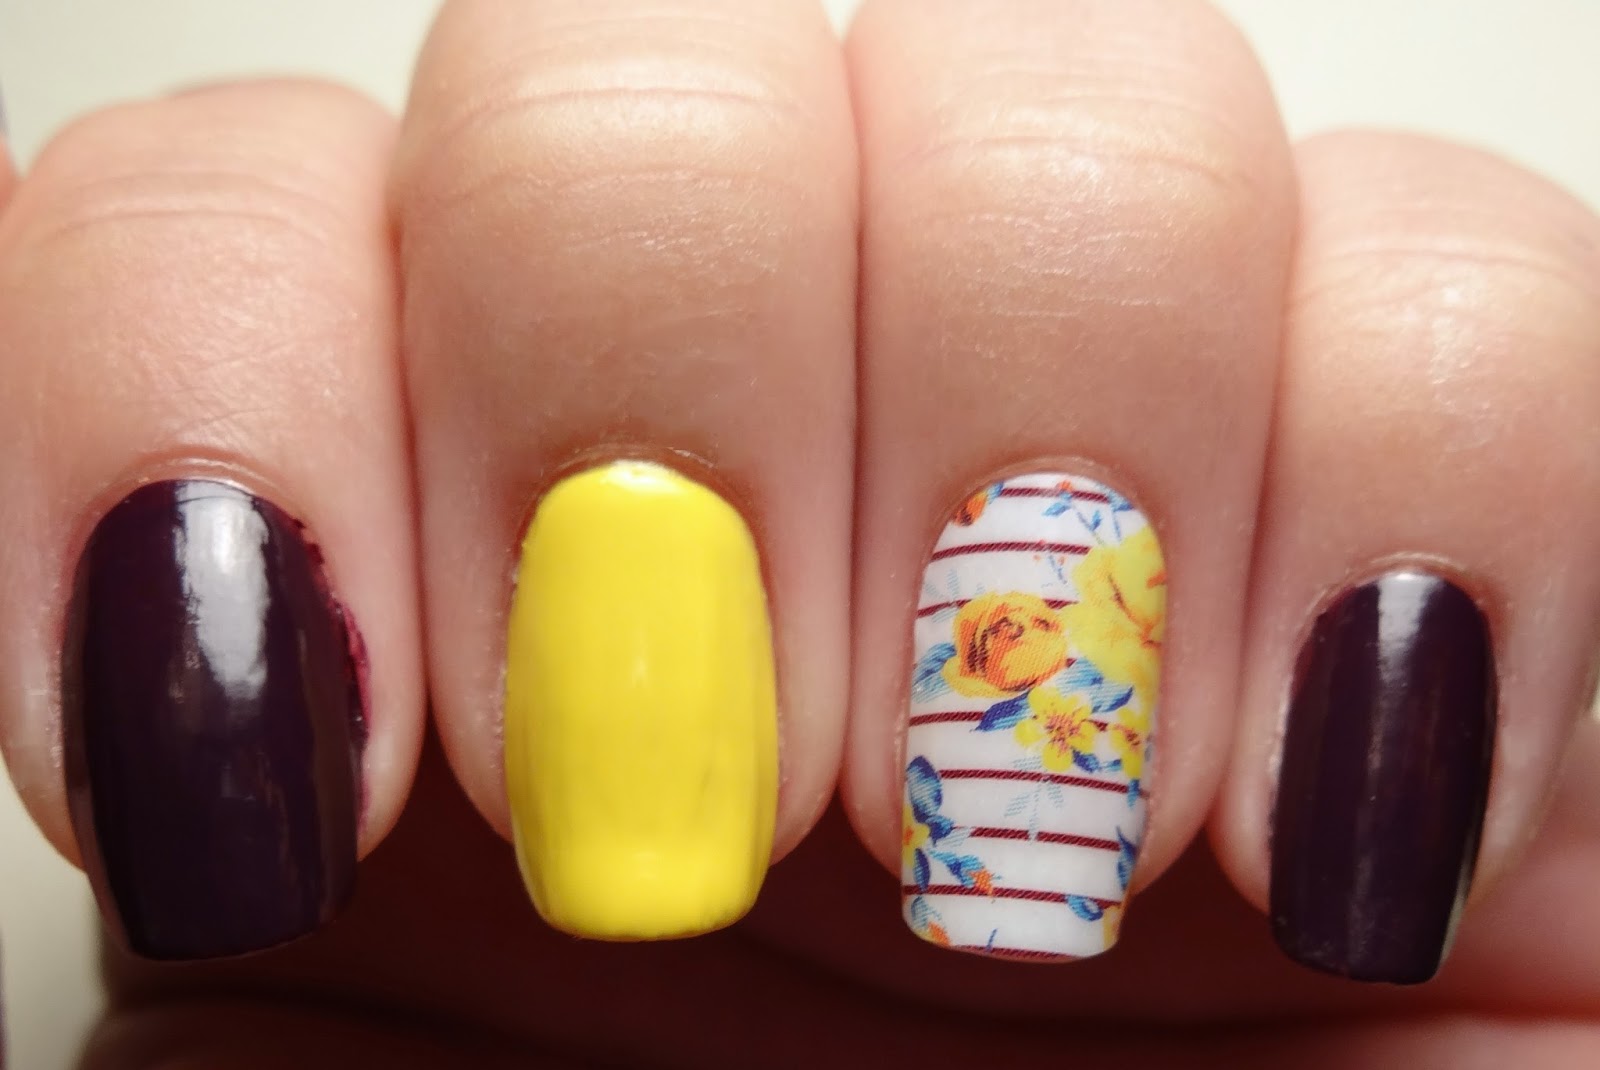
If you didn't read my other post about Jamberry Nails...I'm currently hosting a Jamberry party! If you want a chance to play games, and win some prizes, you can join my party on Facebook. I received a sample of a Jamberry wrap from a previous party my friend hosted, so I'm going to be creating different looks that utilize the nail wrap. This is the first of many!
These wraps are supposed to last 2 weeks on your nails, or 6 weeks on your toes. Yes...you can put them on your toes too! I want to see if they do in fact last as long as they say, so my left hand is going to have the same nail wrap in the picture above as the feature nail for a while, but I'll change the rest of the nails around to match. This way you can get different ideas on how to mix and match the nail wraps with regular polish designs. This is nice when you don't want all your nails wrapped, or you only have one or two nail wraps left (you know how there are always leftovers that don't get used).

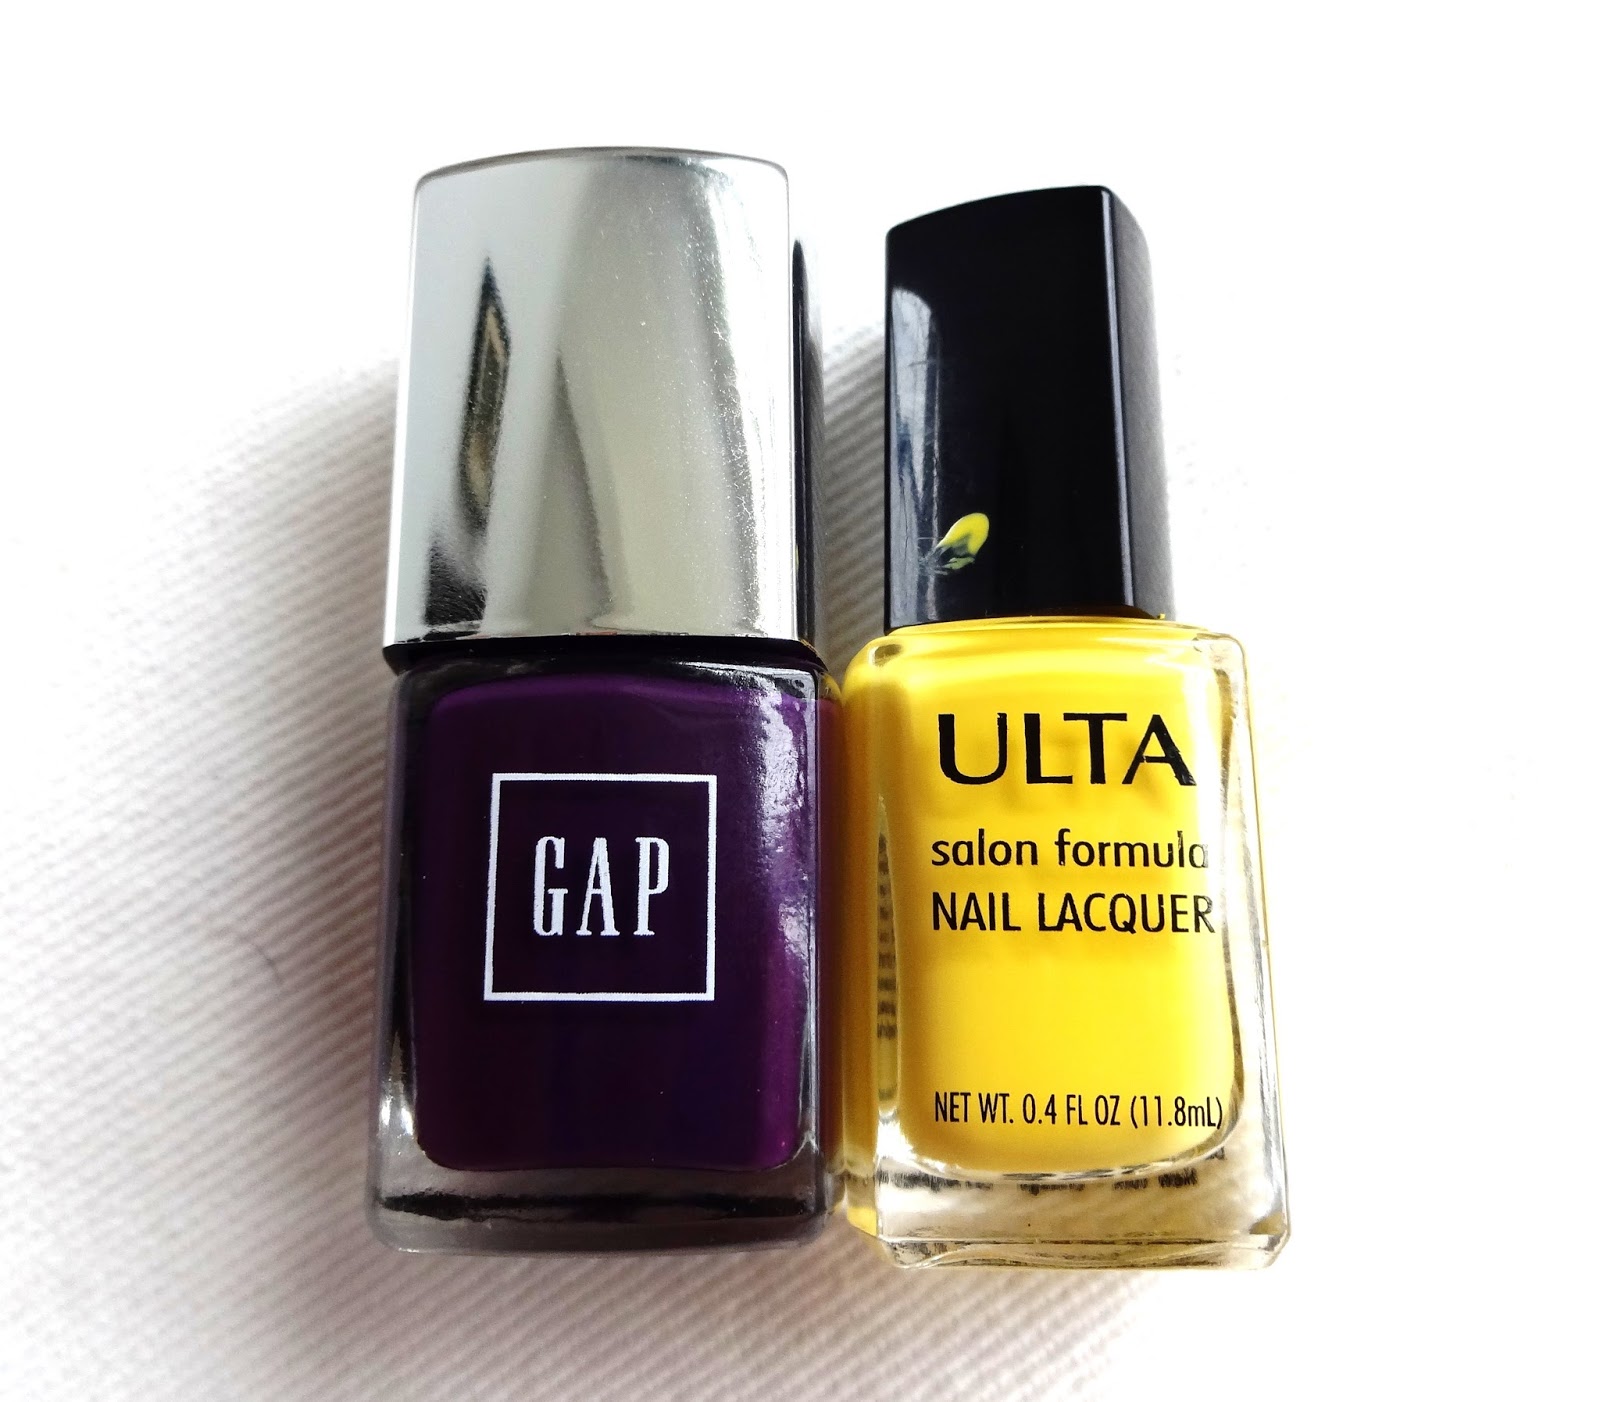
- Gap - Midnight Purple
- Ulta - Sun-Sational
- Flirty Flair Jamberry Nail wrap
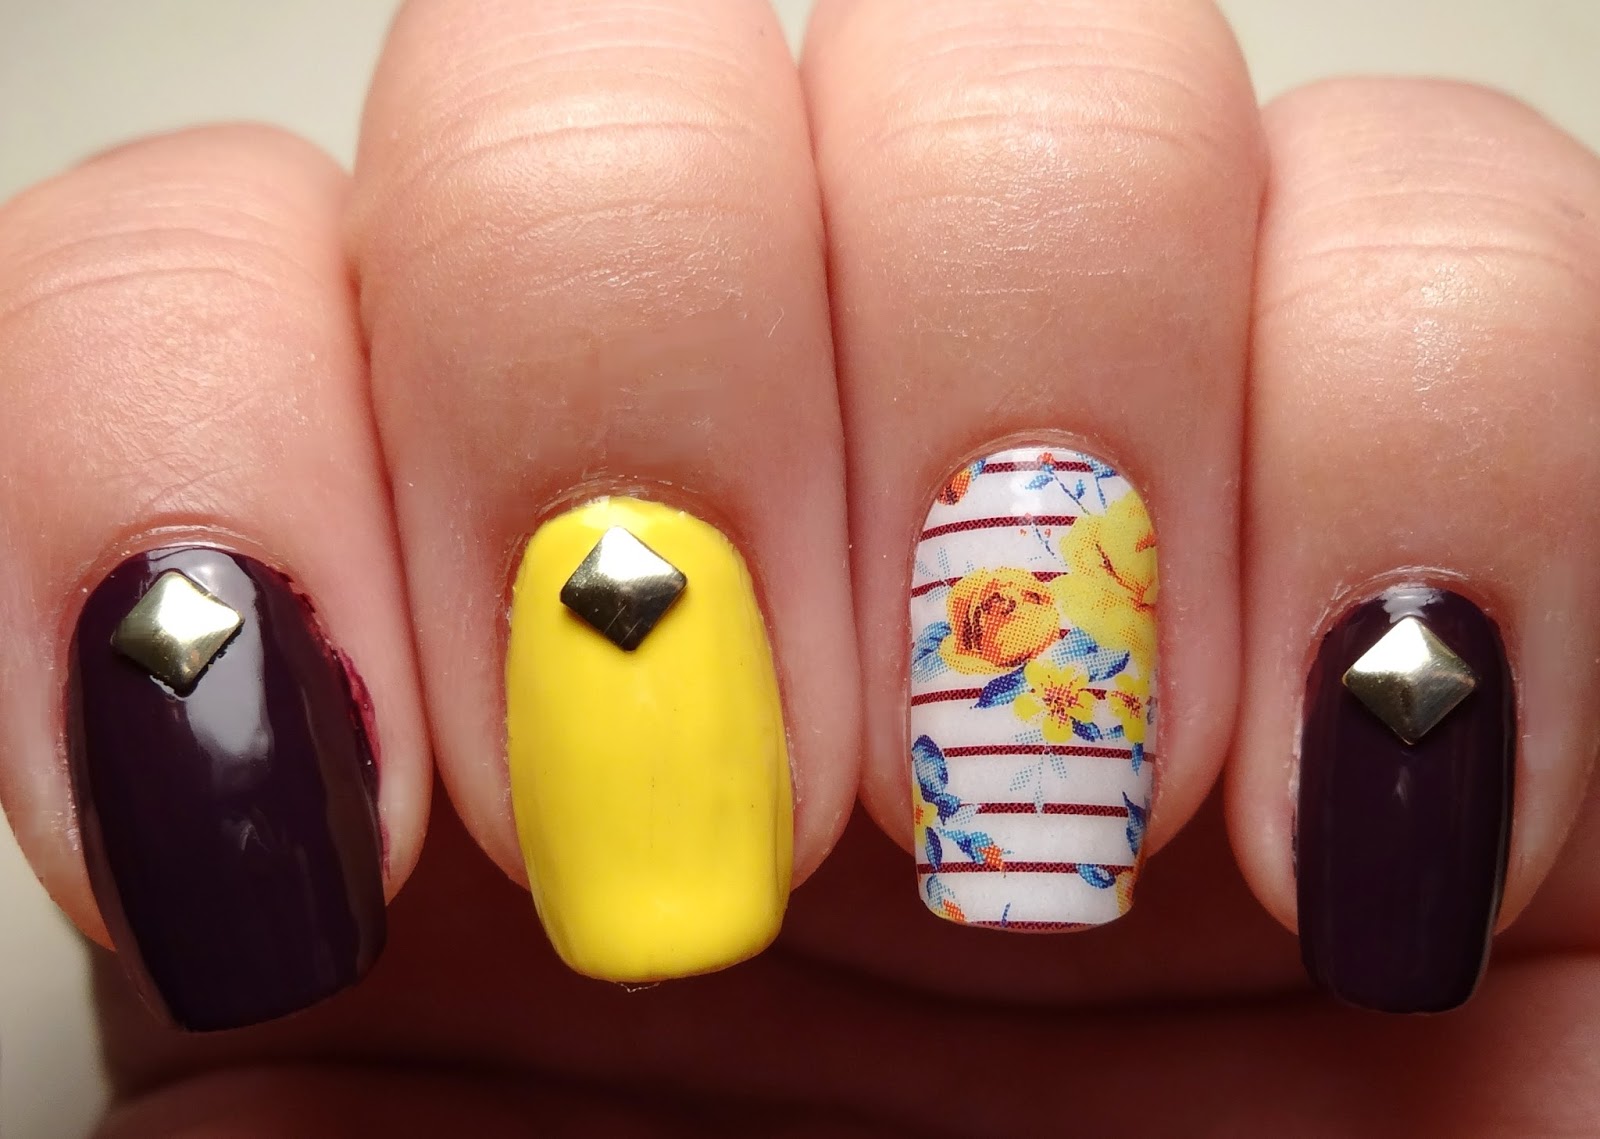
- 3mm gold metal square studs
- Base and top coats
My first look is very simple. I just added plain nails in complementary colors around the wrapped nail, so that it would stand out more. To create this look:
- Apply the Jamberry wrap to the ring finger per the Jamberry instructions included with the wrap.
- Apply the base colors to the other nails - middle in Sun-Sational and the rest in Midnight Purple. The yellow matches the large rose on the wrap, and the purple matches the stripes.
- Add a 3mm gold square stud to the base of each of the painted nails, turned so the square looks like a diamond.
- Seal the studs on with top coat. The Jamberry nail does not need top coat.


No comments :
Post a Comment